Ballerina Sylphs and Flower Fairies Tutorial

Ballerina Sylphs and Flower Fairies Tutorial

Inspired by the ballet, Les Sylphides, we decided to make some pocket sylph dolls.  They are so fun to make, and even more fun to play with.  Follow along to learn how to make your own ballerina sylphs, flower fairies, and poet dolls. Our YouTube video (see below) will guide you through each step.

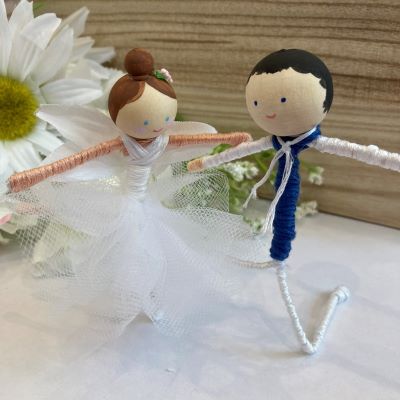
les sylphides flower fairy doll
sylph and poet

These sweet little dolls may be tiny, but they require quite a long list of materials and tools. To help you in making these dolls, we’ve put together a detailed list of supplies, with clickable links. We found that the right materials are key to making these dolls.  Once you have the materials gathered, you and your children can enjoy making a variety of dolls. Each doll will be totally unique! 

Here is a list of the materials we used:

Floral Wire

Floral wire should be cloth covered, 18″ long, and 22 guage.  The guage is important.  We tried a different guage at first, and it was more difficult to bend.  Interesting fact – the higher the guage, the thinner and more easily bent the wire is.  22 guage seems a nice balance between easy to bend while making the doll, but stiff enough to keep its form when the doll is finished.  We found our floral wire at Hobby Lobby.  A similar wire can be found on Amazon.

Wooden Beads

We used 3/4 inch diameter wooden beads for the fairy doll heads, and 1/4 inch diameter wooden beads for the fairy doll bun.  For the poet dolls, we used 1 inch diameter wooden beads for the head.  This variety pack of beads works well.

Tools

For the tiny details on these dolls, we decided to get a fine tip hot glue gun. We think this type of glue gun is really helpful. This KeLDE glue gun comes with some hot glue sticks.  Hot glue sticks, of course, are also needed for the dolls. You will also need needle nose pliers, scissors, and ruler or tape measure.

Paints, paint brushes, toothpicks, and Q-tips

We used Apple Barrel acrylic paints to paint on the hair and faces. It is also helpful to have small paint brushes and toothpicks to paint on the small features of the dolls. We used Q-tips to paint the cheeks. Optionally, you may choose to apply a layer of Mod Podge to make the painted faces more durable.

Embroidery floss

We used skin-toned embroidery floss, as well as ballet pink for our fairy dolls.  We also used a variety of colors for the bodice of the fairy doll.  For the poet, we used skin tones, as well as white for the tights, and blue or black for the shirt. We like DMC floss, but a large variety pack of floss can also be nice to have on hand.

Model Magic or Wood Putty

To fill in the hole at the top of the bun of the fairy, or the head of the poet, we used Model Magic. You only need a tiny amount of Model Magic, but the extra can be used for so many other creative projects!  Wood putty could also be used.

Tulle (and a needle and thread)

For the skirts of our ballerina sylphs we used a roll of 6 inch wide tulle. You will also need a needle and thread.  For a no-sew version, simply use flower petals for the skirt.

Artificial flower petals

We used small artificial flower petals (such as daisy or hydrangea petals) for the sylph and fairy wings.  The flower fairy skirts are made from larger flower petals. We found our flowers at a local craft store.

And now… let’s make

Ballerina Sylphs and Flower Fairies!

Watch our YouTube video for step-by-step details on how to easily make ballerina sylphs and flower fairies.  (For tips on making the male poet dancer dolls, see below.)

If you would like to make the poet from Les Sylphides, follow similar steps to the fairies, but make it slightly larger.  Use a 1 inch bead for the head.  Make the arms 1.75 inches long.  Simply fold the ends of the legs to make little feet.  Use white embroidery floss for the tights and the sleeves. Use a blue or black embroidery floss to make the shirt.  Add wistful poet scarf with a small white or metallic piece of floss.  Ta da!  Ready to dance!

les sylphides doll poet

Would you like to be the first to find out when we post new craft ideas?  Sign up for our email updates!

Time to play with your fairies! Flutter… Dance… Have Fun!

Looking for more springtime flower ideas? Check out our April Showers Bring May Flowers post.  You’ll find ideas for flower crafts, outdoor flower walks, May Day and Mother’s Day baskets, and even a Flower Name Bingo Game, perfect for a springtime party.
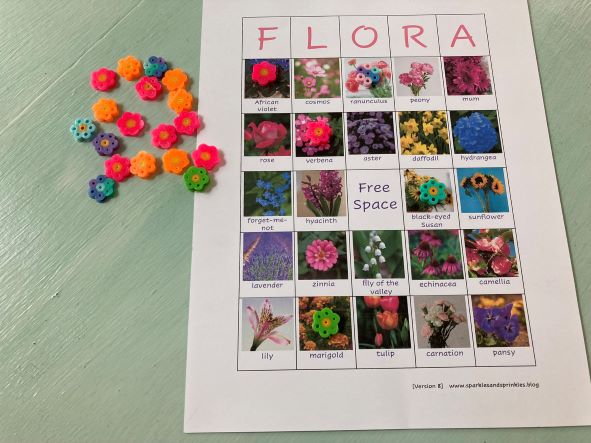
flower bingo

Note:  Some links on this page are Amazon Affiliate links.  Sparkles and Sprinkles is a participant in the Amazon Associates Program, an affiliate advertising program designed to provide a means for sites to earn advertising fees by advertising and linking to Amazon.com.

Other links may or may not be affiliate links.  We provide links because we have found these products or services beneficial, and we think you might too.
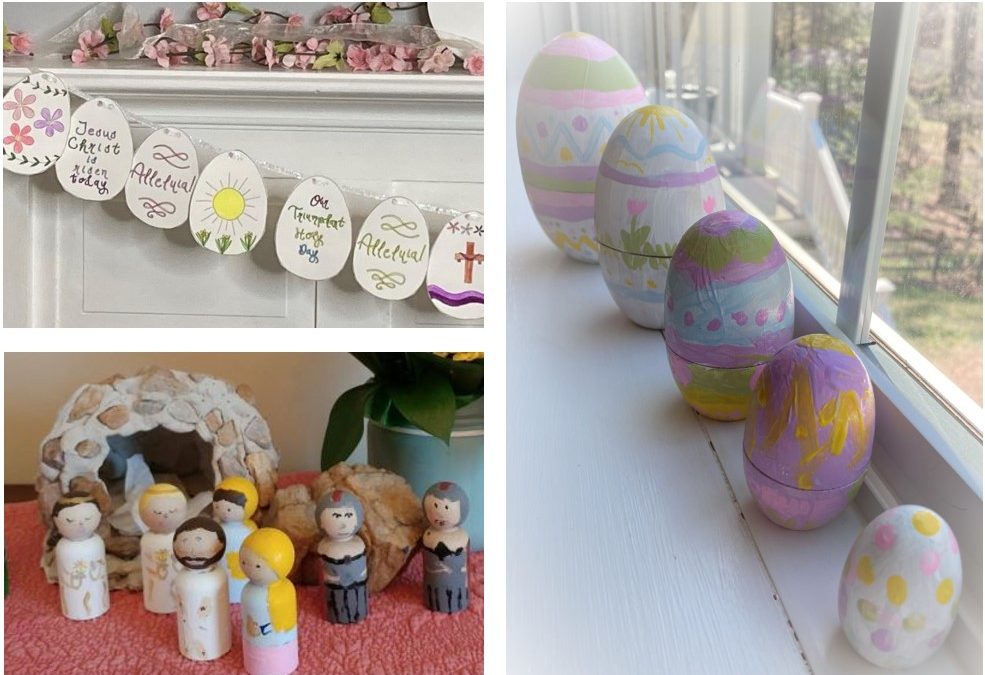
Homemade Easter Decorations that Last

Homemade Easter Decorations that Last

Making Easter decorations together that can last for years is a special treat!  In this post, we’ll show you how to make an Easter scene with peg dolls, hand painted wooden eggs, and an Easter garland.

Easter Story Peg Dolls

Our family really enjoyed creating an Easter peg doll scene a few years ago.  Having an Easter scene provides a tangible experience for children to imagine the details of the story of Easter, like a manger scene does at Christmastime.

We chose 2 3/8 inch size peg dolls, but you could choose any size. We loved looking at the ideas on Catholic Icing. for inspiration on how to paint the peg dolls. If you are not up for painting, Catholic Icing also has printable decoupage designs to make creating the peg dolls even easier.

Catholic Icing also has a very well done resurrection story that combines the multiple gospel stories into one to make it easier for children to understand the details.


easter peg dolls

We found that getting some extra peg dolls was helpful so that our toddler could paint the dolls however she wanted to while the older children and mom and dad worked on the details of the Easter figures.  She loved painting and playing with these dolls!

good friday peg dolls

We originally made our Calvary Hill and tomb using air dry clay.  We found that the clay crumbled over the years.  This year, we remade Calvary Hill and the tomb using Model Magic.  Modle Magic is much sturdier and lightweight, so we think it will hold up better to playing.


We used a plastic container for the base of the hill, then covered it with Model Magic. We then placed real stones on the hill, and secured a wooden cross into the clay.  Finally we pained the Model Magic and stones with a watered down light brown acrylic paint. For the tomb, we began with a cardboard structure, and covered it with Model Magic, then added rocks and paint. Our 4-year-old had so much fun placing the rocks in the clay! It takes quite a bit of model magic to make the tomb and Calvary Hill, so we recommend a large tub of Model Magic.

We also remade our crucified Jesus figure this year. (Once again, air dry clay did not hold up over the years, but we think Model Magic will.) We used a wooden bead for the head to make the head about the same size and look as the peg dolls.  We used floral wire to form the body, and then covered the wire in Model Magic.  In order to easily attach the figure of Jesus to the cross on Good Friday, we tied a string under the head that fits around the top of the cross.

peg doll jesus crucified

We wrap the Jesus figure in a small cloth and place the figure in the tomb on Good Friday.  On Easter Sunday morning, the children wake up to find the stone rolled away, and the tomb empty.  We like to hide the figure of the resurrected Jesus somewhere in the room so that the children have the experience of looking for Jesus, like his friends did on the very first Easter morning. We also place flowers near the tomb as a reminder that the tomb was in a garden… and to add even more Easter joy!

easter peg dolls

Painted Wooden Eggs

We made this set of nesting eggs many years ago, and it is still a favorite to display when we decorate.  Even the youngest children can decorate eggs… our newborn at the time used her fingerprints to make dots on the egg. It’s fun to paint names on the eggs, as well as the year the eggs were painted.  

To create your set of eggs, find a wooden egg set (or multiple sets) that allows each member of the family to paint at least one egg. 

We used acrylic paints to paint the eggs, and then gave them a coating of Mod Podge.

nesting easter eggs

The year my parents had their 12th grandchild, each grandchild painted a wooden egg, and we presented them with a carton of a dozen eggs on Easter.  We got two sets of these wooden eggs (which are already painted white).

Rather than use an old egg carton, we found cute colorful cartons to store and display the eggs.

Joyful Easter Banner

Catholic Easter Garland

Creating an Easter garland together can be fun, as each member of the family can create a part of it.  If you are looking for something simple, consider coloring our Easter hymn garland (an instant download on Etsy).  For full details on creating this simple, garland, click here. Or use your own ideas to create your own beautiful banner to celebrate Easter… so many possibilities!  Have fun!

Happy Easter!

Note:  Some links on this page are Amazon Affiliate links.  Sparkles and Sprinkles is a participant in the Amazon Associates Program, an affiliate advertising program designed to provide a means for sites to earn advertising fees by advertising and linking to Amazon.com.

Other links may or may not be affiliate links.  We provide links because we have found these products or services beneficial, and we think you might too.

Spring Folk Art Trees

Spring Folk Art Trees

We’ve been studying about Colonial history this year.  The cheerful and simple folk art depicting Colonial times inspired us to learn more about folk art.  

To learn about how to make folk art trees, we watched a video on Deep Space Sparkle.

This great tutorial from Deep Space Sparkle focusses on trees in the autumn, but as it is springtime, we modified the designs for spring. 

We also chose to draw the designs with colored pencil, rather than Sharpies (a little safer with little ones!).

We also found inspiration from Cheryl Bartley designs.  She has free coloring pages too!


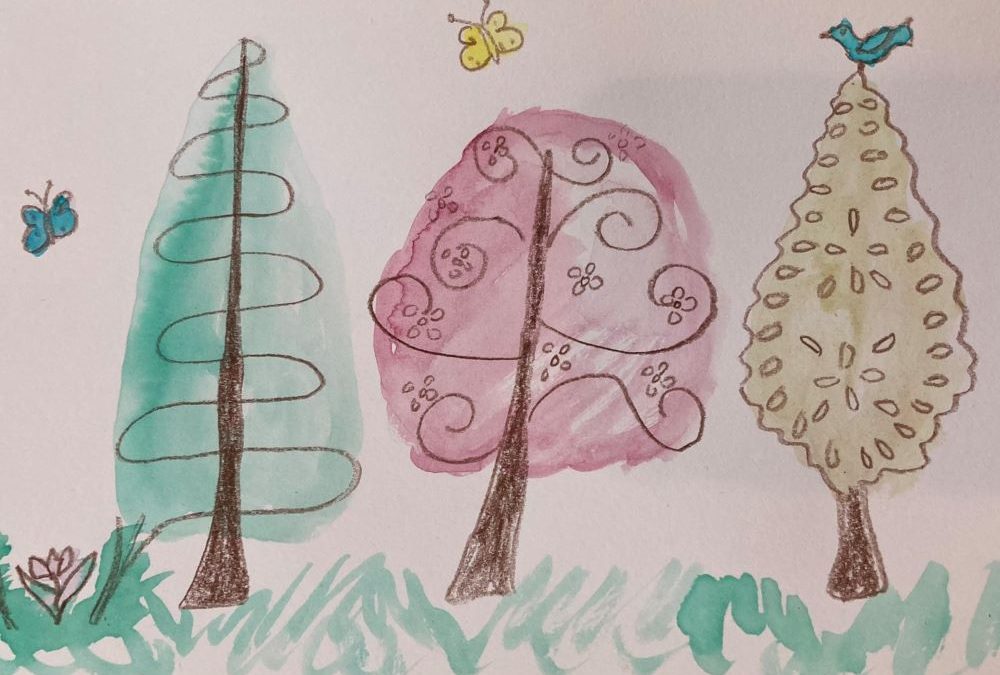
We had so much fun on a late winter (almost spring!) afternoon, looking out at the trees, and creating folk art together.  Before creating our art we spent some time looking closely at the trees.  Only God can make so many branches and leaves, but the simplicity of folk art allows us to capture the beauty of trees in a simple and fun way. Hope your family can enjoy some art time together too! Here is a sampling of our art…

folk art spring tree

folk art trees with flower embellishments

Our 8-year-old had fun adding spring blossoms to her trees.

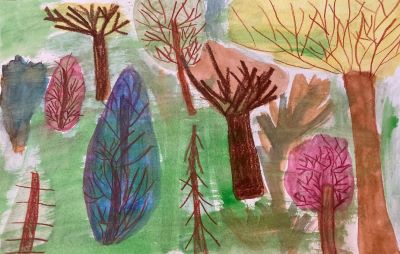
folk art forest

folk art trees in a forest

Our 11-year-old enjoyed making a peaceful spring forest scene.

folk art winter

folk art trees with sparkling snow

Spring often comes with surprise snowfalls.  Our 8-year-old added a sprinkling of salt over her watercolor to make her trees look like they have a glimmer of snow.

folk art tree toddler

folk art trees by our toddler

Folk art is for any age.  Our toddler had so much fun painting her trees too!

folk art trees

folk art spring tree garden

Even Mama joined in the fun of painting. Making art together brings so much peace to the day!

Thanks for stopping by Sparkles and Sprinkles today! Wishing you much joy as you learn and grow together!


Great idea for activties to celebrate America’s 250th Birthday, July 4, 2026

Note:  Some links on this page are Amazon Affiliate links.  Sparkles and Sprinkles is a participant in the Amazon Associates Program, an affiliate advertising program designed to provide a means for sites to earn advertising fees by advertising and linking to Amazon.com.

Other links may or may not be affiliate links.  We provide links because we have found these products or services beneficial, and we think you might too.

Water Princess Giving Well Activity

Water Princess Giving Well Activity

The book, The Water Princess, tells the story of the young Georgie Badiel spending entire days walking to get water for her family in Africa. Inspired by this story, we decided to make a paper well that can be used like a Lenten paper “rice bowl” to collect money for those in need.

Simply print the free printable on cardstock and read along to learn how to create the well. The French version of the well says, “Mon Puits pour la Vie” (my well for life – “puits” rhymes with “vie”).  The English version says, “My Giving Well.”  There is also a plain version (as requested by my daughter so that she could use it with her doll house).

If you would like to read the Water Princess before you create the well, click the image for an Amazon link.

the water princess

Let’s make a well…

lent giving well

Click Here to Get your Free Printable

Print your printable on cardstock.  The printable comes in a French, English, and plain version.

the water princess

Step 1

After printing on cardstock, cut out each of the pieces of the well.

the water princess

Step 2

Tape or glue the stone well into a circle.

the water princess

Step 3

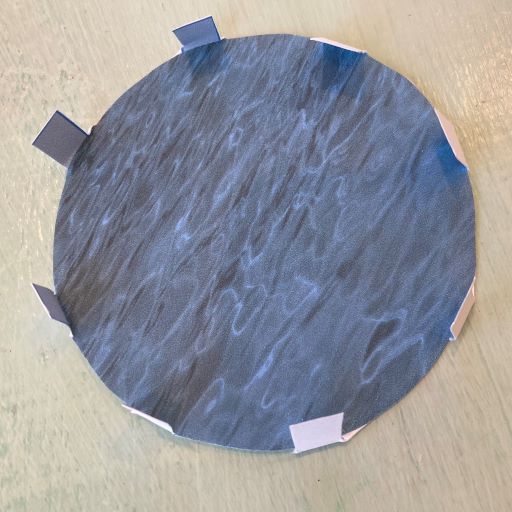
Fold tabs up around water circle.

the water princess

Step 4

Tape or glue the water circle to the inside bottom of the well.

the water princess

Step 5

Fold posts in half.

the water princess

Step 6

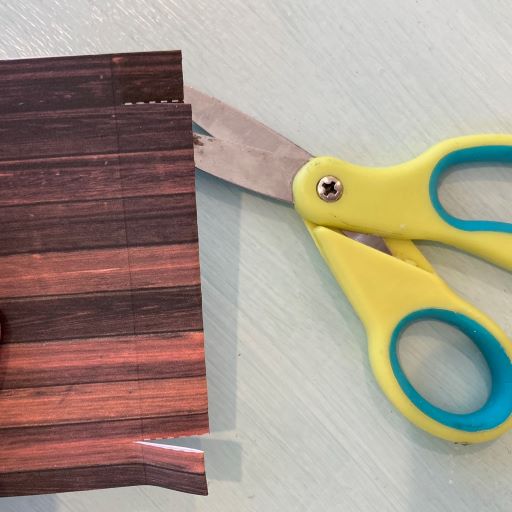
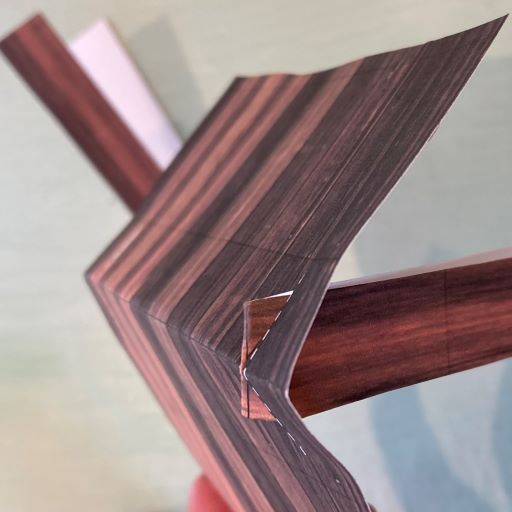
Fold roof in half on solid line.  Cut slits on dotted lines.

the water princess

Step 7

insert posts into slits in the roof.  Then gently bend tops of posts to secure them to the roof.

the water princess

Step 8

Tape or glue the posts to the side of the well.

the water princess

Step 9

Place coins in your well.   After saving coins, donate to people in need.

You could use your well to collect money for organizations that help those in need, near your home or around the world.

Do you have a heart for francophone Africa? Check out the wonderful work that Viridiane’s Hope for Children’s Heath and Education is doing in Cameroon!

Do you love learning through pictures books? You might love learning French with Joie de Livre: French language and culture through beautiful picture books.

“…but whoever drinks the water I shall give will never thirst; the water I shall give will become in him a spring of water welling up to eternal life.” John 4:14

« …l’eau que je lui donnerai deviendra en lui une source d’eau jaillissant, jusqu’à la vie éternelle. » Jean 4:14

Note:  Some links on this page are Amazon Affiliate links.  Sparkles and Sprinkles is a participant in the Amazon Associates Program, an affiliate advertising program designed to provide a means for sites to earn advertising fees by advertising and linking to Amazon.com.

Other links may or may not be affiliate links.  We provide links because we have found these products or services beneficial, and we think you might too.

Make your own doll donuts!

Make your own doll donuts!

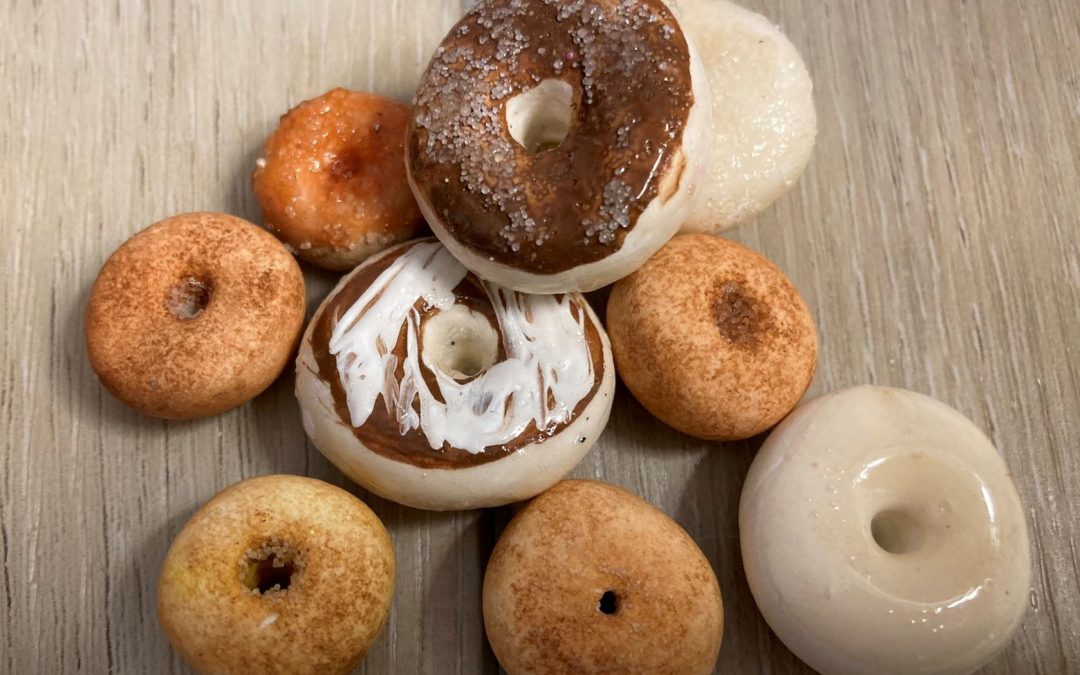
Watch our YouTube tutorial and have fun making these cute donuts for your dolls.  We use Model Magic, which is easy to shape and sturdy when it dries.  Scroll down to get our FREE donut box printable and other doll ideas too!

doll donut diy
doll donut box

Click on the image to get our FREE donut box printable.  Print on cardstock, then watch our YouTube short to see how to easily cut, fold, and glue the box.

doll food box printable

More fun doll ideas…

American Girl Doll Party Ideas

Doll birthday party

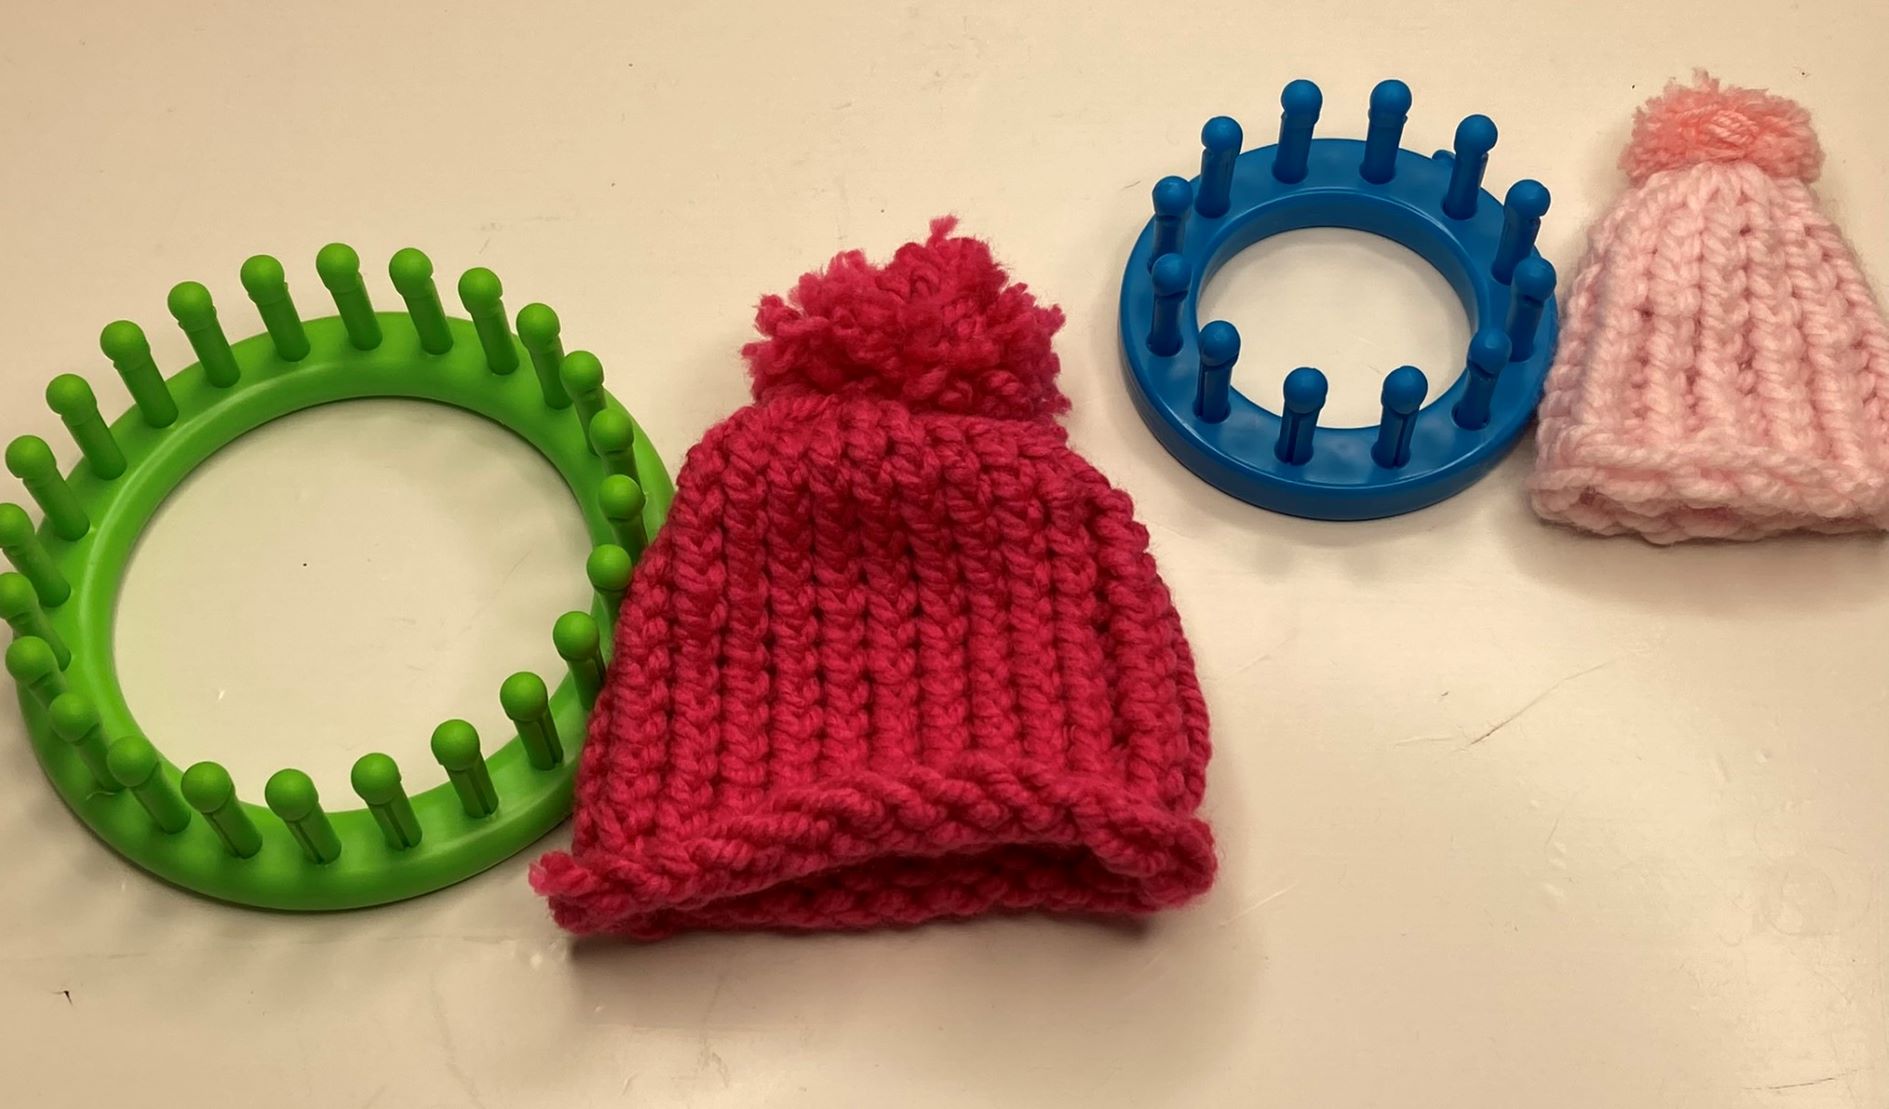
Knit a doll hat

Hand-sewn doll clothes

Note:  Some links on this page are Amazon Affiliate links.  Sparkles and Sprinkles is a participant in the Amazon Associates Program, an affiliate advertising program designed to provide a means for sites to earn advertising fees by advertising and linking to Amazon.com.

Other links may or may not be affiliate links.  We provide links because we have found these products or services beneficial, and we think you might too.

Cinnamon Rolls for Dolls

Cinnamon Rolls for Dolls

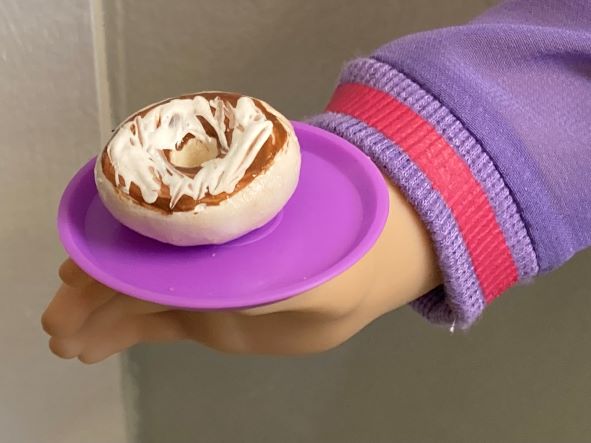
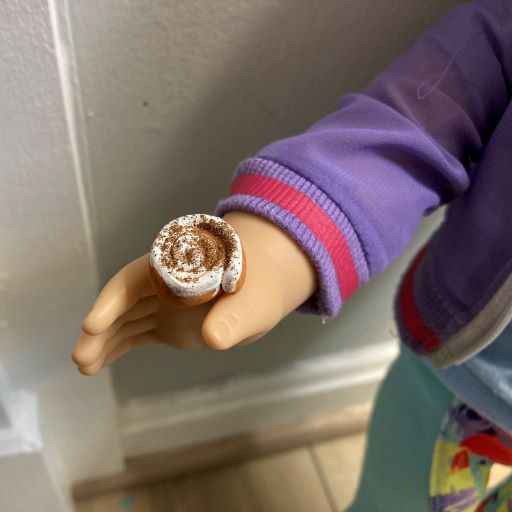
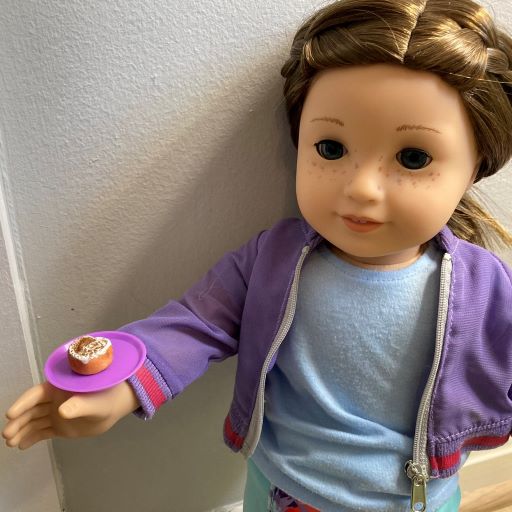
Watch our YouTube video to learn how to easily make play food for your dolls, using Model Magic.  This type of clay is easy to work with and makes sturdy doll food.  Grab our free printable to make a pastry box for your doll treats too! (Our YouTube short will show you how to make the box.)

play doll food
doll play food

Supplies:

Model Magic

Paint brush

Jar of water

Watercolors

White acrylic paint

Ground cinnamon

doll food box printable

More fun doll ideas…

American Girl Doll Party Ideas

Doll birthday party

Knit a doll hat

Hand-sewn doll clothes

Note:  Some links on this page are Amazon Affiliate links.  Sparkles and Sprinkles is a participant in the Amazon Associates Program, an affiliate advertising program designed to provide a means for sites to earn advertising fees by advertising and linking to Amazon.com.

Other links may or may not be affiliate links.  We provide links because we have found these products or services beneficial, and we think you might too.