Easter Cut-out cookies {gluten-free, egg-free, low-carb}
We are so excited to share this cut-out cookie recipe with you! Our ten-year-old daughter created this recipe a few weeks ago and asked if we could add it to the blog. I initially told her, “Well, that will be great to save for Christmas-time.” Once I tried the cookies, I changed my mind. This cookie recipe is too good to wait until Christmas… so let’s make some Easter cookies!
We’ve tried a number of gluten-free low-carb cut-out cookie recipes over the years, and this one is a winner… only a few ingredients, faster than regular sugar cookies (no need to refrigerate the dough), egg-free (so less worry about a mess with kids), and very YUMMY!
This recipe makes about a dozen medium-sized cookies. We entered our recipe into the Very Well Fit Nutrition Calculator, and found that each cookie will have about 11 g net carbs if using 1/2 cup coconut sugar or 7 g net carbs if using 1/4 cup coconut sugar (this calculation does not include the frosting or sprinkles, which would add a minimal amount of carbs). So, get ready to enjoy… guilt-free!
We found these adorable Easter cookie cutters from Ann Clark – they are made in the USA. They worked really well for our Easter cookies!


We also decided it was time to be true to our name and add some sprinkles to this recipe. We tried Nativo rainbow sprinkles – they are perfect pastel colors for Easter. They are low-carb and colored with natural colors. Our children thought they were good enough to eat by the spoonful while we were decorating cookies! One little note, though, we would not recommend baking them into the cookies (they “melt” right into the dough). They are best used sprinkled over frosting.
Let’s Make Easter Cookies!

Gather your ingredients:
For the cookies…
- 1 cup light buckwheat flour
- 1 cup almond flour
- 1/2 cup coconut sugar
- 1 tsp baking powder
- 1/2 cup (1 stick) unsalted butter
- 1 tsp vanilla extract (optional)
- 1/4 to 1/3 cup unsweetened almond milk (plain or vanilla)
For the decorations…
- 1 – 8 oz. package cream cheese, softened
- 1 stick unsalted butter, softened
- Sweetener of your choice (maple syrup, stevia powder, or honey)
- Natural sprinkles
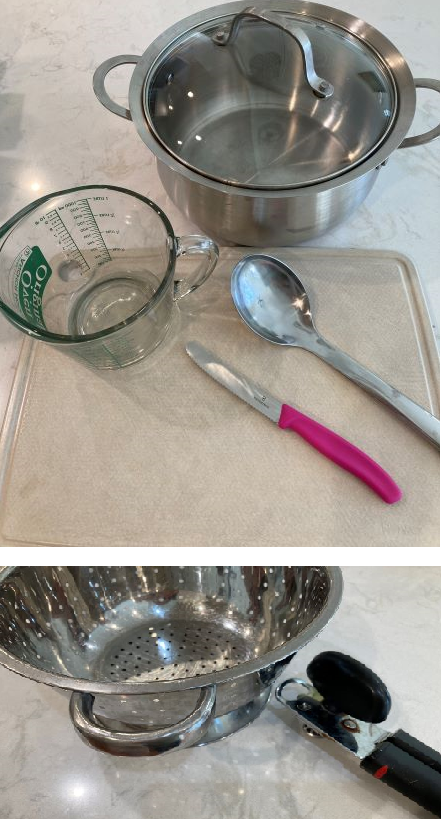
Gather your kitchen supplies:
For the cookies…
- 1 cup measuring cup
- 1/2 cup (or 1/4 cup) measuring cup
- 1 tsp spoon
- a small liquid measuring cup
- a microwave-safe mug or dish for melting butter
- a large spoon for stirring
- a large bowl for mixing
- a flat tray or baking sheet lined with parchment paper
- a cooling rack and metal spatula
- a serving platter
For the frosting…
- a stand mixer with a bowl and paddle attachment or a bowl and spoon to stir by hand
- a knife or spatula to spread the frosting

Measure, mix, cut out, and bake!
Allow your oven to preheat to 350 degrees F while you are making the dough.
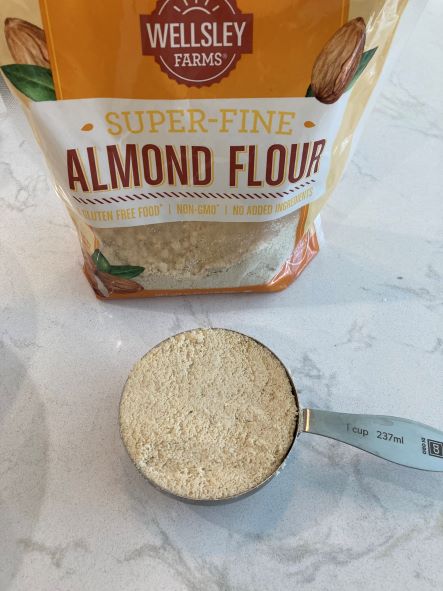
Step 1
Measure 1 cup of almond flour.

Step 2
Pour the almond flour into the mixing bowl.
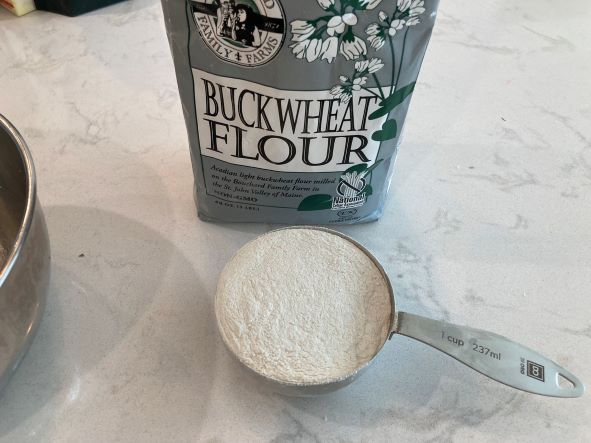
Step 3
Measure 1 cup light buckwheat flour.
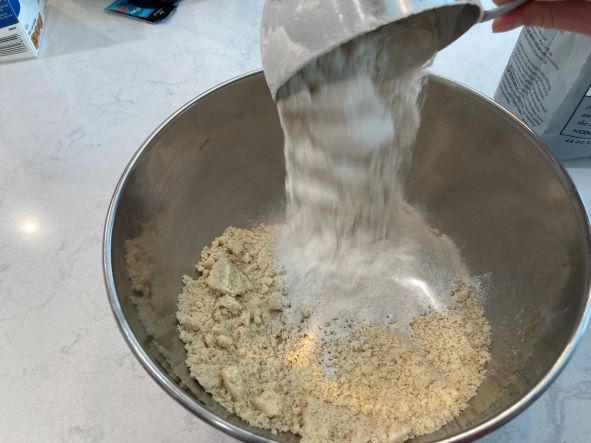
Step 4
Add the light buckwheat to the mixing bowl.
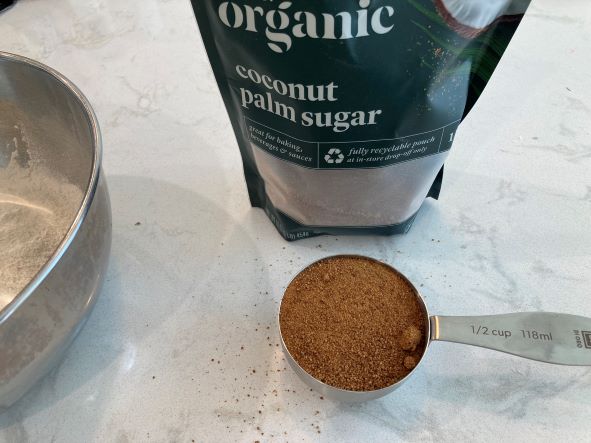
Step 5
Measure coconut sugar. Use 1/2 cup for sweeter cookies, or as little as 1/4 cup for lower-carb cookies.

Step 6
Add the coconut sugar to the mixing bowl.
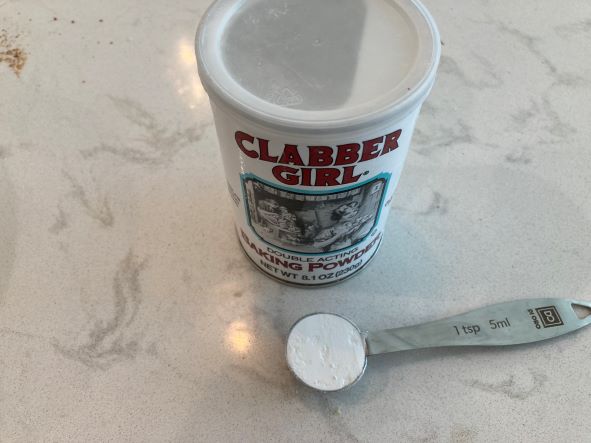
Step 7
Measure 1 tsp baking powder.

Step 8
Add the baking powder to the mixing bowl.

Step 9
Stir together the dry ingredients until well mixed.
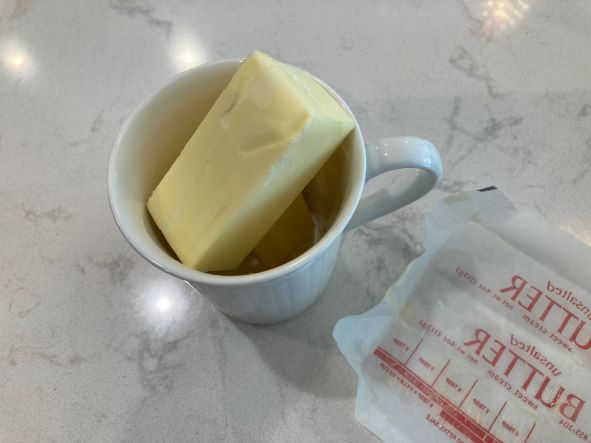
Step 10
Place one stick of butter into a microwave safe dish or mug.

Step 11
Microwave the butter on high for about 30 seconds, or until melted.
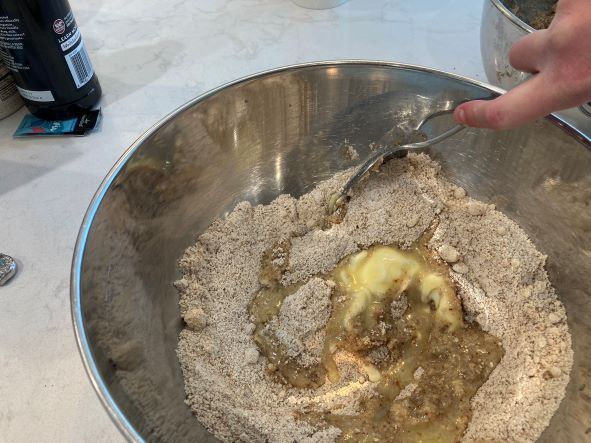
Step 12
Pour the melted butter into the mixing bowl and stir.

Step 13
Add 1 tsp vanilla extract (optional) – we find the cookies are great with or without vanilla.

Step 14
Measure the almond milk. Start with 1/4 cup, add more if needed.

Step 15
Pour the almond milk into the mixing bowl and stir.

Step 16
Use your hands to continue to mix the dough until it forms a ball. If needed, add more almond milk, or more light buckwheat to make it easy to handle.

Step 17
Place the ball of dough on a sheet of parchment paper on the counter.

Step 18 (Option A)
Use your hands to press dough out until it is about 1/4″ thick.

Step 18 (Option B)
Or place parchment paper on top of the dough and use a rolling pin to roll out dough, until it is about 1/4″ thick.

Step 19
Place cookie cutters into the dough. Pull extra dough away from cookie cutters while the cookie cutters are still in place.
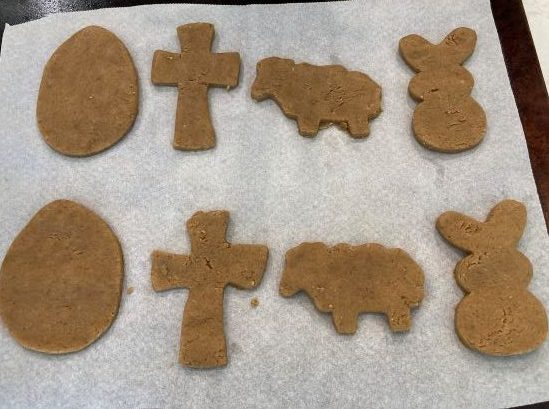
Step 20
Carefully lift the cut out cookies onto the parchment lined baking tray.
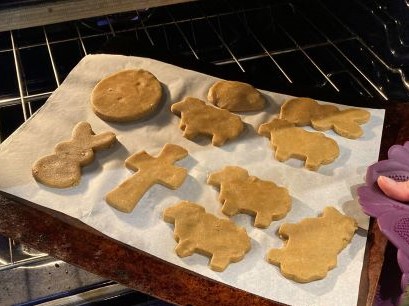
Step 21
Place tray of cookies in the oven (pre-heated to 350 degrees F). Bake for 10 minutes, then check on cookies.
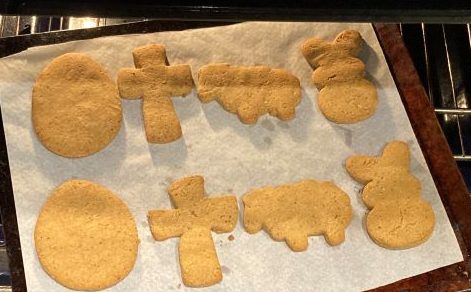
Step 22
After 10 minutes, check on cookies. Add a minute or two at a time, until the cookies are golden brown on the edges and firm to the touch. They may need up to 14 minutes total baking time.
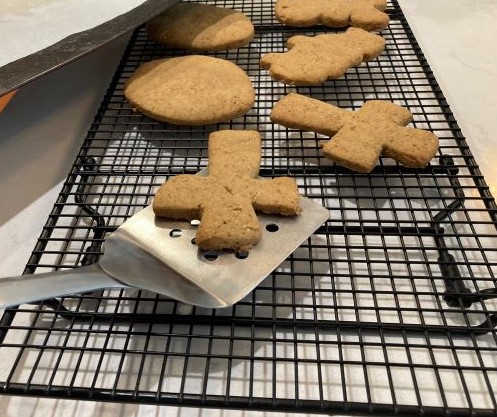
Step 23
After a few minutes, use a spatula to carefully transfer the cookies to a cooling rack. Repeat steps 17 to 23 for any remaining dough. Allow cookies to cool completely before decorating them.
Time to decorate!
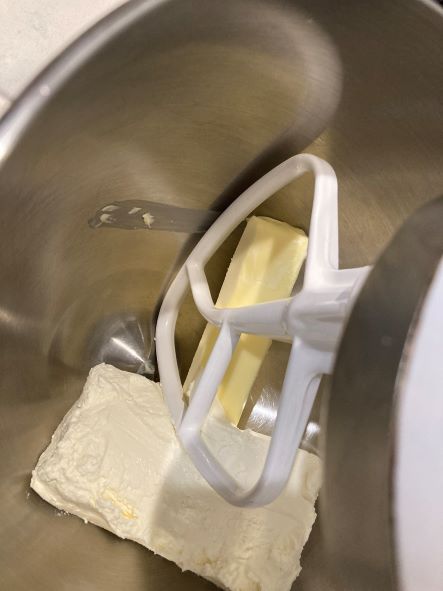
Step 1
To make the frosting, place softened stick of butter and package of cream cheese in the bowl of a stand mixer (or in another bowl if mixing by hand). Cream together the butter and cream cheese.

Step 2
Add sweetener of your choice. If using a liquid sweetener (like maple syrup or honey), be careful not to use too much, or the frosting may be runny. We used 1 T maple syrup and 1 packet Sweet Leaf powder for our frosting.
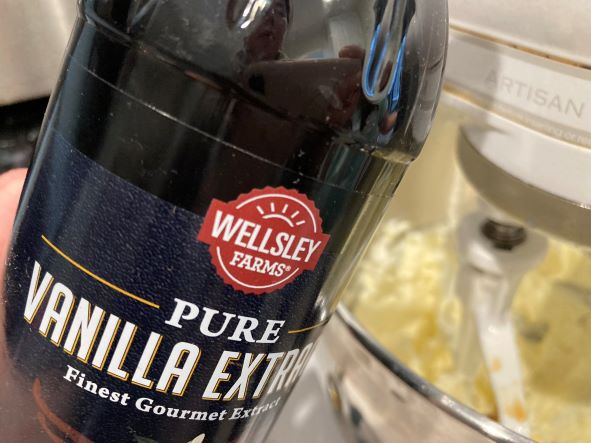
Step 3
(Optional) Add flavoring to your frosting. We used 1 tsp vanilla extract.

Step 4
Cream all ingredients together until smooth.

Step 5
Spread frosting on the cookies (make sure the cookies are cooled before frosting them).

Step 6
Sprinkle
with
SPRINKLES!

Step 7
Be creative with your own ways to decorate the cookies. We cut off a corner of a ziplock bag to pipe a wooly look on our lamb cookies (you could also use a cookie decorating piping kit).

Step 8
Enjoy!
(Be sure to refrigerate any leftover decorated cookies. The cream cheese frosting should probably not be left out more than a couple hours.)
Happy Easter!

Note: Some links on this page are Amazon Affiliate links. Sparkles and Sprinkles is a participant in the Amazon Associates Program, an affiliate advertising program designed to provide a means for sites to earn advertising fees by advertising and linking to Amazon.com.
Other links may or may not be affiliate links. We provide links because we have found these products or services beneficial, and we think you might too.