Our Favorite Non-candy Easter Egg Fillers
We have a tradition of hosting a neighborhood Easter egg hunt. We like to fill at least half of the eggs with non-candy treats, so over the years we have gathered lots of ideas. In this post, we share our favorites with you, plus some tips for hosting an Easter egg hunt.
Wishing you a blessed and joy-filled Easter!
Please note: To access all of our FREE printables, including those mentioned in this post, simply subscribe to Sparkles and Sprinkles, using this link: FREE Printables, please!
Flower seeds
Flower seeds
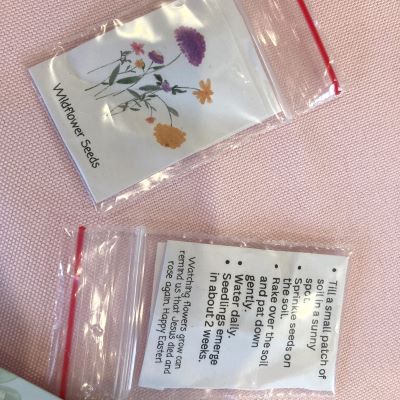
My favorite Easter egg hunt tradition is placing tiny bags filled with flower seeds in the Easter eggs. It’s such a fun way to welcome in the spring and summer seasons! We wanted to share our wildflower seeds printable with you – it’s free, just subscribe in the form below. The printable has an image of wildflowers on one side and directions for planting seeds on the other. We have used these tiny bags (1.5″x2″).
Tips for preparing the seed bags:
1. Print the flower seed directions (use the sign-up form below if this link does not work) and cut them with a paper cutter or scissors.
2. Pour the wildflower seeds into a dish.
3. Fold papers and insert them into bags so that directions are visible on one side and the flower image visible on the other.
4. Place a spoonful of seeds into each bag, seal the bag, and place the bag in an Easter egg.


Mini puzzle pieces
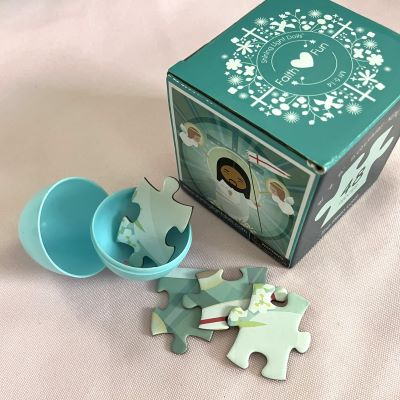
Mini puzzle pieces
For the first time last year, we added puzzle pieces to our Easter egg hunt. I was not sure how it would go, but to my pleasant surprise it was a hit! (And all of the eggs with the puzzle pieces were found.)
Here’s what we did:
We placed the mini puzzle pieces in golden eggs. We announced at the beginning of the hunt that if children found golden eggs, they should bring them to a table that we had set out just for the purpose of making the puzzle.
Once all the eggs were found, children could choose to work on the puzzle during our Easter gathering. The child who put in the last piece of the puzzle got to take the puzzle home.
Tip: Be sure the puzzle pieces are small enough to fit in the eggs you choose. We found the sweet Easter puzzle pictured here from the Shining Light Dolls shop, but another good option with small pieces is a mini bunny puzzle from Mud Puppy.

More Non-Candy Easter Egg Filler Ideas…
Please note that the links provided in this post might be for an item similar to the one pictured, rather than the exact item.
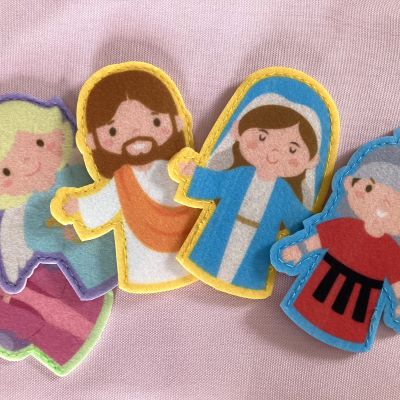
Finger puppets
We found these fun Easter story finger puppets last year. (These needed to be folded and put into larger Easter eggs.) In the past, we have also used cute little animal finger puppets.
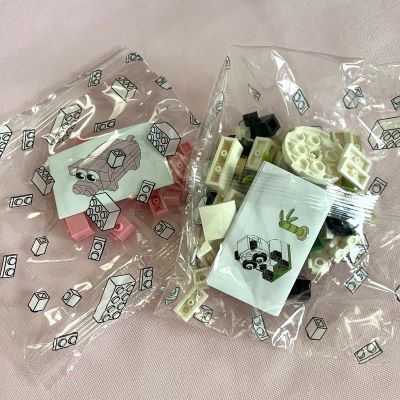
Little "Lego" sets
Little “Lego” sets are so fun to take home to build.
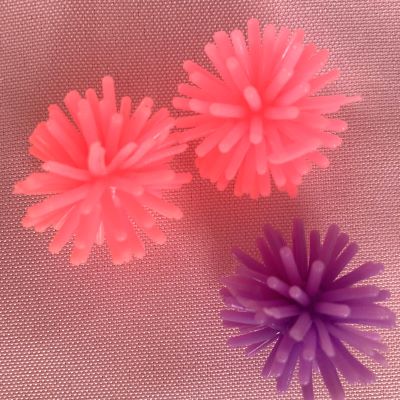
Mini balls
Tiny balls are a fun treat to find.
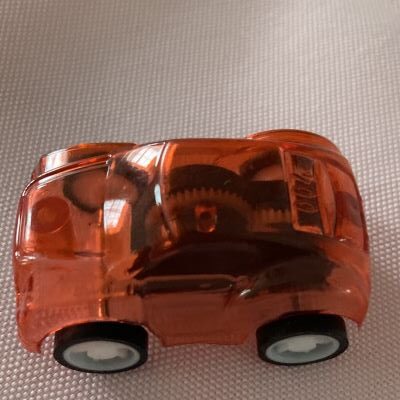
Wind-up cars
Mini wind-up toys, like toy cars fit nicely inside of eggs.
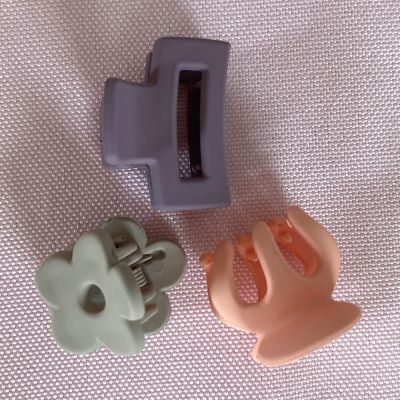
Mini hair clips or barrets
Girls love to find new hair accessories in their Easter eggs. (If boys find them, they can always make a trade.)
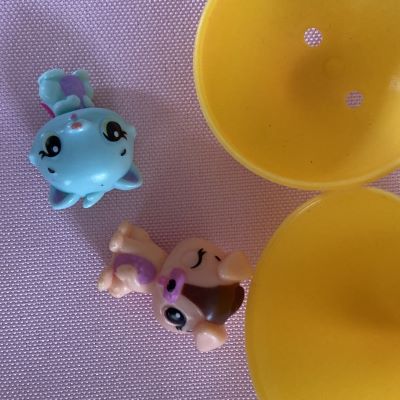
Little critters
Similar to what you might find in a Hatchimal, or just hiding Hatchimals in their own eggs works too.
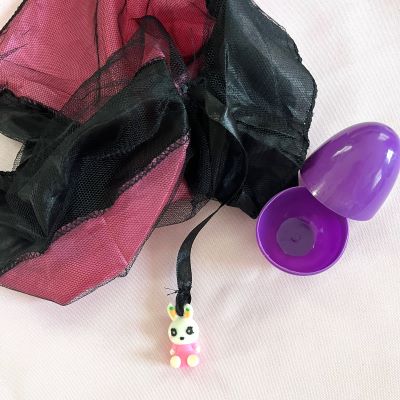
Parachute bunny
We found parachute bunnies for the first time last year. So fun!
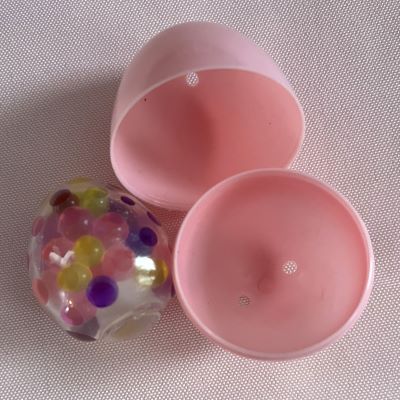
Squishy eggs
Temporary tattoo
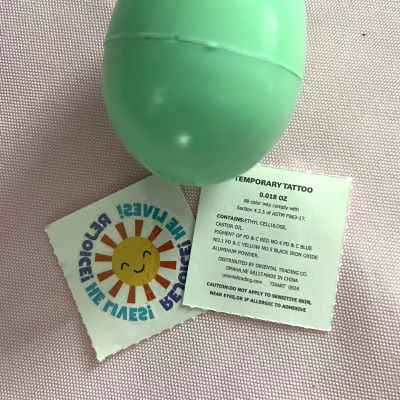
Some children enjoy temporary tattoos – we found some with an Easter theme.

Glow in the dark stars
Children can take these stars home and hang them in their room. (You may want to announce at the beginning of the hunt that there will be glow in the dark stars – just in case children don’t know what they are for.)
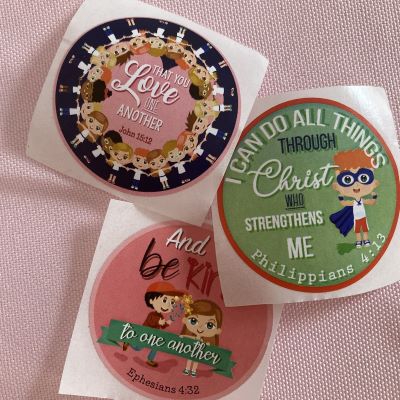
Stickers
We love to have stickers with messages about God’s love and Easter joy. The stickers shown in this image are from Amazon, but if you are looking for extra special stickers, I would suggest Marigold Catholic Goods and Just Love Prints.
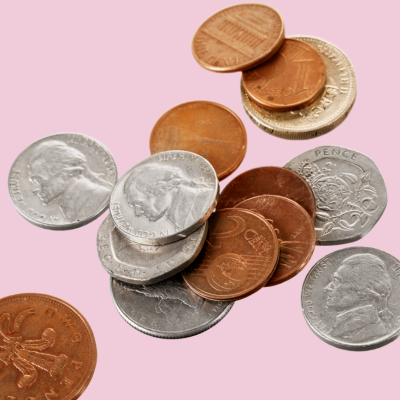
Coins
This idea is thanks to one of the neighborhood children who asked, “Will there be money in the eggs?” We have not done this yet, but what a fun and simple idea.
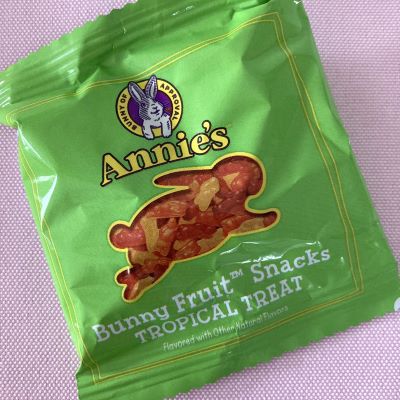
Fruit gummies
Not candy, but still a sweet treat. Annie’s Bunny gummies are a favorite.
As I started to write this post, I thought we had 15 ideas, but as I wrote, I thought of a few more ideas we have used that kids love:
Cute animal erasers (that can come apart)
Also, if you are looking for candy treats that are at least all natural (though, we can’t call them healthy), we often get our candy from Natural Candy Store. They also have allergy-friendly options.
Another tradition we love is to hand the children mini bubble wands as they arrive at the hunt. This way they have something to do as we wait for everyone to arrive and for the hunt to start.
We like to include all of the neighbors in the Easter celebration, whether or not they have young children, so we serve drinks and refreshments after the egg hunt. Friends often bring something to share as well.
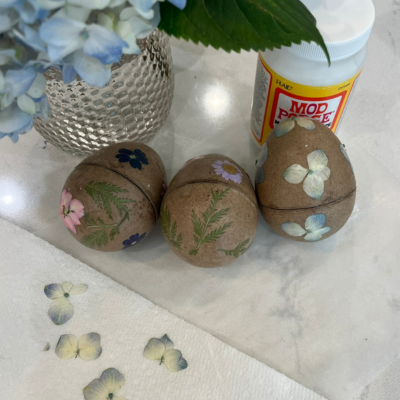
We also have a craft table for children who want a calm activity to do after the hunt. Perhaps we’ll make a post in the future about some of the crafts we’ve done over the years. Last year we made paper eggs with dried flowers (we had to do this activity inside so that the flowers did not blow away).
Sometimes we’ve done Easter-themed activities (like sack races and egg and spoon races), but children just enjoy running around and making their own games, too.
This makes for a relaxing and joyful way to celebrate Easter together.

Happy Easter from Sparkles and Sprinkles!

For our daughters’ Easter baskets last year, we found these lovely cards from Just Love Prints… a sweet message from Jesus.
Finding Easter basket treats from artists like Just Love Prints and Marigold Catholic Goods adds a really special touch to Easter surprises. These companies both have beautifully designed faith-filled stickers, cards, and other items that fit so nicely in Easter baskets. I highly recommend visiting these shops for very meaningful Easter treats!
You might also enjoy…
Paper Egg Craft

Gluten-Free Easter Cookies
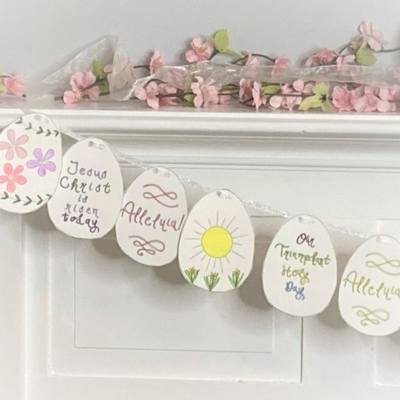
Easter Hymn Garland
Note: Some links on this page are Amazon Affiliate links. Sparkles and Sprinkles is a participant in the Amazon Associates Program, an affiliate advertising program designed to provide a means for sites to earn advertising fees by advertising and linking to Amazon.com.
Other links may or may not be affiliate links. We provide links because we have found these products or services beneficial, and we think you might too.


")