Lemon Poppy Seed Scones {paleo, grain-free, dairy-free, egg-free}
Looking for a lovely treat for Mother’s Day brunch or a springtime tea? These lemon poppy seed scones are delightful.
I made this recipe thinking of my mom, as one of her favorite things is lemon poppy seed cake. I got to make them for my parents on a recent visit, and they loved them. My dad asked, “Does Mom have this recipe?” Well, now she will, as soon as we publish this post 😊 I hope you’ll enjoy these delightful lemon scones, too!
")
Let’s make lemon scones!

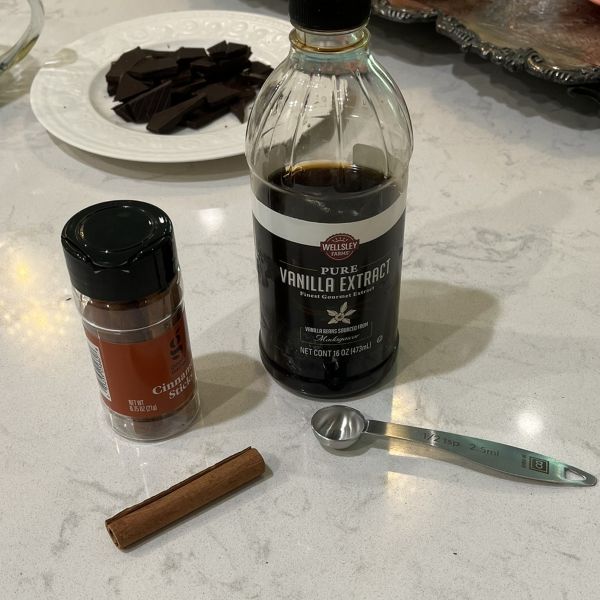
Gather your ingredients:
- 2 Tablespoons chia seeds mixed with 4 Tablespoons warm water
- 1/4 cup coconut flour
- 1/2 cup almond flour
- 3/4 cup light buckwheat flour*
- 2 teaspoons baking powder
- 1/2 teaspoon salt
- zest of one lemon
- 1 Tablespoon lemon juice
- 2 Tablespoons maple syrup (or 3 Tablespoons coconut sugar)
- 6 Tablespoons plant-based butter or coconut oil, melted
- 1 Tablespoon poppy seeds (optional)
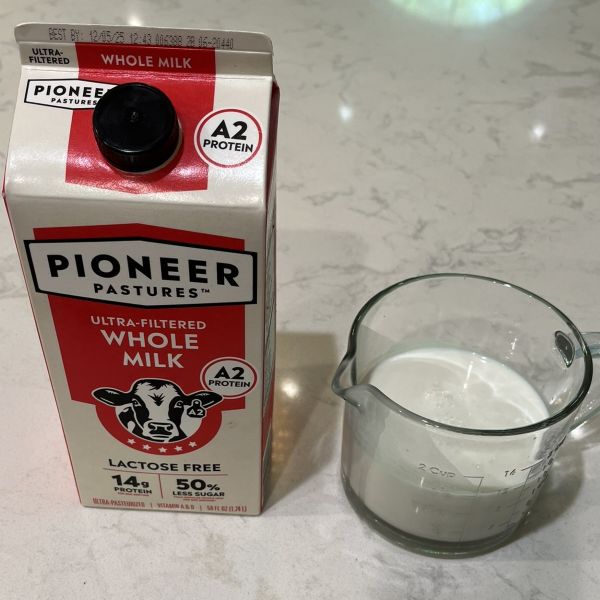
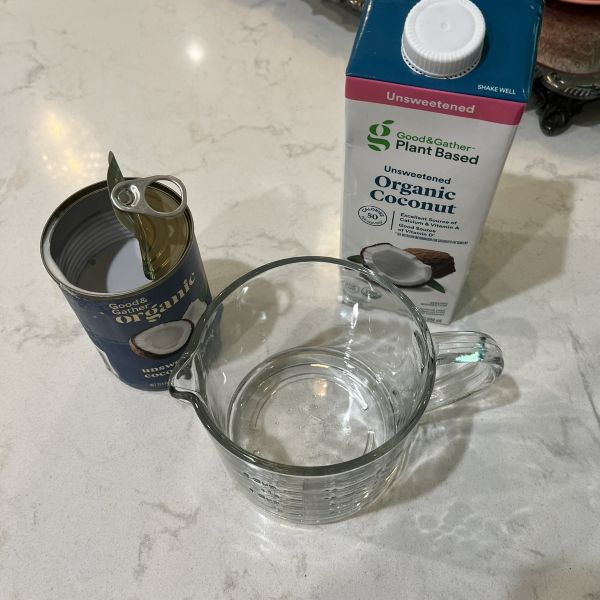
- 1/4 cup coconut milk or almond milk

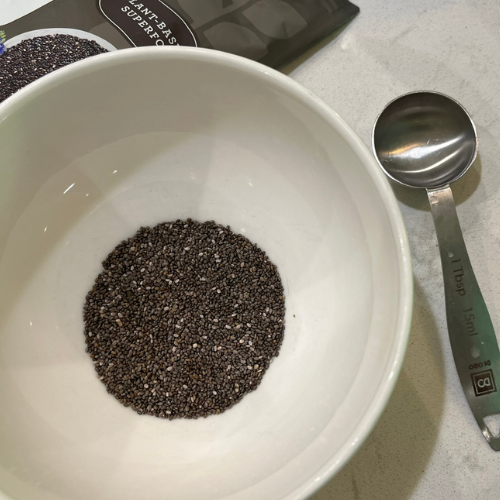
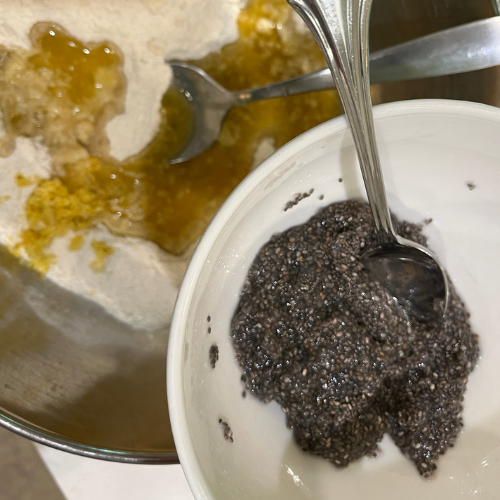
Step 1
Measure 2 Tablespoons chia seeds into a bowl or mug. Add 4 Tablespoons warm water to the chia seeds. (Water can be warmed in the microwave before adding it to the chia seeds.) Stir and let the chia seeds absorb the water as you work on the next steps.
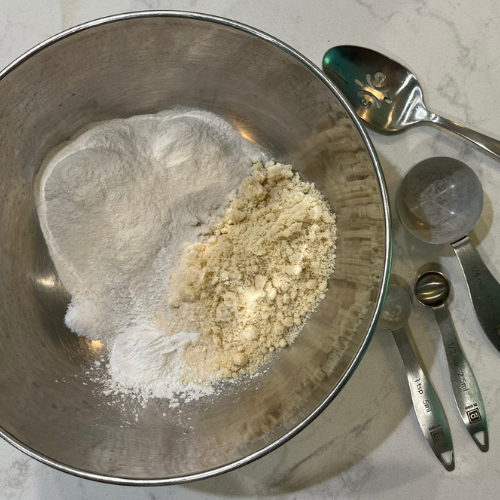
Step 2
Measure 1/4 cup coconut flour, 1/2 cup almond flour, 3/4 cup light buckwheat flour, 2 tsp. baking powder, and 1/2 tsp. salt into a large mixing bowl.
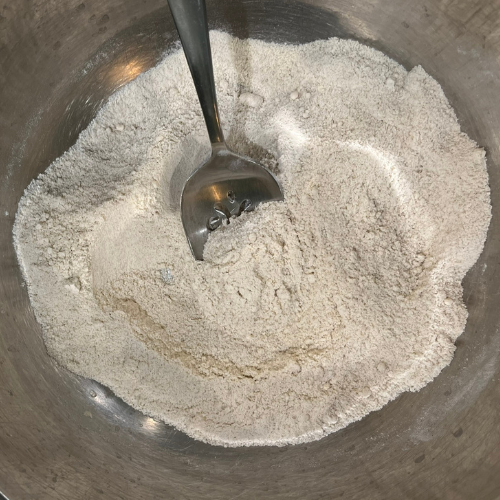
Step 3
Stir the dry ingredients until well combined.
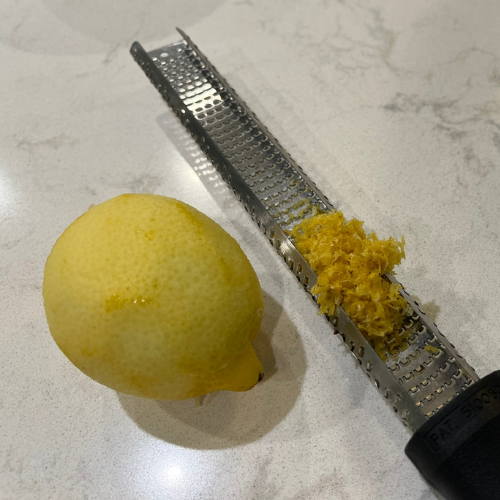
Step 4
Using a zester, zest the rind of one lemon.
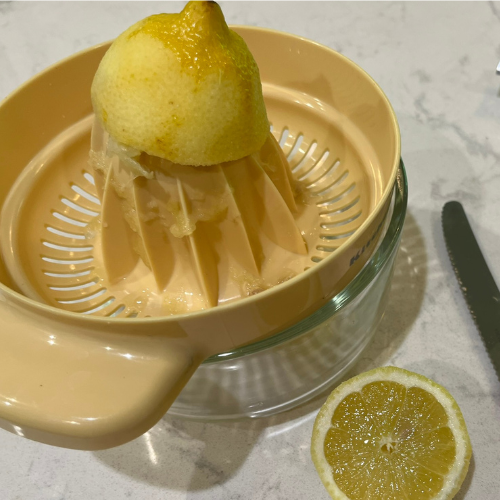
Step 5
Slice the lemon in half and juice the lemon (either using a juicer or simply squeezing the juice into a dish).
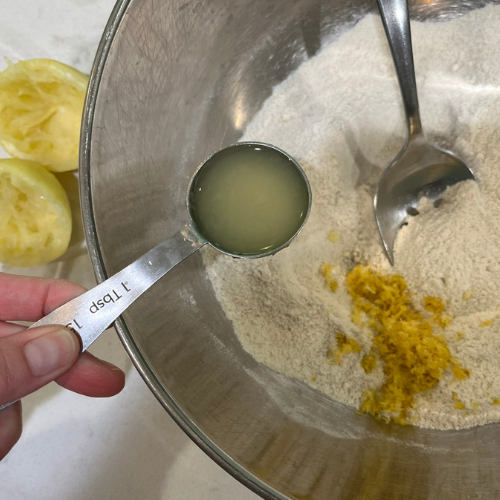
Step 6
Add the lemon zest and 1 Tbsp lemon juice to the dry ingredients.
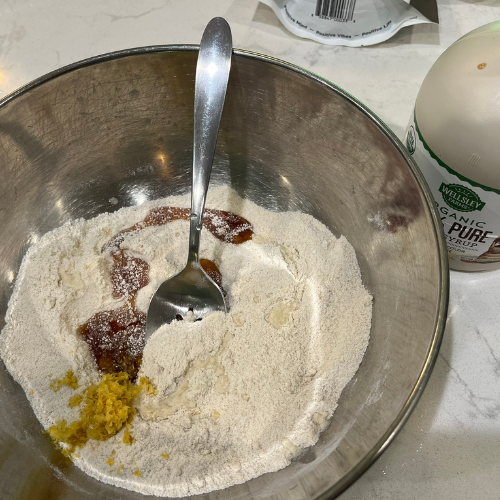
Step 7
Add 2 Tbsp maple syrup (or 3 Tbsp coconut sugar). For sweeter scones, add slightly more sweetener.
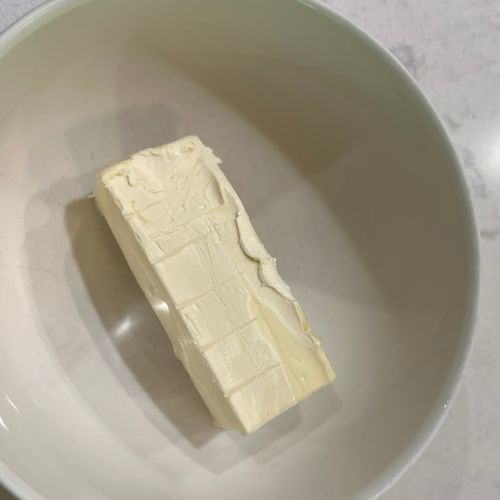
Step 8
Measure 6 Tbsp plant-based butter or coconut oil into a microwave safe bowl or dish.
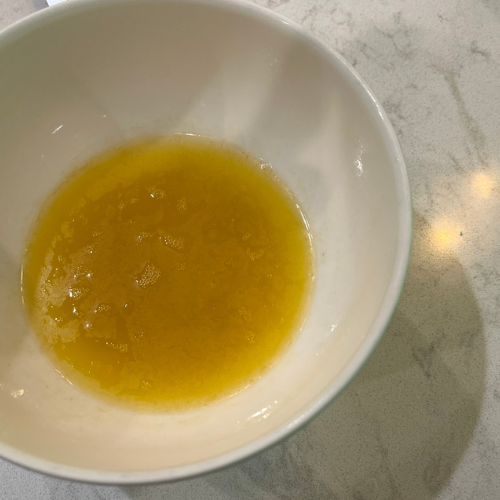
Step 9
Melt the butter or coconut oil (30 seconds in the microwave should be enough time).
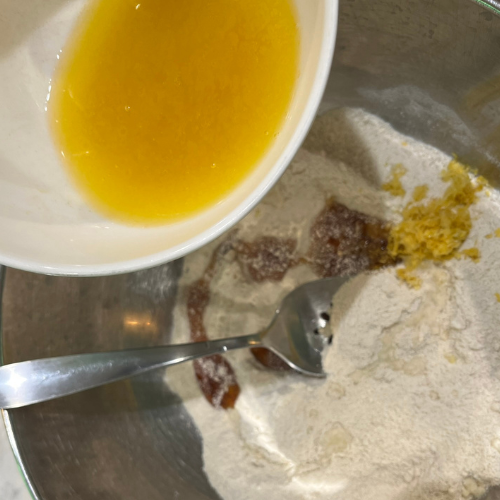
Step 10
Add the melted butter or oil to the mixture.
Step 11
Add the chia seed-water mixture to the mixing bowl.
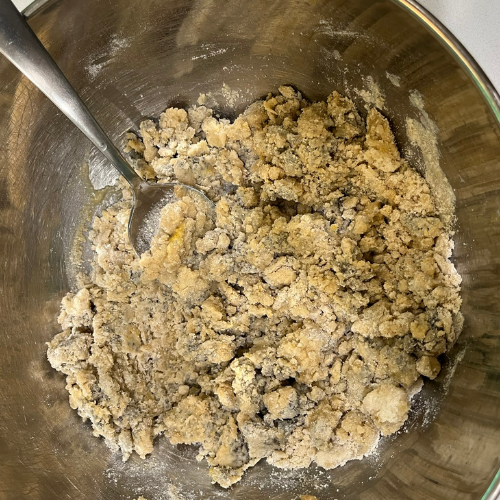
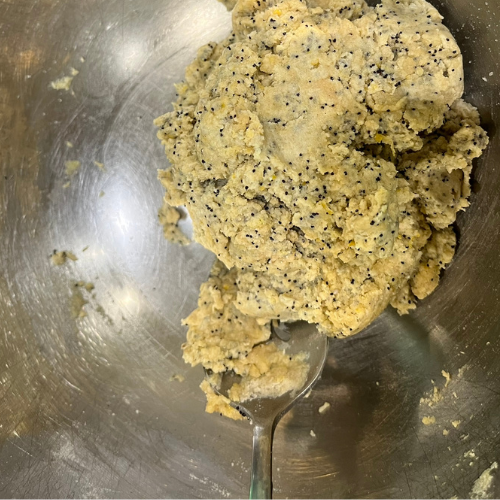
Step 12
Stir together all ingredients you have added to the mixing bowl. Mixture will be crumbly at this point.
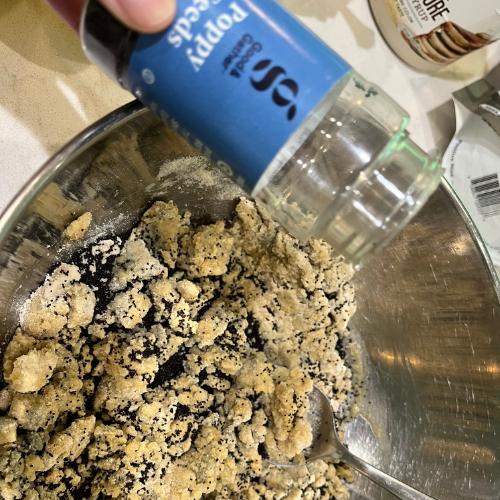
Step 13
Sprinkle 1 Tbsp poppy seeds over the dough.
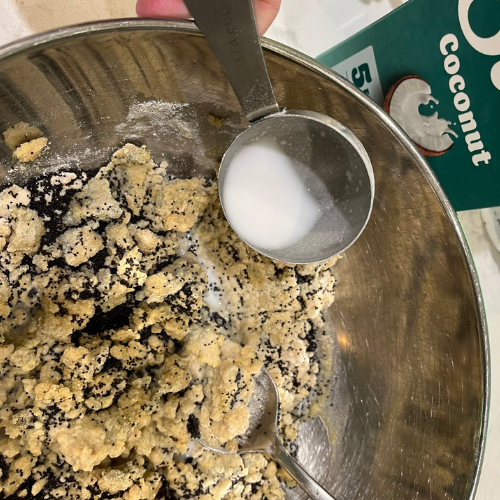
Step 14
Add 1/4 cup coconut or almond milk.
Step 15
Stir the mixture together until it begins to form a ball. Add a little extra milk if the mixture is too dry or a little extra light buckwheat if the mixture is too moist.
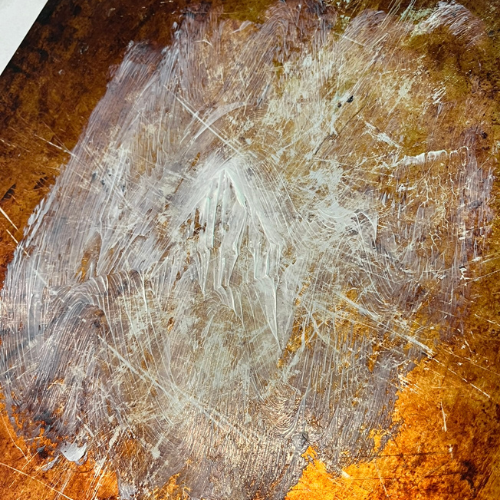
Step 16
Grease a baking sheet or line a baking sheet with parchment paper.
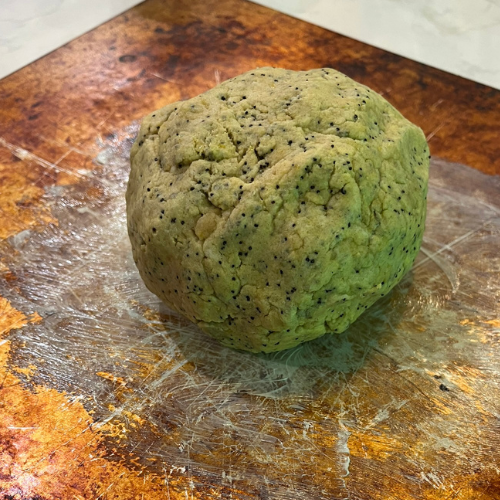
Step 17
Kneed the dough and form it into a ball. Place the ball on the baking sheet.
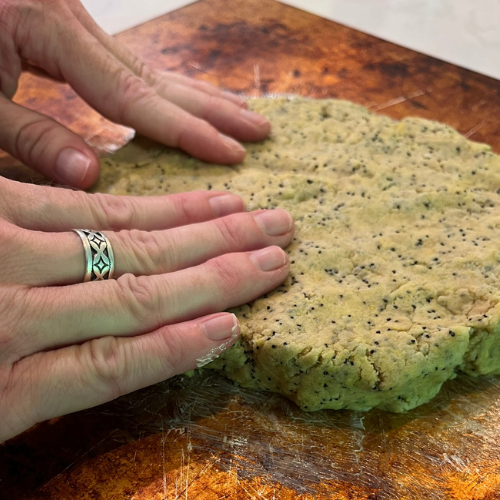
Step 18
Pat down the ball of dough into a flat circle, about 1 inch thick.
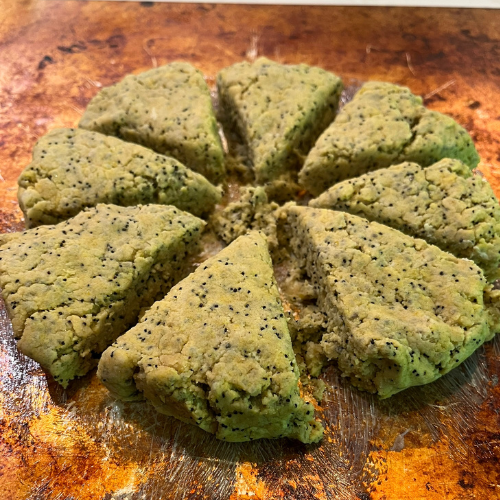
Step 19
Use a table knife to cut the circle of dough into 8 pieces. Slide the pieces apart slightly on the pan.
Step 20
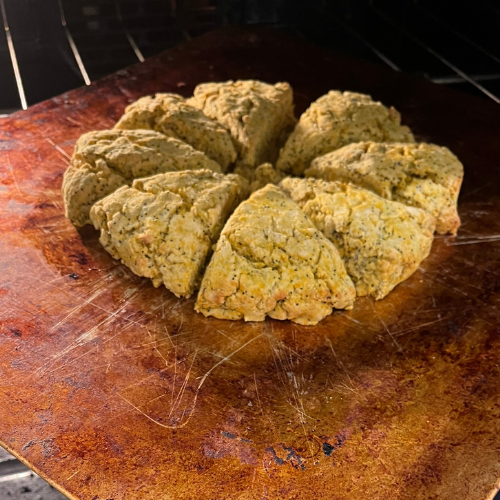
Bake in pre-heated 400 degree F oven for 12 minutes or until slightly golden brown.

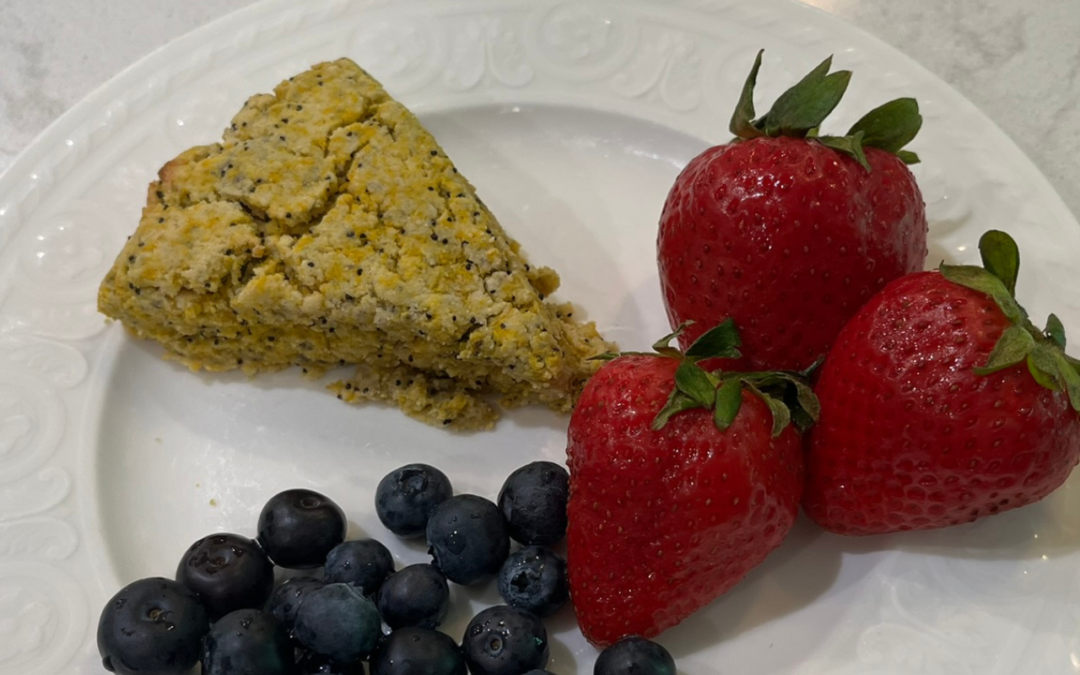
Step 21
Let scones cool slightly and serve. Serve with some fresh fruit for a tea time, and perhaps some eggs, sausage, or yogurt for a brunch. Enjoy!
Some extra notes:
1. We get our light buckwheat flour from Bouchard Family Farms. It is certified gluten-free. This is not the same as the dark buckwheat flour that is typically found in the grocery store. Light buckwheat flour has a very mild flavor. There are many recipes on our blog that use light buckwheat flour, so once you order some, you can find plenty of recipe ideas here! Our family typically goes through about 20 bags of light buckwheat from Bouchard Family farms each year – it’s that good. Here are some links to some other recipes on our blog with light buckwheat flour: crepes, muffins/cupcakes, cookies, and pizza crust.
2. The scones are delightful fresh from the oven, but they also freeze well. Once you’ve made the recipe a few times it can be quick enough to make on a weekday morning, but if you double the batch and freeze some, they can be quickly heated in the microwave or oven for an especially quick breakfast.
Enjoy!
Note: Some links on this page are Amazon Affiliate links. Sparkles and Sprinkles is a participant in the Amazon Associates Program, an affiliate advertising program designed to provide a means for sites to earn advertising fees by advertising and linking to Amazon.com.
Other links may or may not be affiliate links. We provide links because we have found these products or services beneficial, and we think you might too.


")