Growing in Lent

Growing in Lent

We are starting a new Lenten tradition this year… growing our own Easter grass! 

“Behold, I make all things new.”

I had the chance to talk with some dear friends the other day about Lenten traditions.  I shared that one of our favorite things to do is the Lenten Path from Catholic Icing.  It is a beautiful way to visualize the days of Lent and also to think of special sacrifices and prayers for each day.

We are planning to do the Lenten Path this year again, but we are also excited to add a new tradition… growing our own Easter grass in an Easter basket.  My friend who shared this fun idea said that she and her family plant the seeds on Ash Wednesday, and by Easter time the grass should be nicely growing.  I’m not a very prompt person, so luckily, from what I have read, even if you start the seeds at least a couple weeks before Easter, you should still have some beautiful Easter grass by Easter.

Easter grass

Not only is planting grass seeds in an Easter basket a super fun activity, it can also be a beautiful symbol of how the purpose of Lent is really to help us to grow in God’s love.  

I make all things new
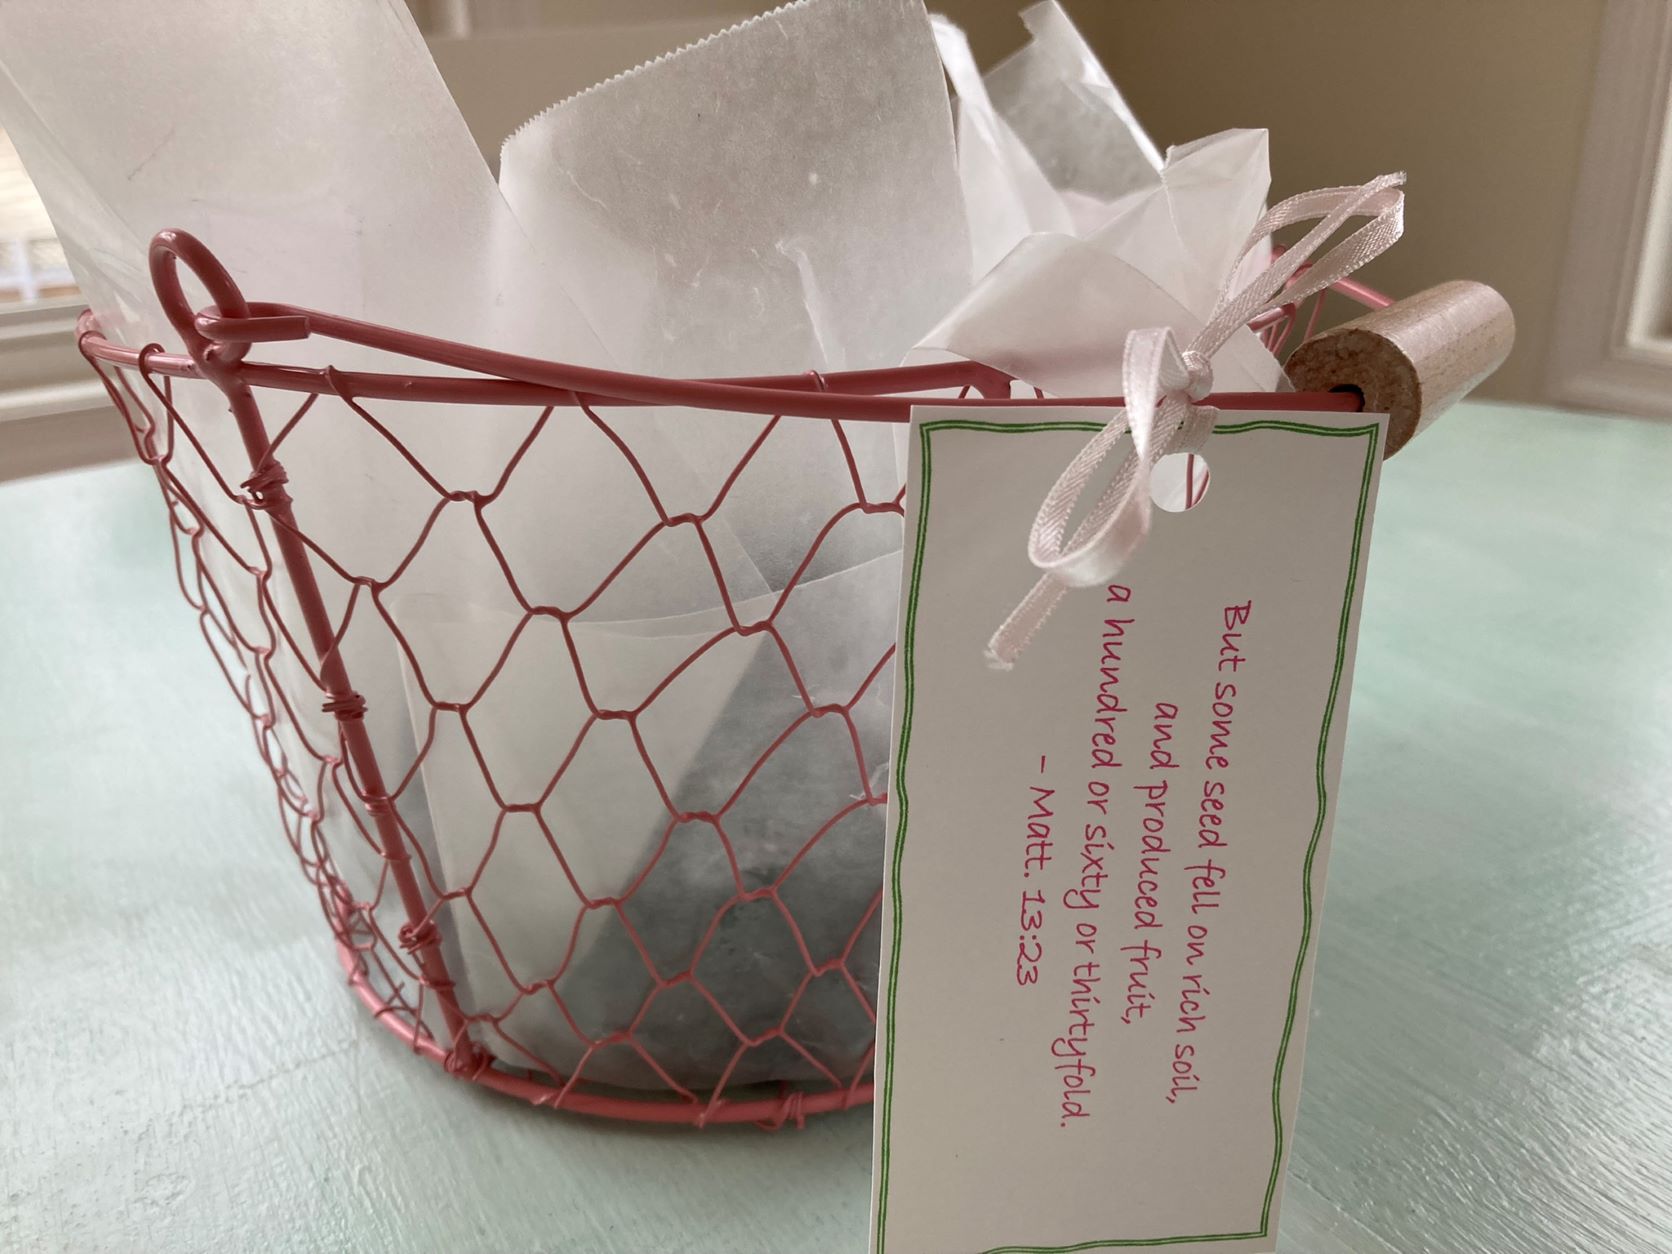
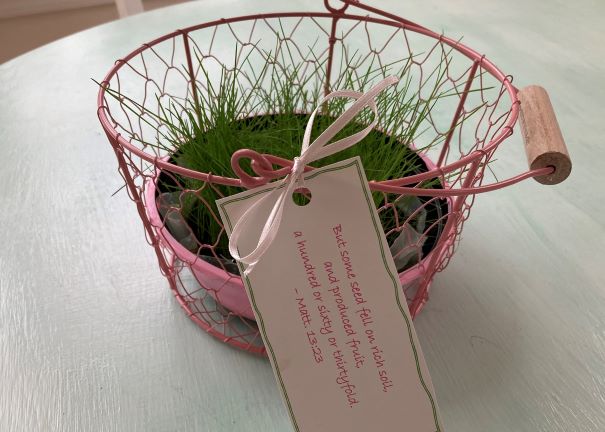
Easter basket scripture tag
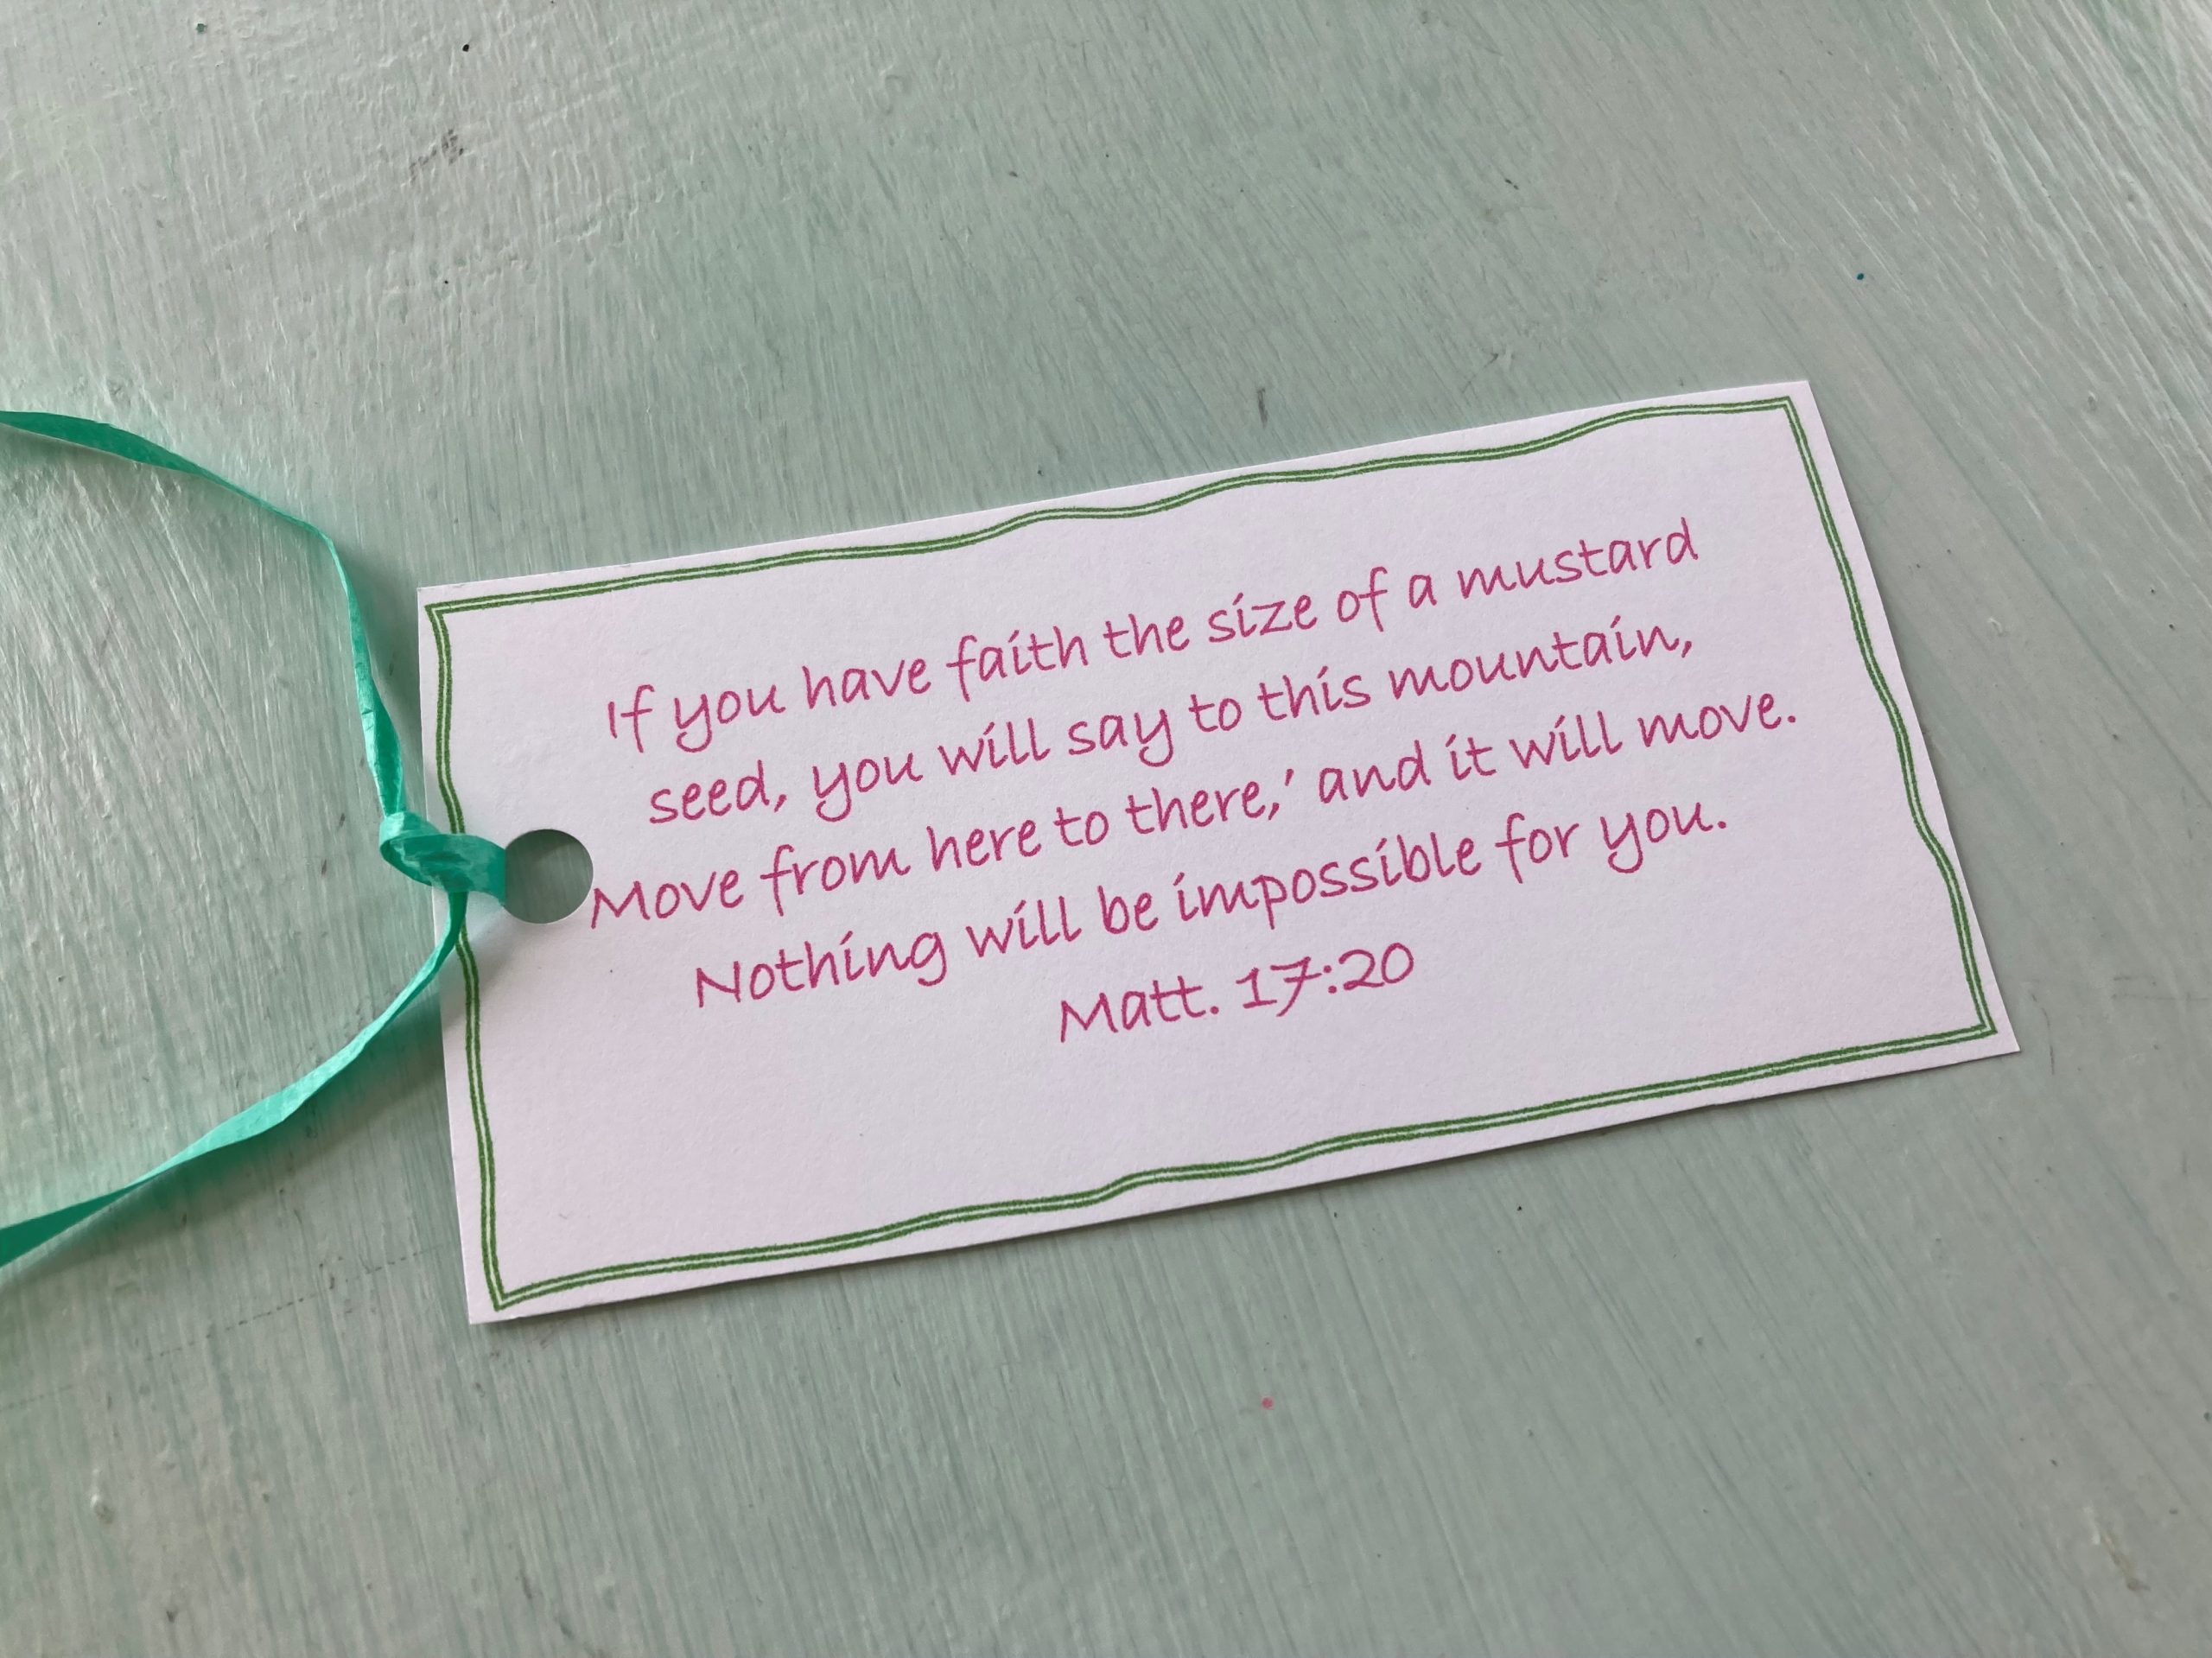
faith the size of a mustard seed quote

We created this free printable for you with tags you can attatch to your grass growing baskets.  Each tag has a beautiful scripture passage about growing and seeds.  There is also a blank tag if you want to add your own phrase (like “Grow in God’s love!”) or perhaps the name of your child.
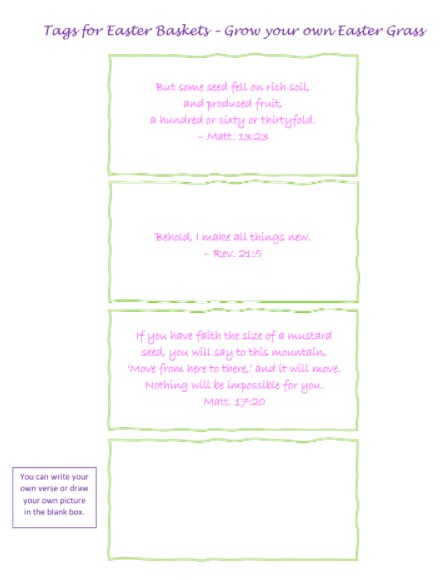
scripture basket tags

We took advantage of some unseasonably warm weather over the weekend and planted our seeds in Easter baskets outside.

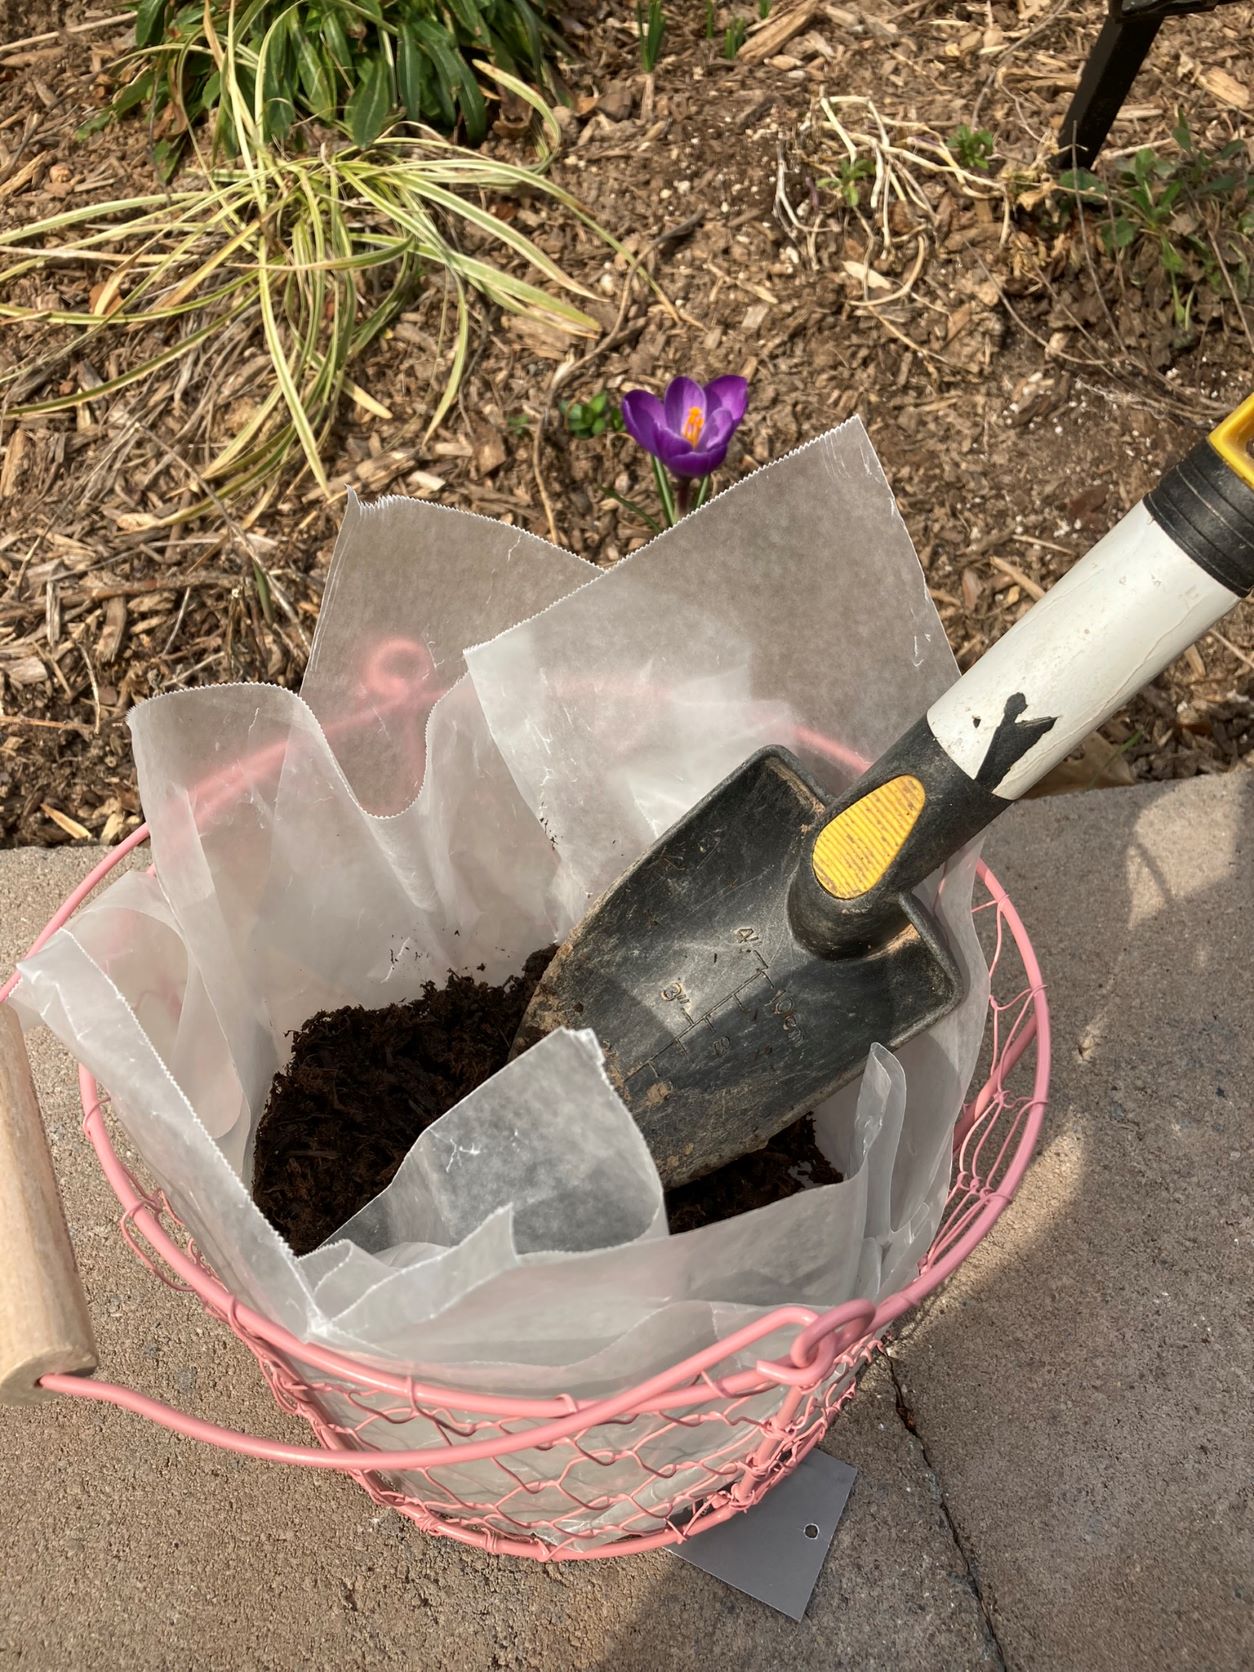
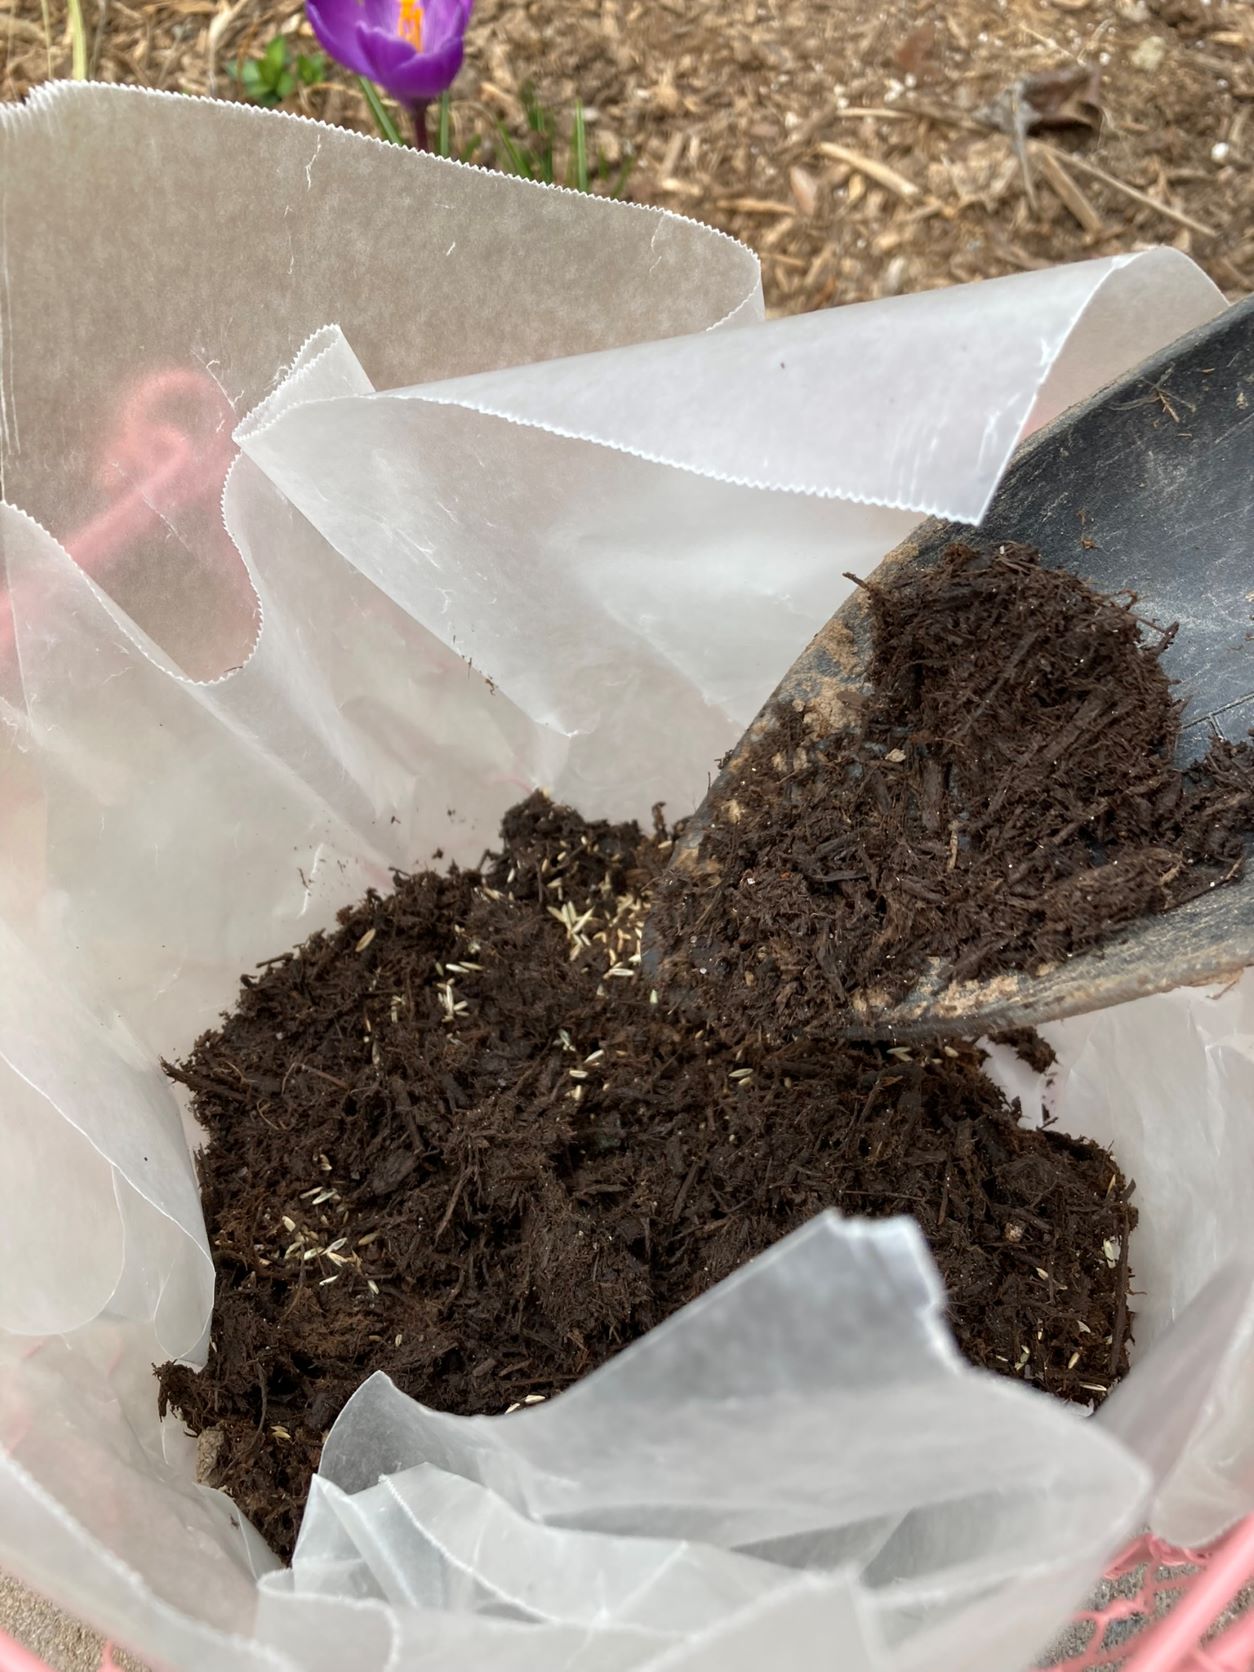
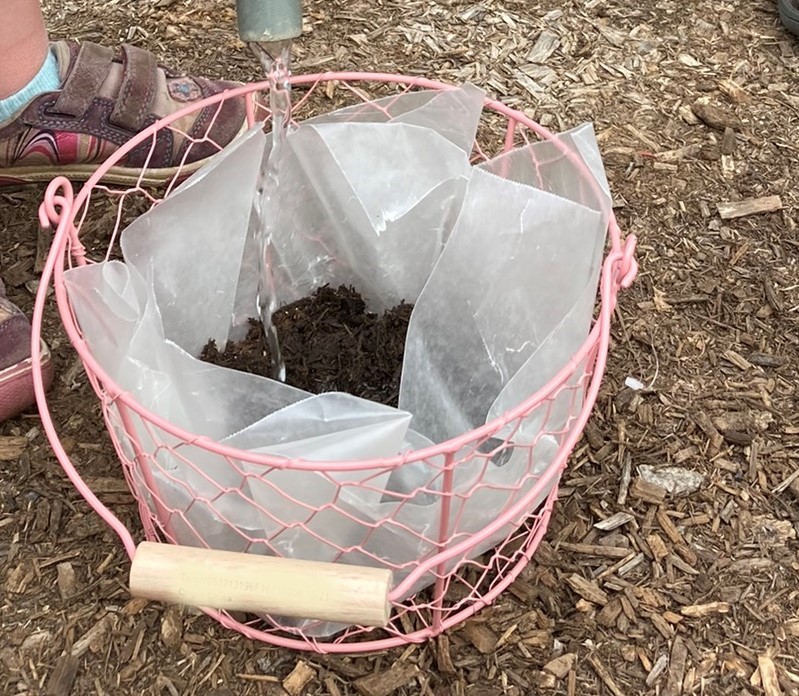
We lined our baskets with waxed paper* (as suggested on a blog we read, but you can also use a plant saucer that fits your basket).  Then we filled the baskets with about an inch of soil, sprinkled the seeds, covered the seeds with a bit more soil, and watered the seeds.

*Update:  We wondered if waxed paper would really hold up.  For us, it held up for about 2 weeks, then it started to leak when we watered the grass.  We would not recommend using waxed paper, unless you are going to have the grass in the basket for fewer than 2 weeks.  When we noticed the leaking, we ended up transferring the grass and soil to plastic take-out containers that happened to fit nicely into our baskets (we painted the containers with acrylic paint, so they would match the baskets).

easter basket grass
grass seeds in basket
easter basket grass
seeds covered with soil
watering seeds

Watering the seeds can be a great opportunity to talk about how God showers us with His graces to help us to grow in His love.

Growing Easter grass in a basket

After only a week of growing the grass inside a sunny room in our home, our grass is about 5 inches high. (It can be trimmed if it gets too long before Easter.)

easter basket with natural grass

Update: The waxed paper liner only held up for about 2 weeks. We transferred our grass and soil to a plastic take-out container (painted with acrylic paint to match) to avoid leaking.

We are not experts on the details of how to plant and care for this Easter grass, so we followed the suggestions from these two blogs:

Do you want to explore more about seeds and growing?  We’ve enjoyed these two books…

We are currently studying the early AD times, and enjoying this book:  Who is Jesus?  His Life, His Land, His Time.  We recently read a passage about the mustard seed… and that the mustard plant can grow to about 10 feet tall!  We are thinking we might plant a mustard seed this summer… what a great way to bring Scripture to life!

If you are looking for a simple book about seeds, we love this beautifully illustrated book about seeds:  Plant Secrets by Emily Goodman.

Have you grown Easter grass before?  Or are you going to give it try this year?  We would love it if you want to share your ideas!  Please submit a comment in the form below.

May God bless you and your family on your Lenten journey!

Note:  Some links on this page are Amazon Affiliate links.  Sparkles and Sprinkles is a participant in the Amazon Associates Program, an affiliate advertising program designed to provide a means for sites to earn advertising fees by advertising and linking to Amazon.com.

Other links may or may not be affiliate links.  We provide links because we have found these products or services beneficial, and we think you might too.

DIY Stickers (plus Youtube tutorial)

DIY Stickers (plus Youtube tutorial)

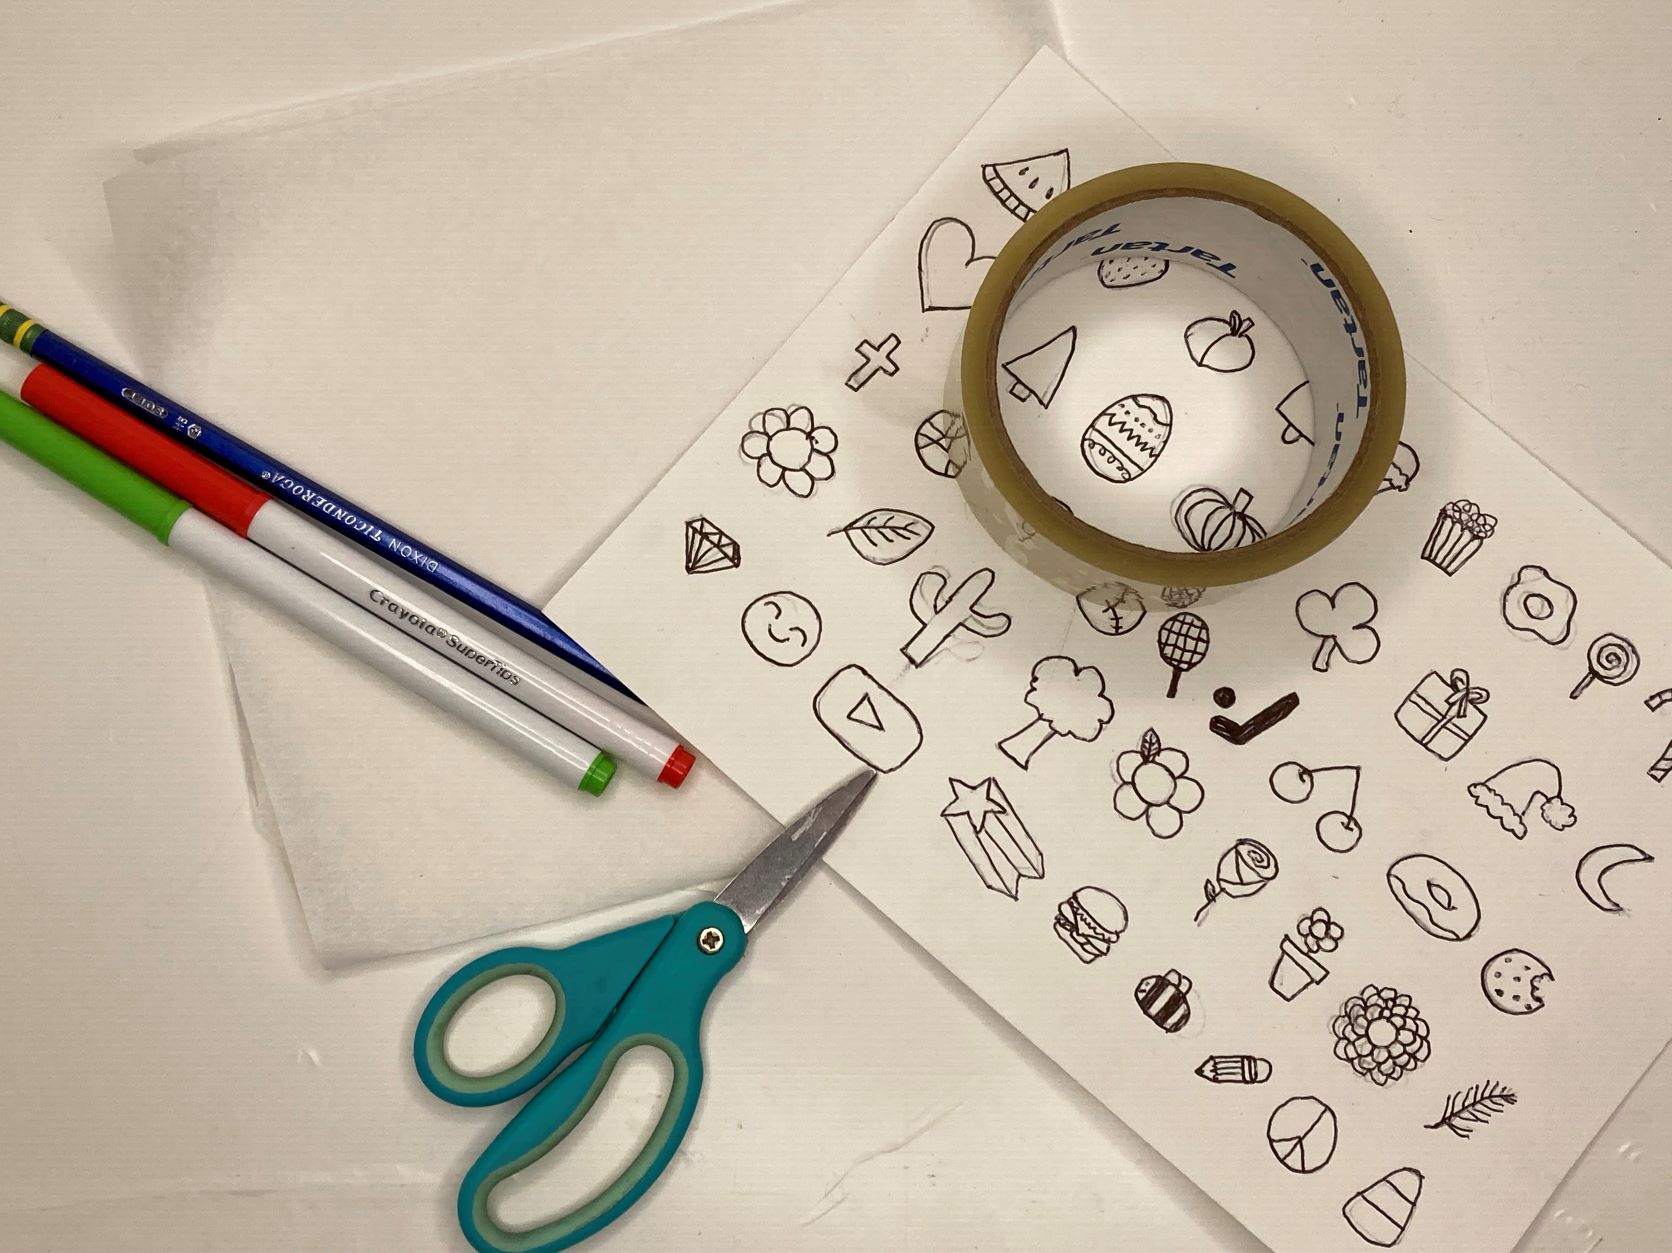
Want to make your own stickers? Come watch our latest Youtube tutorial on how to make these fun and super easy DIY stickers! You can draw your own designs, or download our free pdf printable to get started.

(Please scroll down to get your free printable.)

Supplies: clear packing tape, scissors, paper (or our printable), non-stick parchment paper (the baking type), pen or pencil, and markers or colored pencils.
diy sticker supplies
Watch our quick Youtube tutorial and have fun making your very own stickers!
Click on the image below to get your free pdf sticker printable.
diy sticker page
Knit a doll hat!  Yes you really CAN!

Knit a doll hat! Yes you really CAN!

Does knitting a hat sound daunting?  Normally it would have to us too… but not anymore!  I don’t really know how to knit, but I have tried to teach myself at times and to teach my children.  We have never gotten too far and have a number of half-knit projects in our knitting supply bin.

I was so delighted, though, this past month when my 7 year old daughter picked up a round knitting loom that we had in our bin and said she wanted to knit something.  I happened to have the time to sit down with her and start knitting.  She caught on really fast!  It is so much easier than a pair of knitting needles!   

The knitting looms (24 peg or 12 peg) we used came with directions.  However, we found this tutorial from The Sweetest Journey to be very helpful to get started.  We found chunky yarn worked well for this project and makes a nice cozy hat.

american girl doll knit hat

In this post we have measurement suggestions for you to make a baby doll hat and a hat for an American Girl size doll (or a larger baby doll).  We have found that for younger children, or children with limited patience, starting with the smaller 12 peg loom project is better (it takes quite a bit less time, and children can quickly have the joy of completing a project!).  We used a 12 peg loom for the hat that this sweet little baby doll is wearing.

baby doll with knit hat

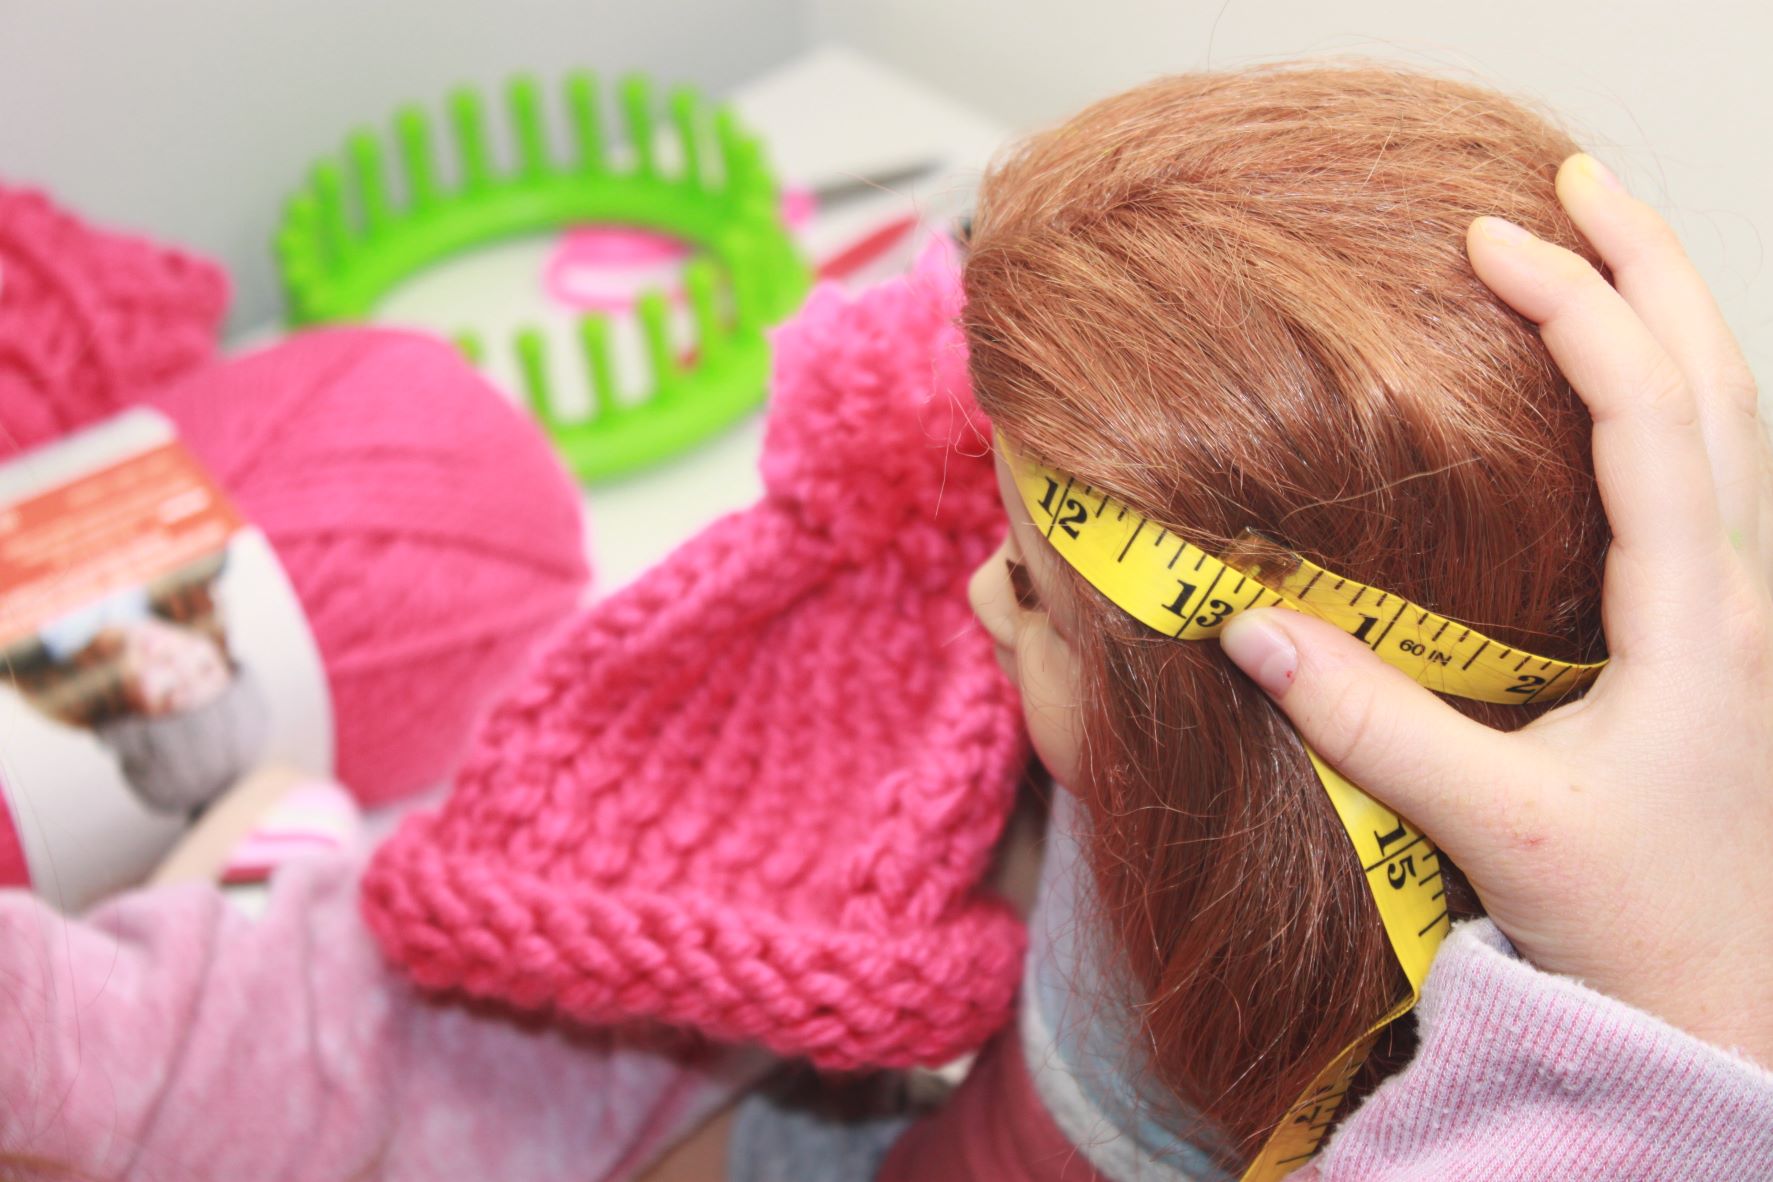
To determine which loom size to use, you can measure the circumference of your doll’s head.

measurement for american girl doll hat

For an American Girl doll size (13 inch head circumference), we found a 24 peg round loom works well.

baby doll head measurement

For a baby doll with a small head (10 inch circumference), we found a 12 peg loom works well.

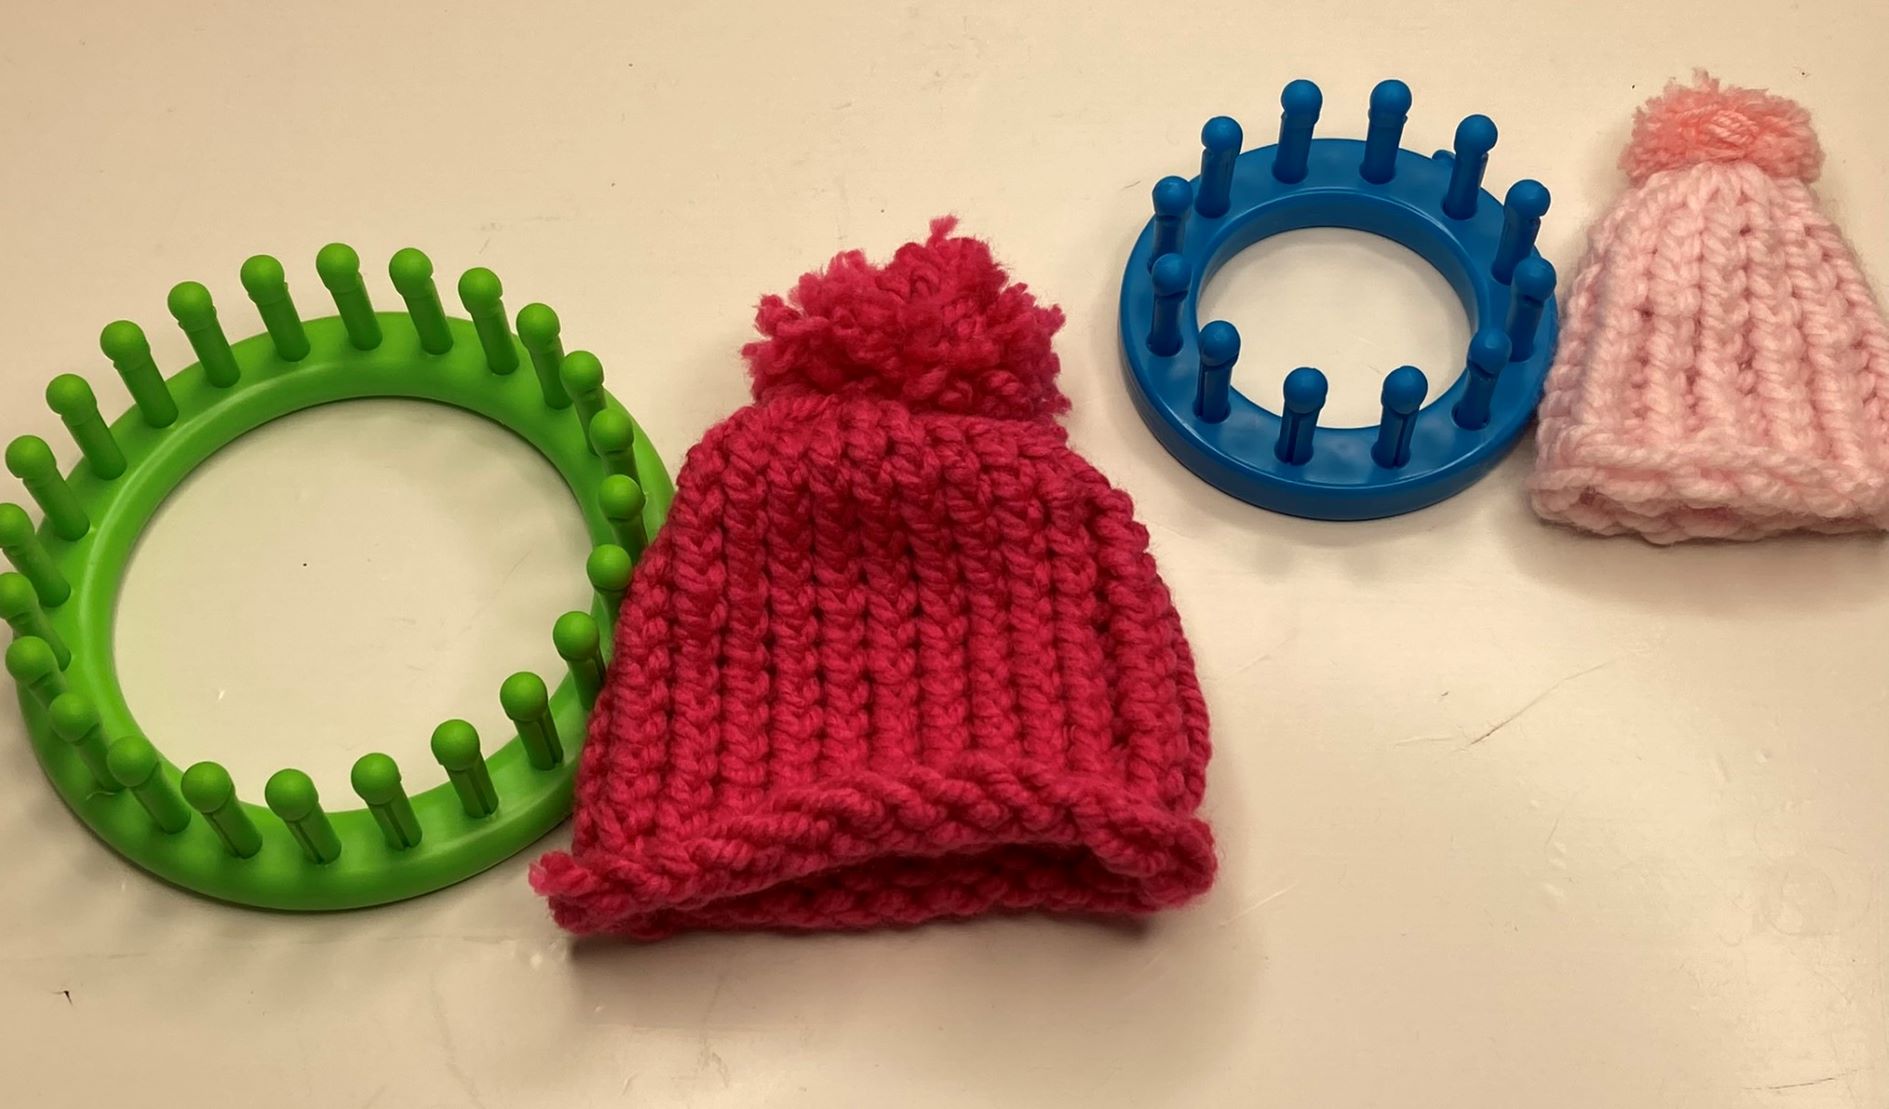
24 peg loom 12 peg loom doll hat

This photo shows a 24 peg loom for American Girl doll size hat, and a 12 peg loom for small baby doll size hat.

hat finish measure

After knitting a number of rows, you can periodically check the length of your knitting. Before taking the knitting off the loom, it should be 5 to 6 inches in length for American Girl doll size (or about 4 to 5 inches in length for small baby doll size). If you want to be able to roll the hat up at the bottom, choose the longer measurements (we chose the shorter measurements for the hats pictured here). Be sure to follow the directions in the tutorial suggested above on how to remove the knitting from the loom and secure the top of the hat.

We suggest the following loom options (these also come with a knitting tool for taking the yarn over the pegs and a large yarn needle for finishing the hat):

We think chunky yarn is nice for these hats.  We used Bernat Softee Chunky for the hats pictured here.  It comes in a nice variety of colors.

We found the tutorial at The Sweetest Journey to clearly show how to make a hat.  You can find that tutorial by clicking here.

You will also need a pair of scissors to complete this project.

We’ve become big fans of Lita Judge books ever since taking a writers workshop class she led through Read Aloud Revival.  We love how she described that writing and reading did not come easily to her as a child, but that did not stop her from becoming a great author and illustrator!  When we read Red Hat the other day, we could not resist adding it to our doll hat knitting post.  

Red Hat is probably even more meaningful and fun to read if read after reading Red Sled.  It seems to take place in the spring, following the winter of Red Sled.
Both of these books are great for young children and/or children who may struggle to read.  There are very few words, and a lot of room for imagination!  Our 7 year old daughter even found a sweet lesson in the book:  Don’t get discouraged if something upsetting happens, you can probably fix the problem and make things better.

Wishing you and your children a peaceful knitting time together!  Enjoy!

Note:  Some links on this page are Amazon Affiliate links.  Sparkles and Sprinkles is a participant in the Amazon Associates Program, an affiliate advertising program designed to provide a means for sites to earn advertising fees by advertising and linking to Amazon.com.

Other links may or may not be affiliate links.  We provide links because we have found these products or services beneficial, and we think you might too.
Microwave mug muffins! Super easy to make!

Microwave mug muffins! Super easy to make!

This recipe could be called, “Where there is a will, there is a way mug muffins” or “Necessity is the mother of invention cake.”  But those names are quite a mouthful!  Eating gluten-free and low sugar often means that good packaged foods are either hard to come by or quite expensive.  Since our daughters often can’t grab something packaged when they are looking for a snack, they made up this mug cake all on their own, and they love it!

It’s really something a child as young as 5 could make without any help (or maybe just a little guidance).  There are no eggs to crack and no oven to preheat.  Simply mix the ingredients together and pop the mug in the microwave for a minute or two.  Let it cool for a few minutes, and enjoy!   Yum!

We recommend using a porcelain mug or dish.  Porcelain tends to allow the heat to go directly to the food, whereas a stoneware mug can absorb more of the heat from the microwave (leading to longer cooking times) and become very hot to the touch.

One of our daughters likes to sweeten hers with honey, and she calls it a “honey puff,” as it puffs up nicely when it cooks.  Another daughter likes to add cocoa powder to hers for a brownie-style mug cake.

Do your children like to be creative in the kitchen?

Announcing our first ever

BAKING CONTEST! 

(Yes, there will be prizes!)

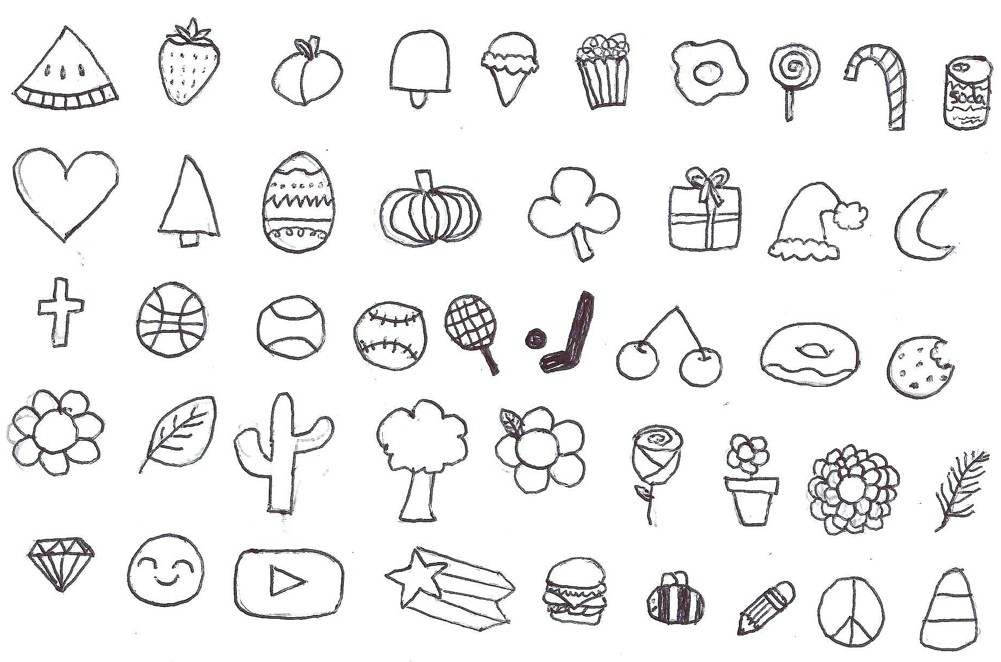
Experiment with this recipe by adding new fun flavors (like cinnamon or almond extract) or ingredients (like berries or chocolate chips), then submit your recipe and photo of your mug cake for a chance to win a fun prize!  Click here to find out more.

This mug cake recipe is really flexible.  In fact, our girls had never really measured the ingredients before, so we had to backtrack and figure out what quantities of ingredients they were actually using.  So if you think it needs a little more maple syrup for a sweeter taste, or a little less milk and a little more butter for a richer taste, go for it!

However, the key to making this work is using equal parts almond flour and light buckwheat flour.  We decided to experiment for you to see if we could just use almond flour or use a combo of almond flour and coconut flour, and rather than forming a beautiful cake, the ingredients just exploded out of the cup (yikes!), so please use equal parts light buckwheat and almond flour when you make this mug cake. 

You can find light buckwheat flour on Amazon or you can order it in bulk for a discounted price directly from Bouchard Family Farms.  If you want to read the story of how we came to know and love buckwheat, click here.  We have tried a variety of brands of almond flour, one we like is Anthony’s almond flour (but almond flour is pretty easy to find at most grocery stores too).  And now…  it’s time to make a yummy snack!

Let’s make a mug cake!

mug cake ingredients

Gather your ingredients:

  • Butter
  • Almond flour
  • LIGHT Buckwheat flour
  • Baking powder
  • Vanilla extract
  • Greek yogurt
  • Almond milk
  • Sweeter of your choice (maple syrup, honey or sweet leaf)

Optional:

  • Cocoa powder
  • Other flavorings/additional ingredients of your choice


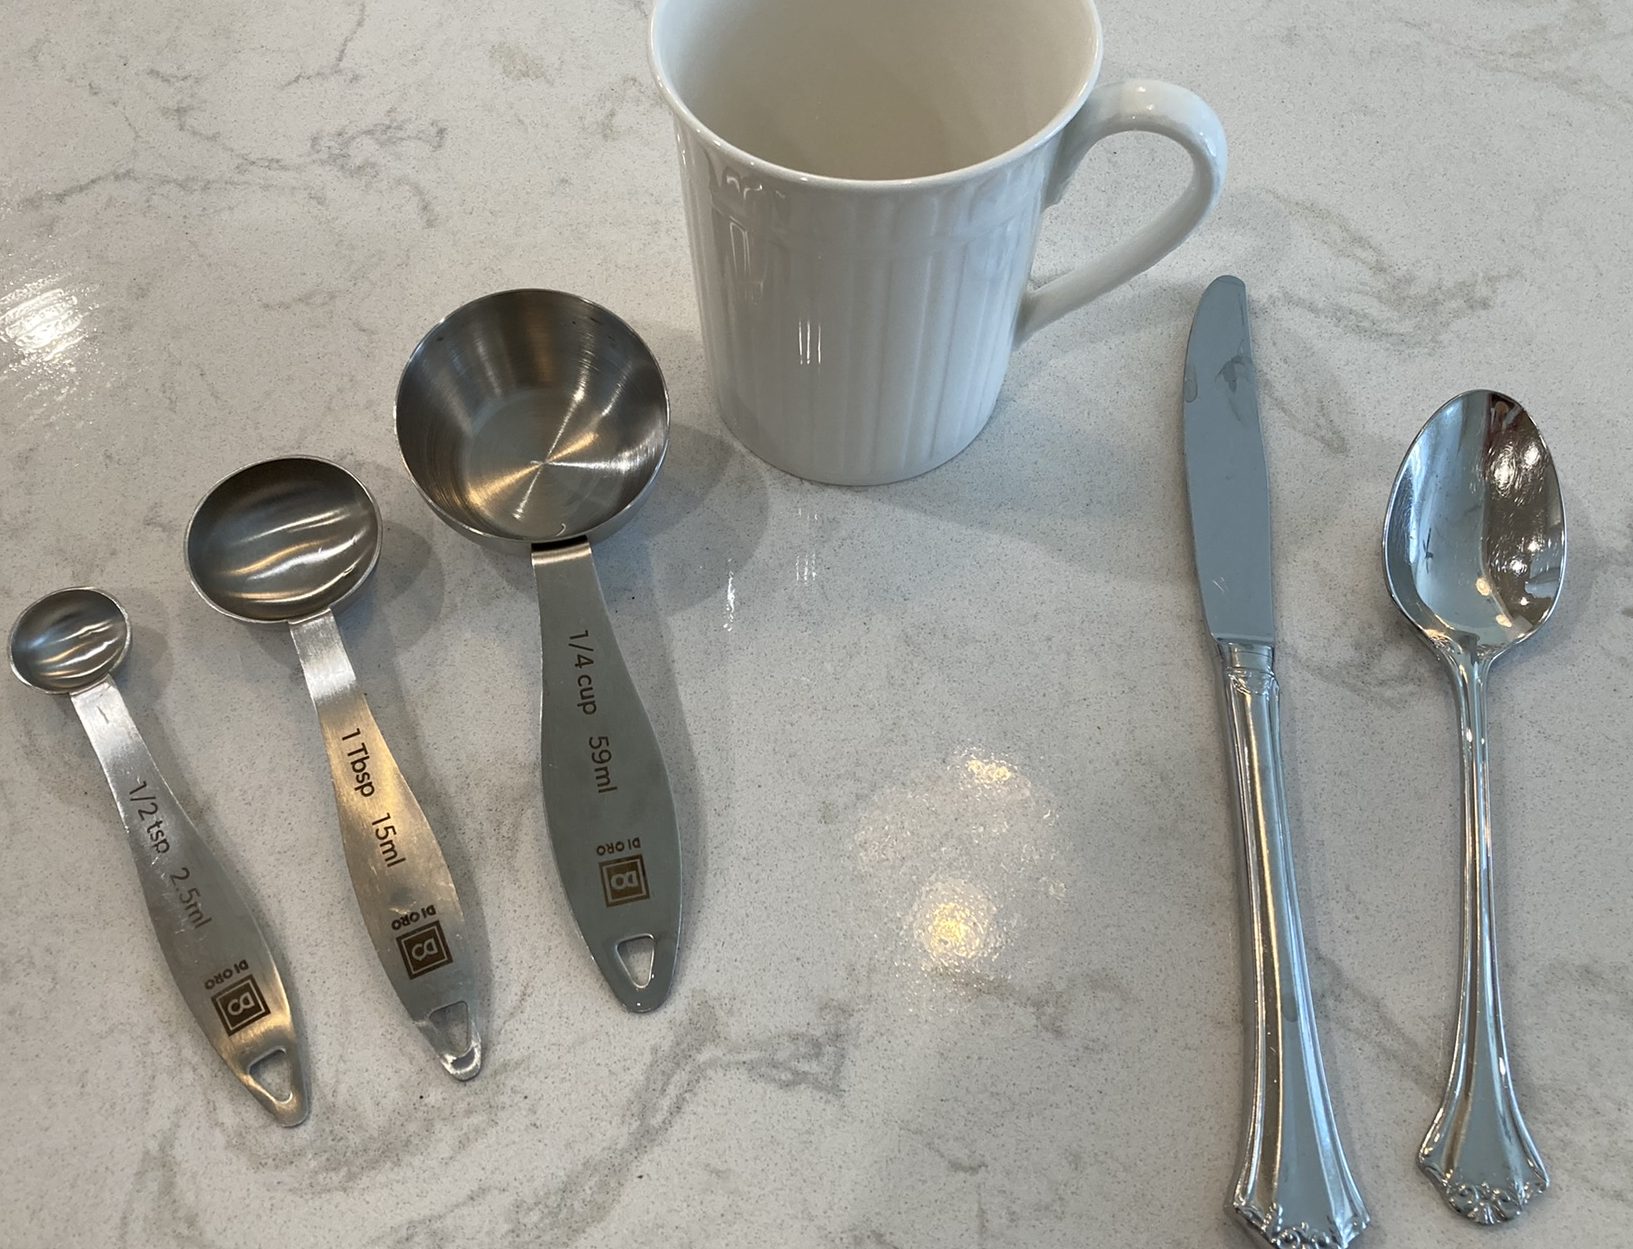
Gather your kitchen supplies:

  • 1/2 tsp 
  • 1 Tbsp
  • 1/4 cup
  • large spoon
  • microwave safe mug, bowl, or ramekin
  • butter knife
  • stirring spoon


measuring spoons and mug

Get ready for a yummy treat!

butter

Step 1

Slice 1 Tbsp of butter (use the lines on the butter wrapper to help you).

butter in mug

Step 2

Place the butter in the mug.

mug in microwave

Step 3

Place the mug in the microwave until the butter is melted (about 30 seconds).

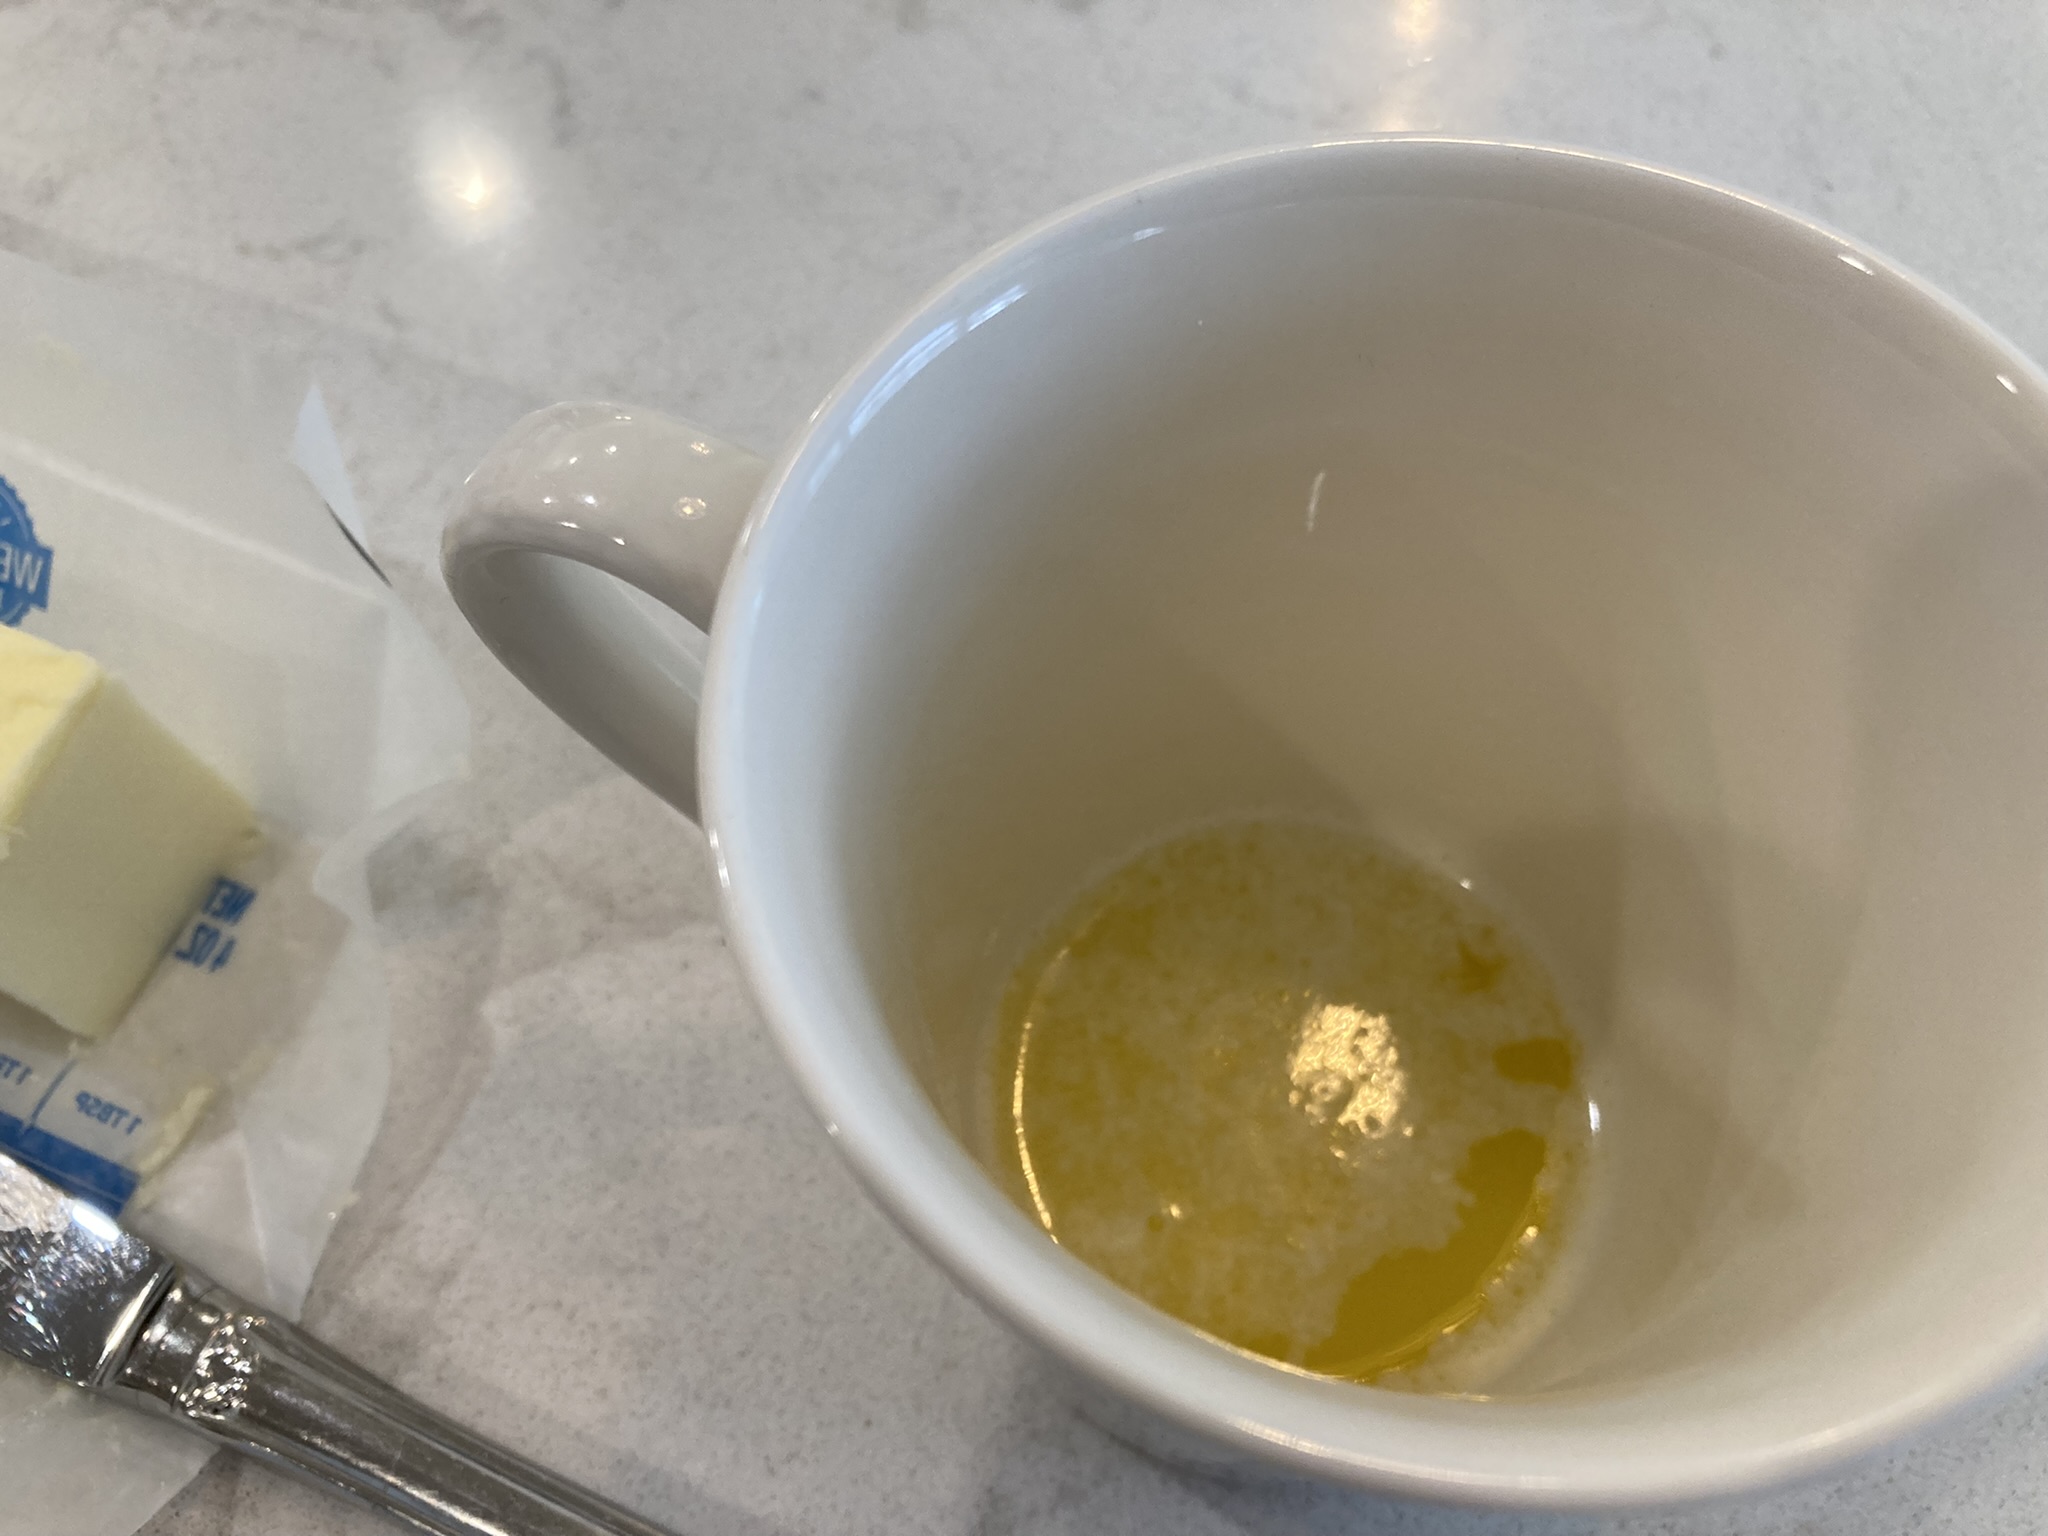
melted butter

Step 4

Take the mug with the melted butter out of the microwave and set it on the counter.

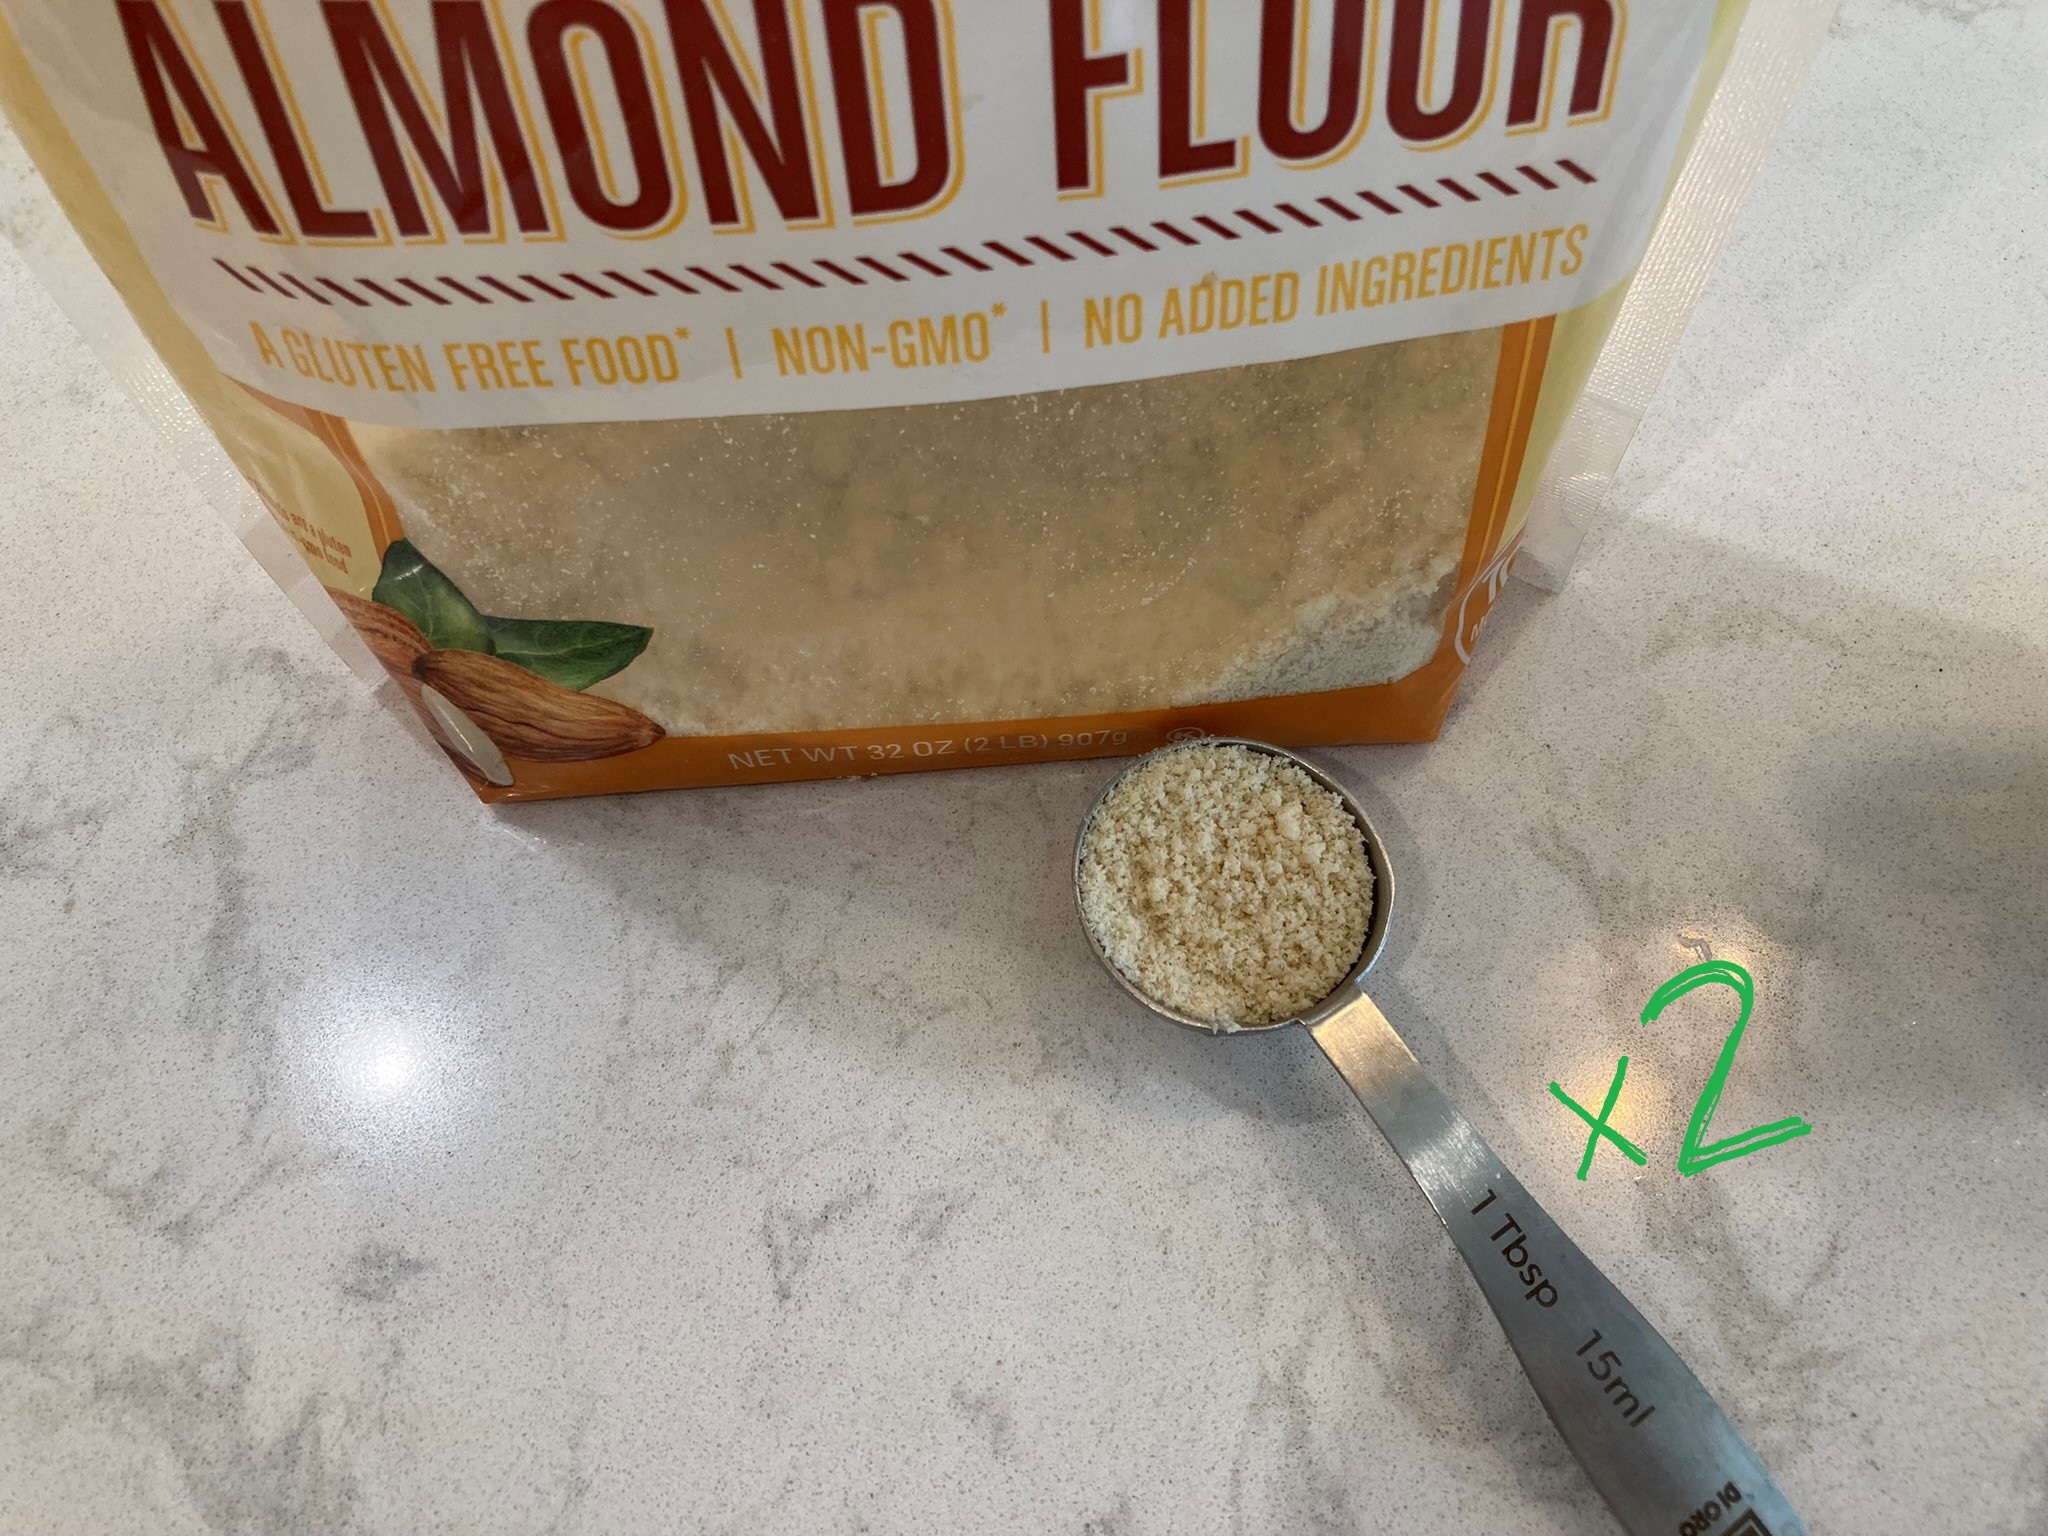
almond flour

Step 5

Measure 2 Tablespoons of almond flour.

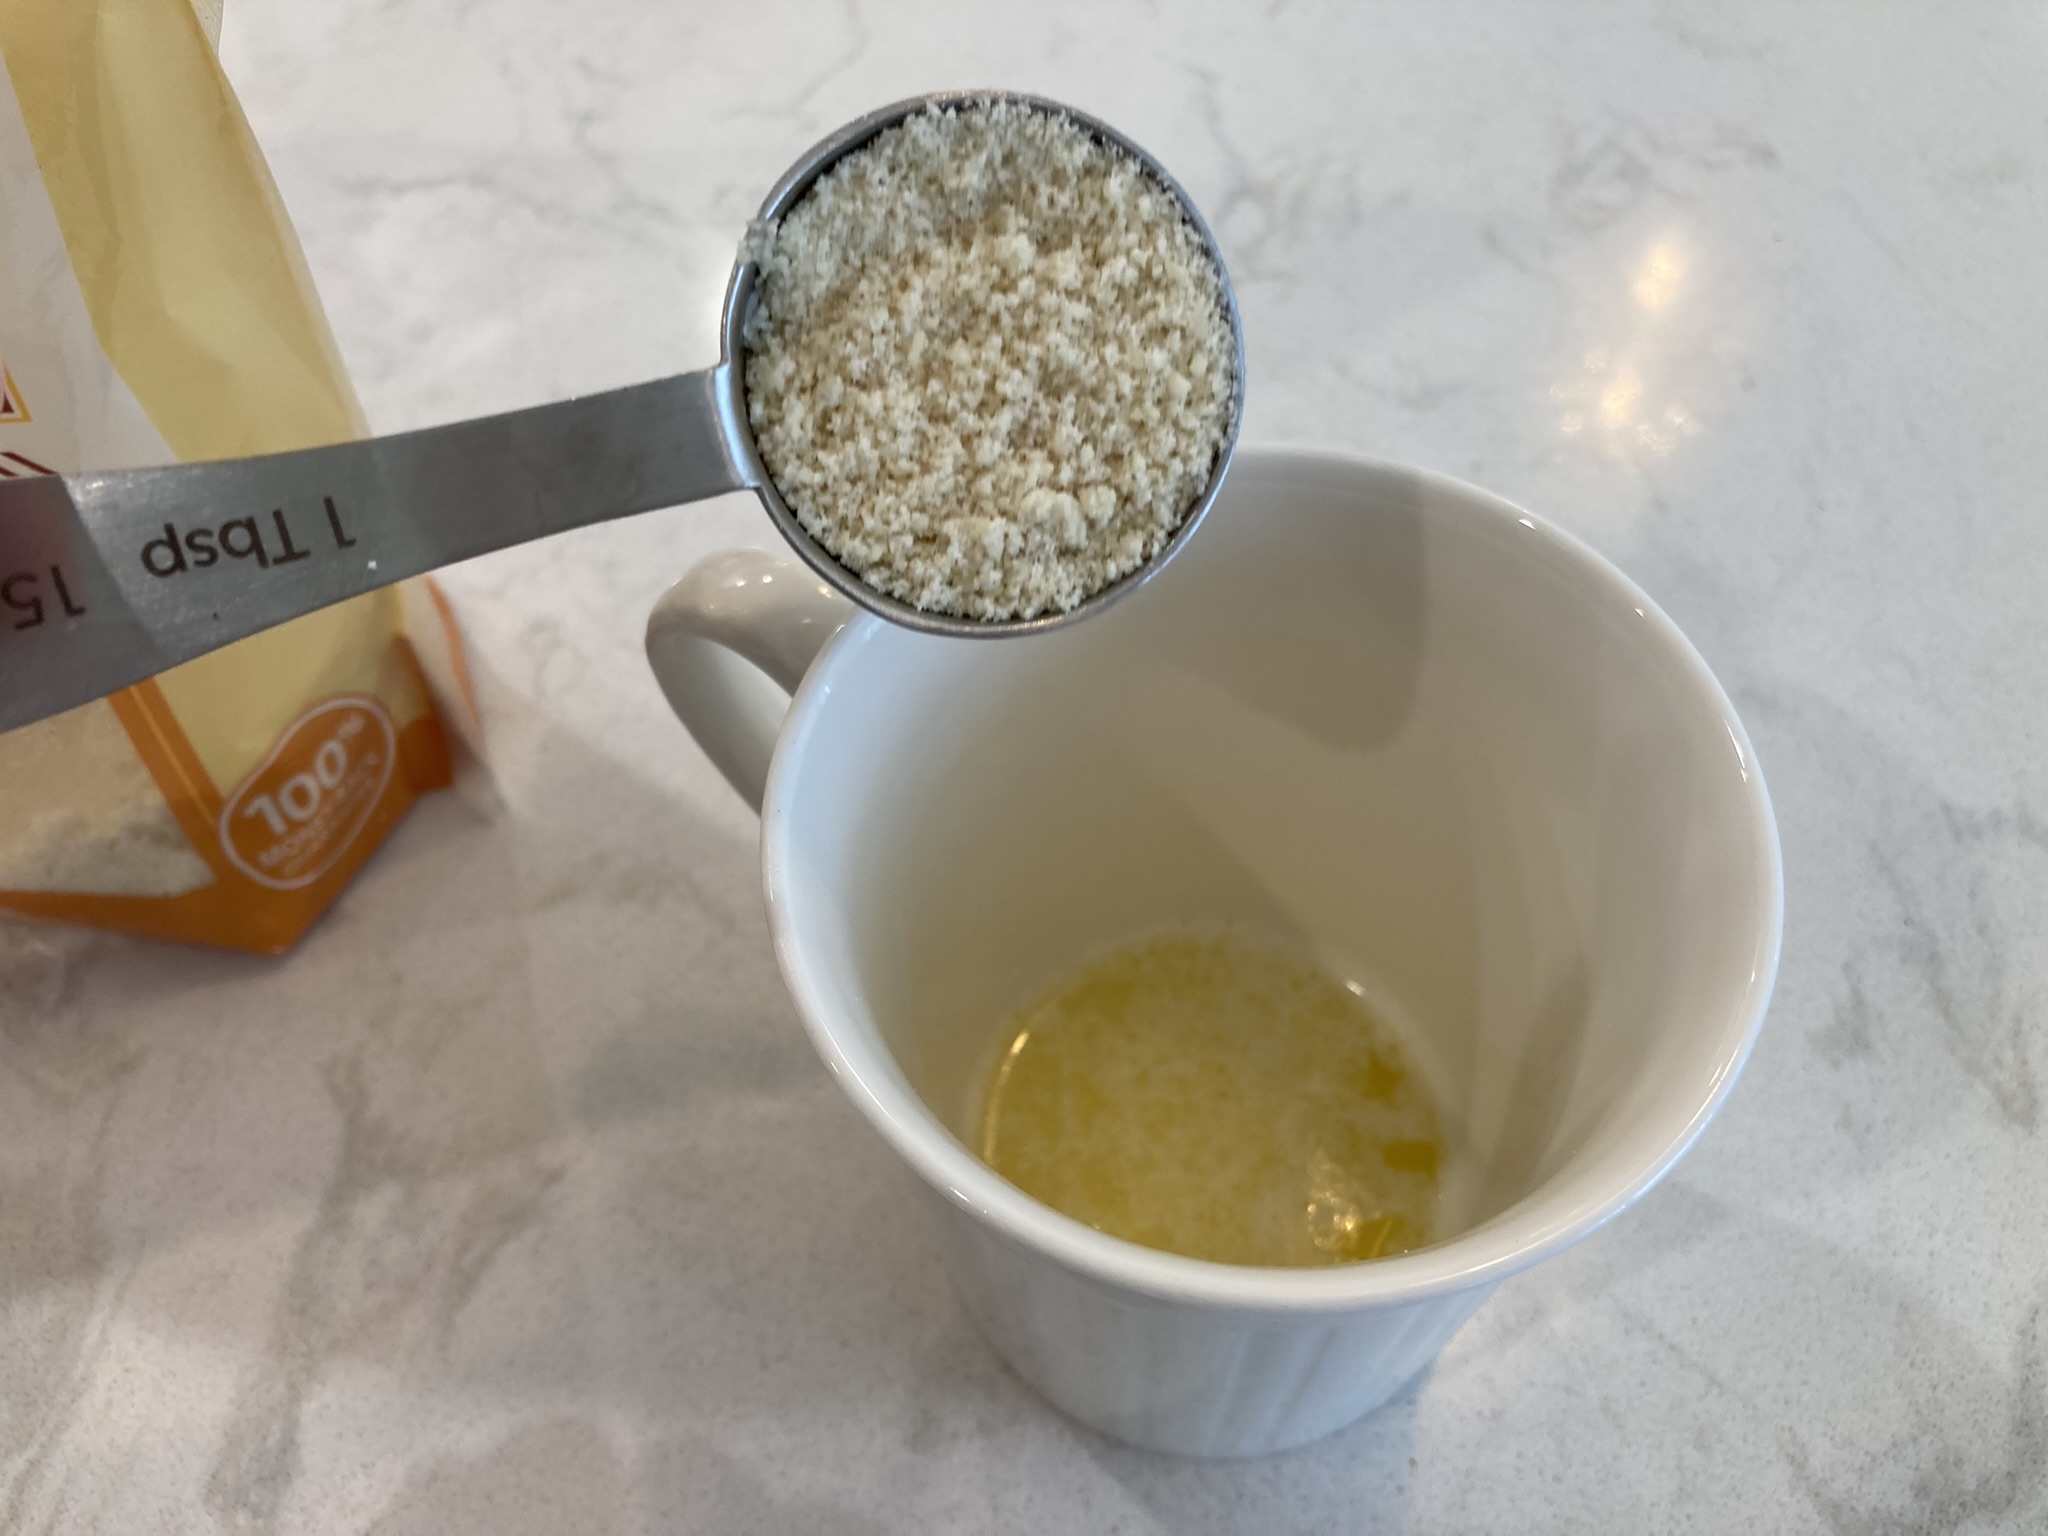
almond flour pouring

Step 6

Pour the 2 Tablespoons of almond flour into the mug.

buckwheat

Step 7

Measure 2 Tablespoons of light buckwheat flour.

pour buckwheat

Step 8

Pour the 2 Tablespoons of light buckwheat into the mug.

baking powder

Step 9

Meaure 1/2 tsp baking powder and add it to the mug.

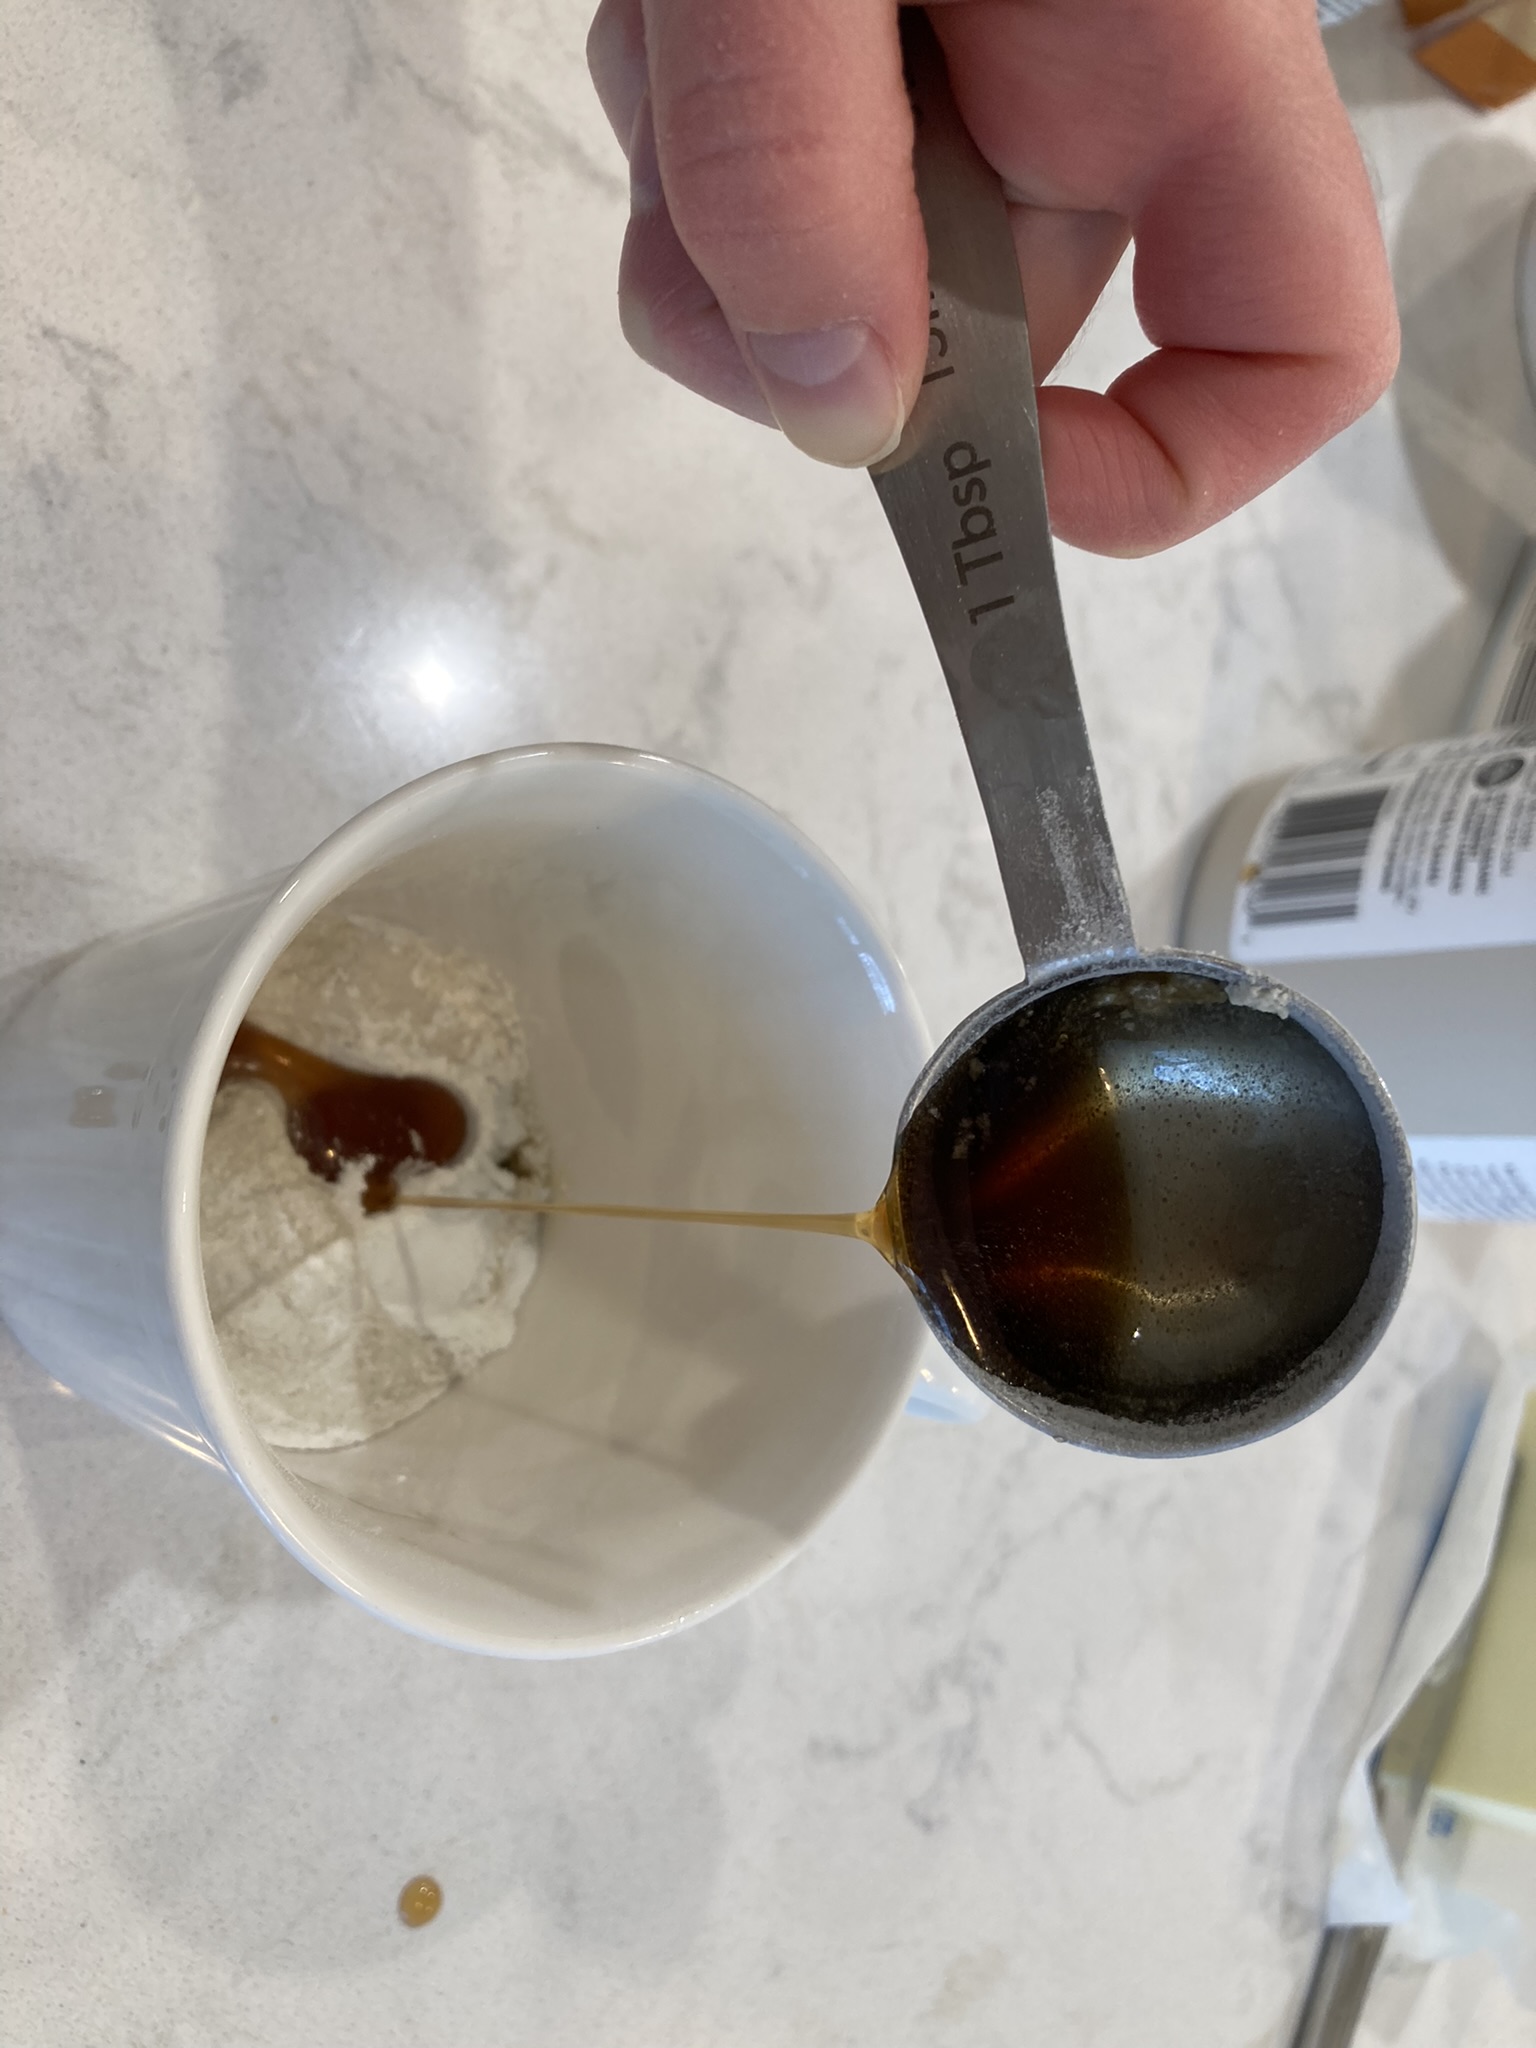
maple syrup

Step 10

Measure 1 Tbsp maple syrup and add it to the mug.  (Or use a sweetener of your choice, such as 1 Tbsp honey or a packet of SweetLeaf.)

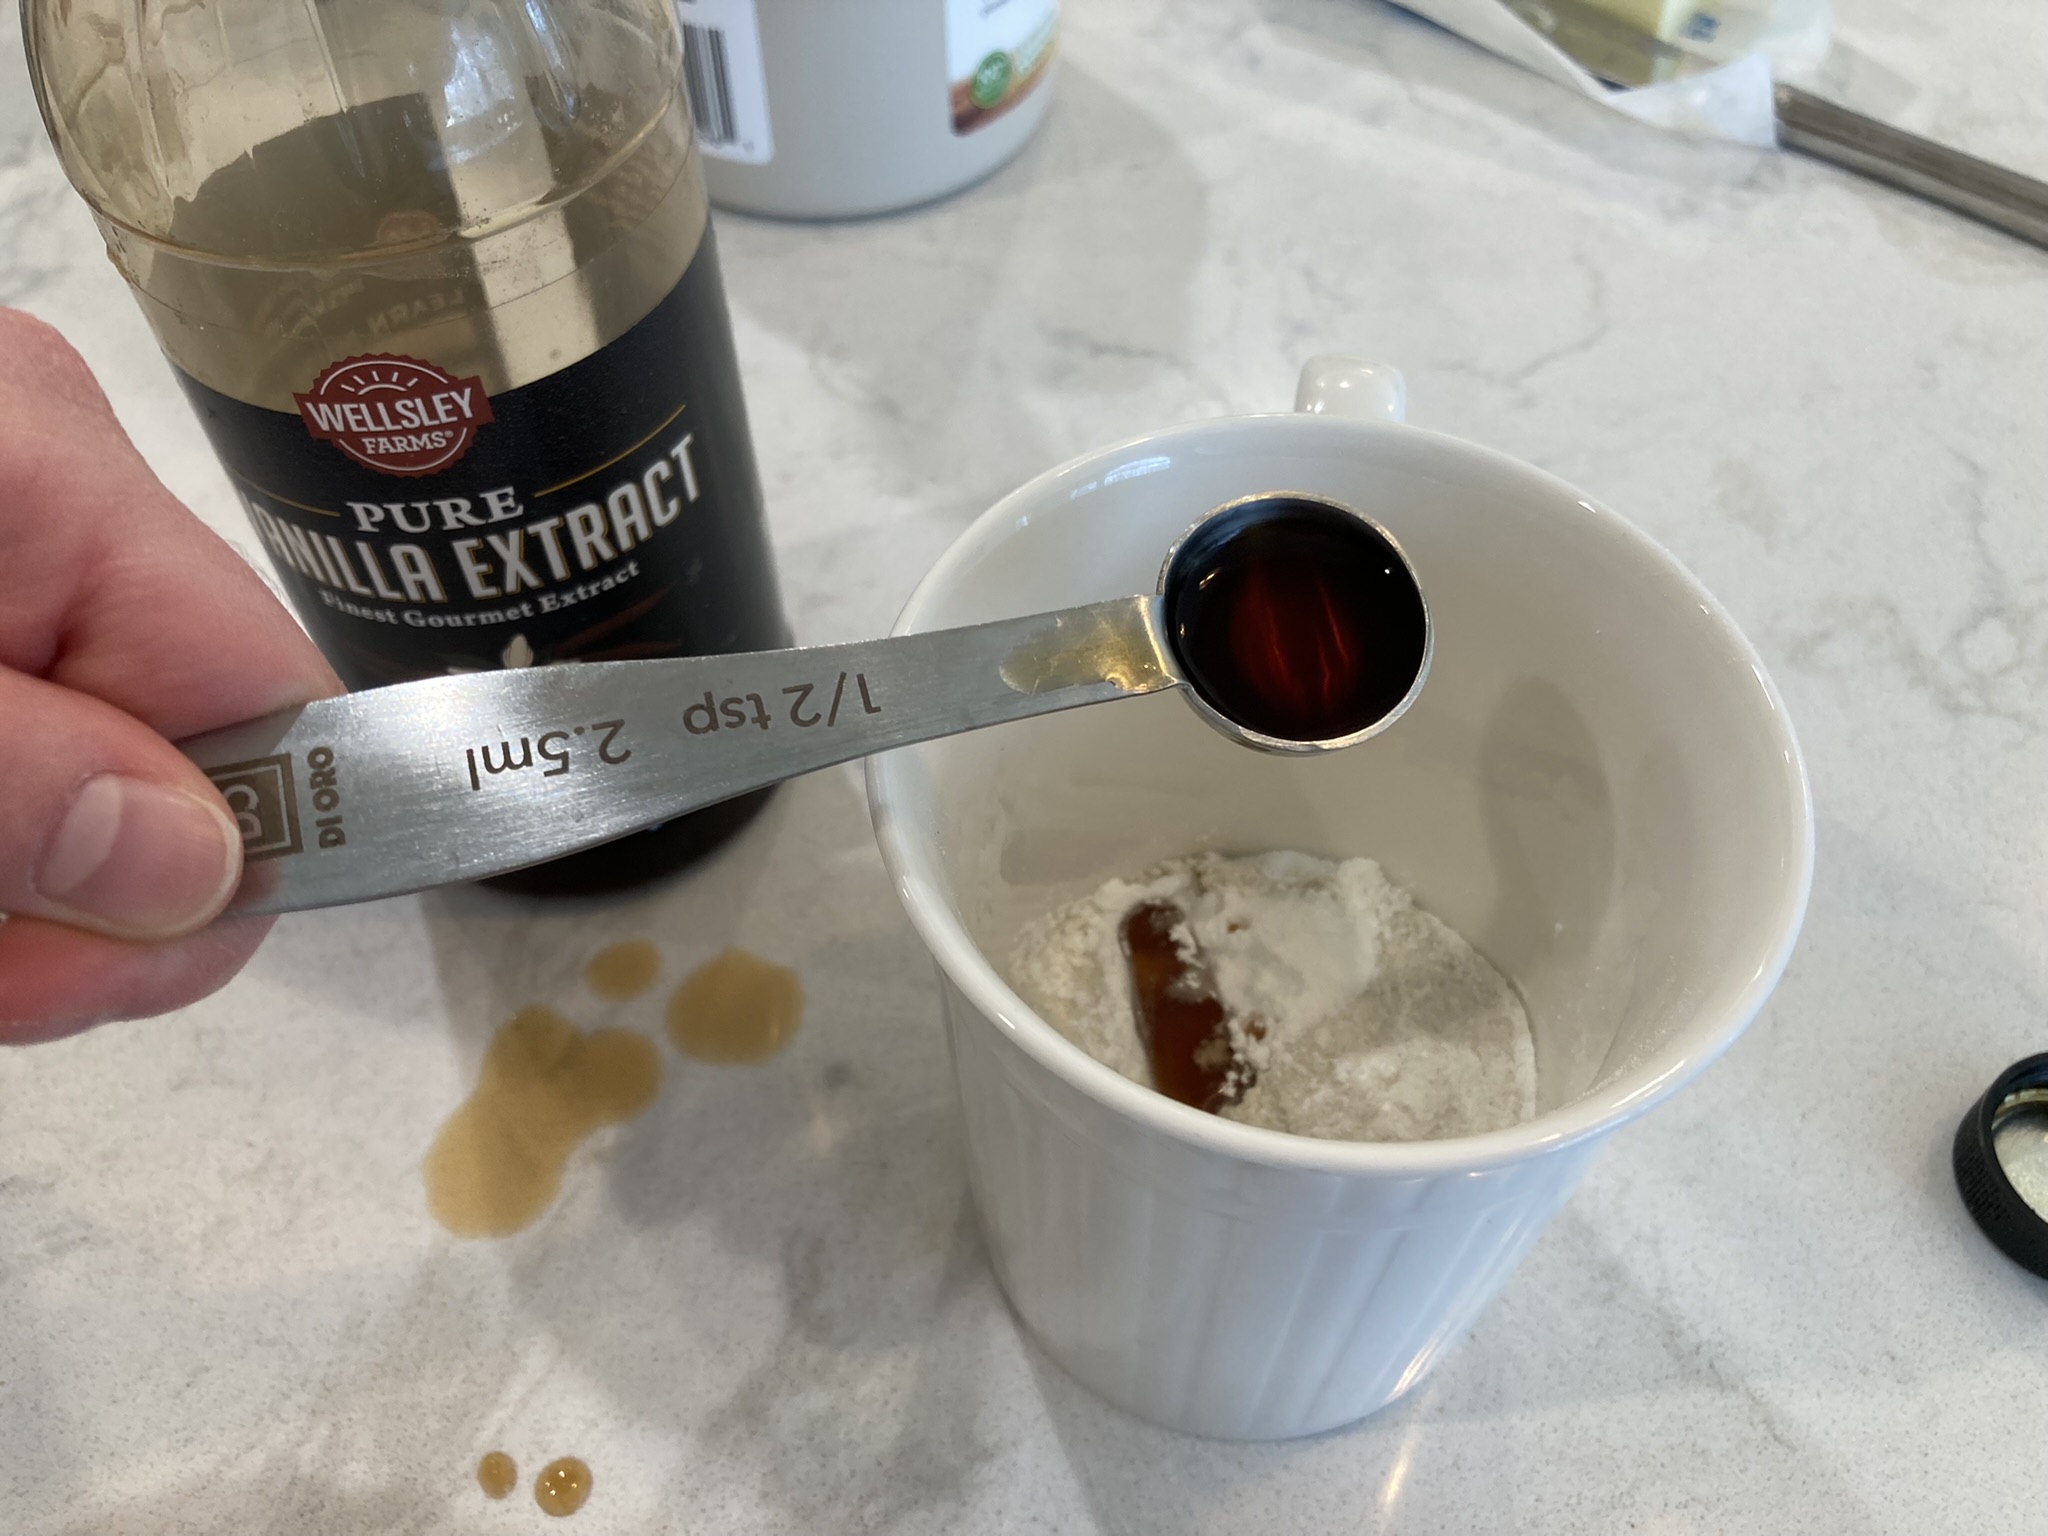
vanilla

Step 11

Measure 1/2 tsp vanilla extract and add it to the mug.

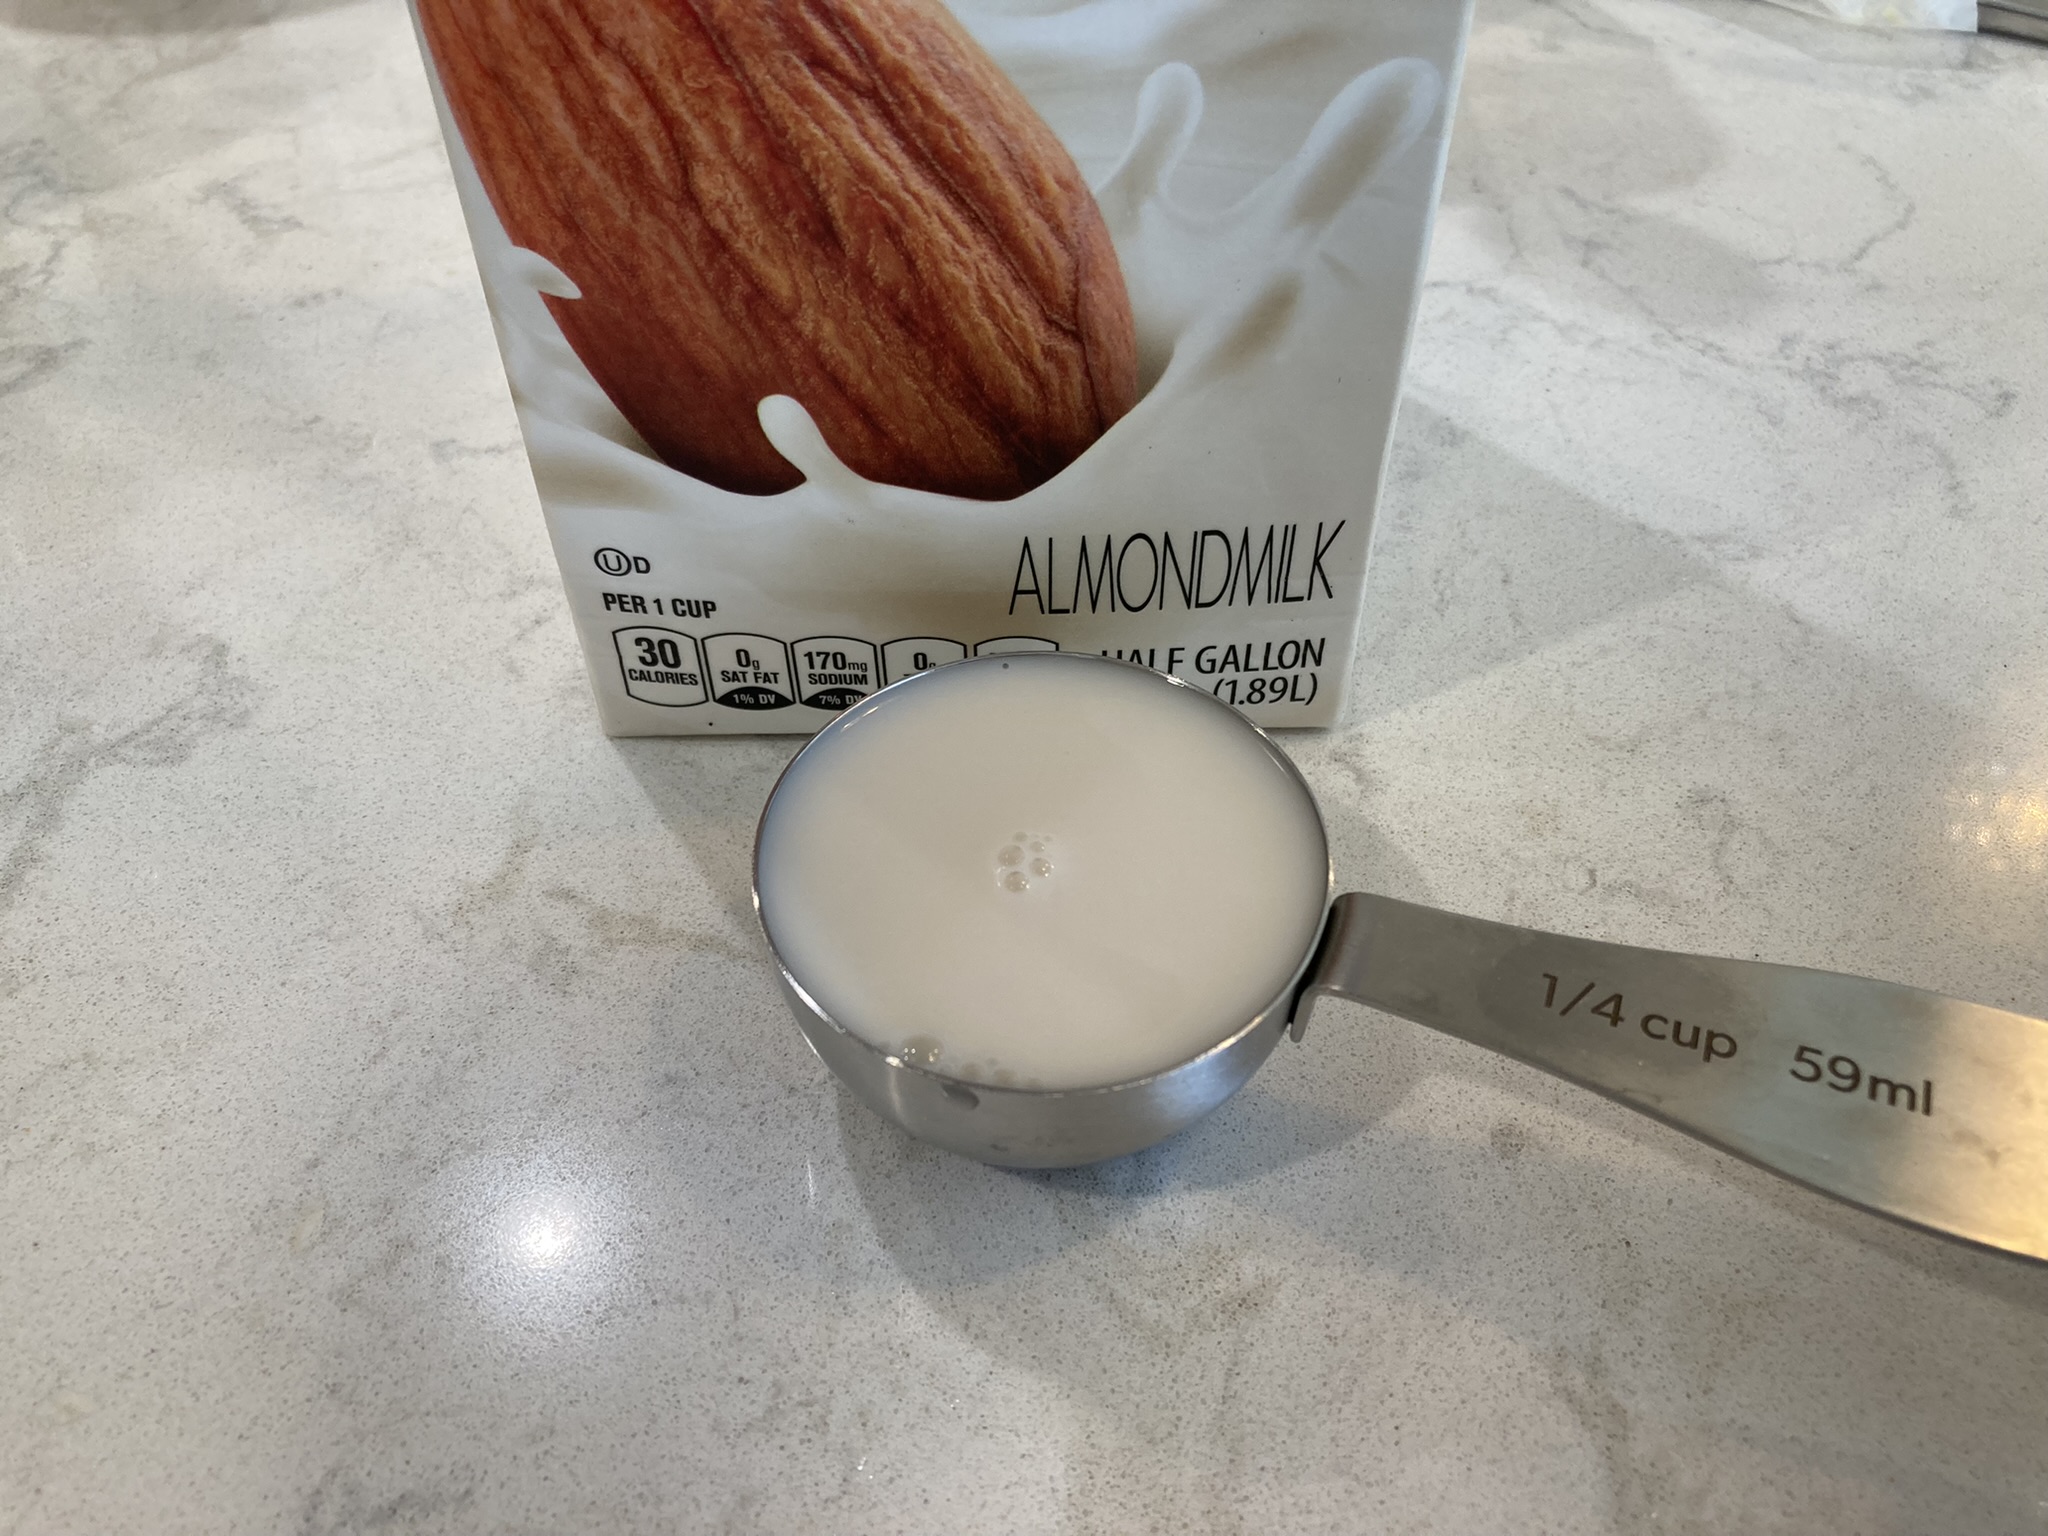
almond milk

Step 12

Measure 1/4 cup almond milk and add it to the mug.

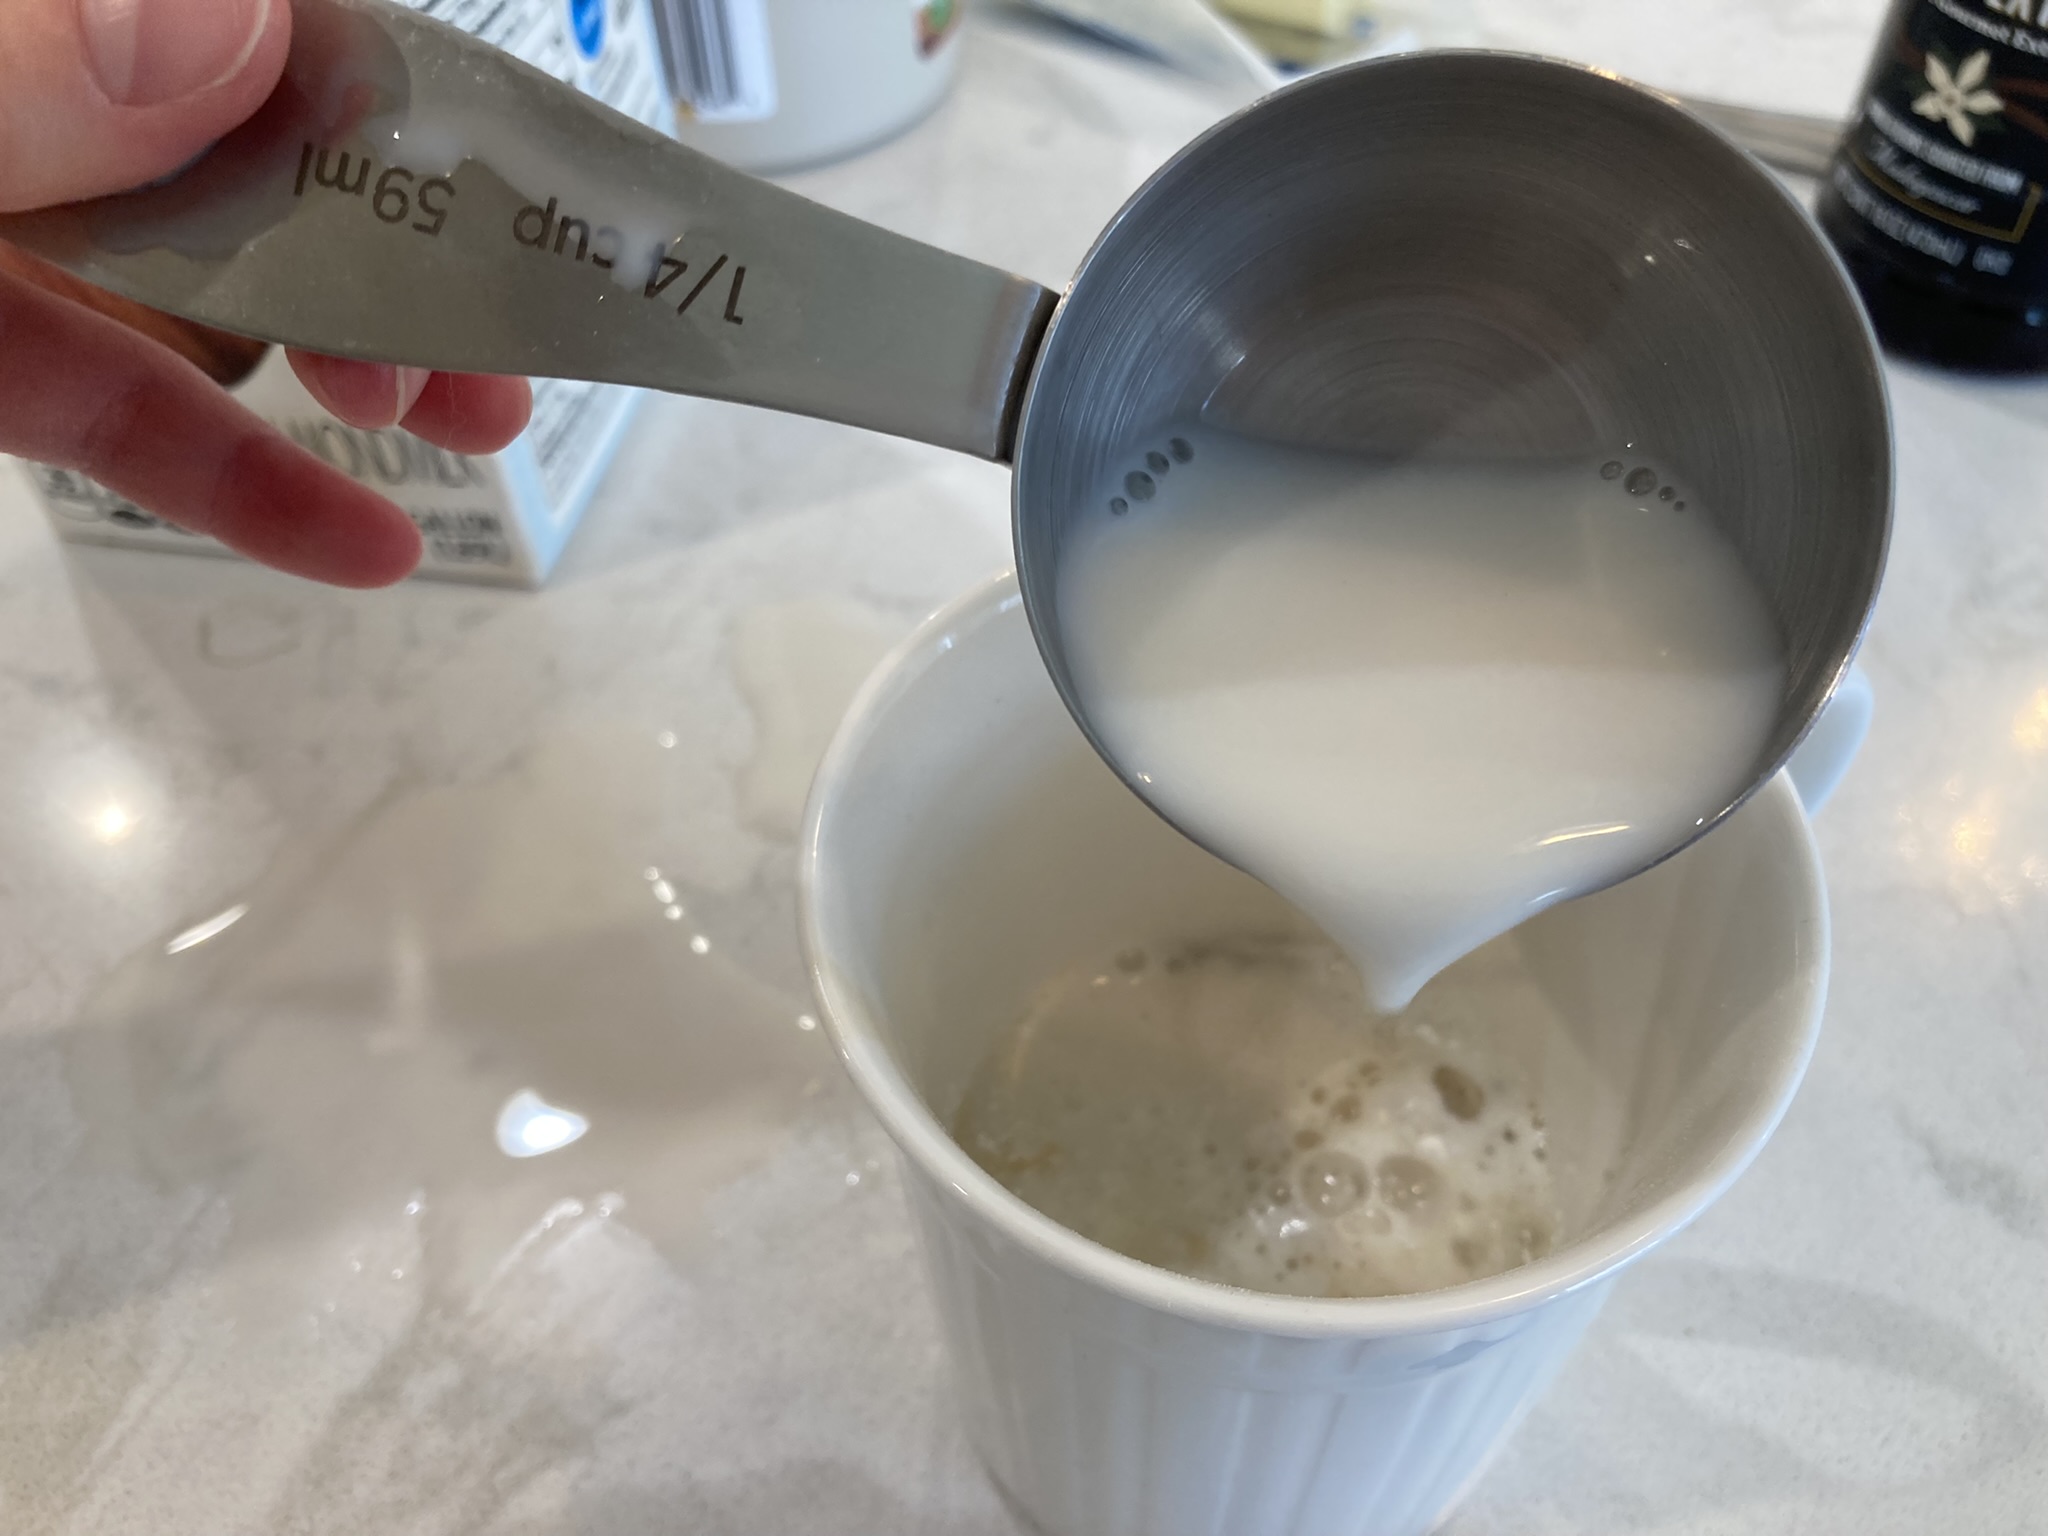
almond milk

Step 13

Pour the milk into the mug.

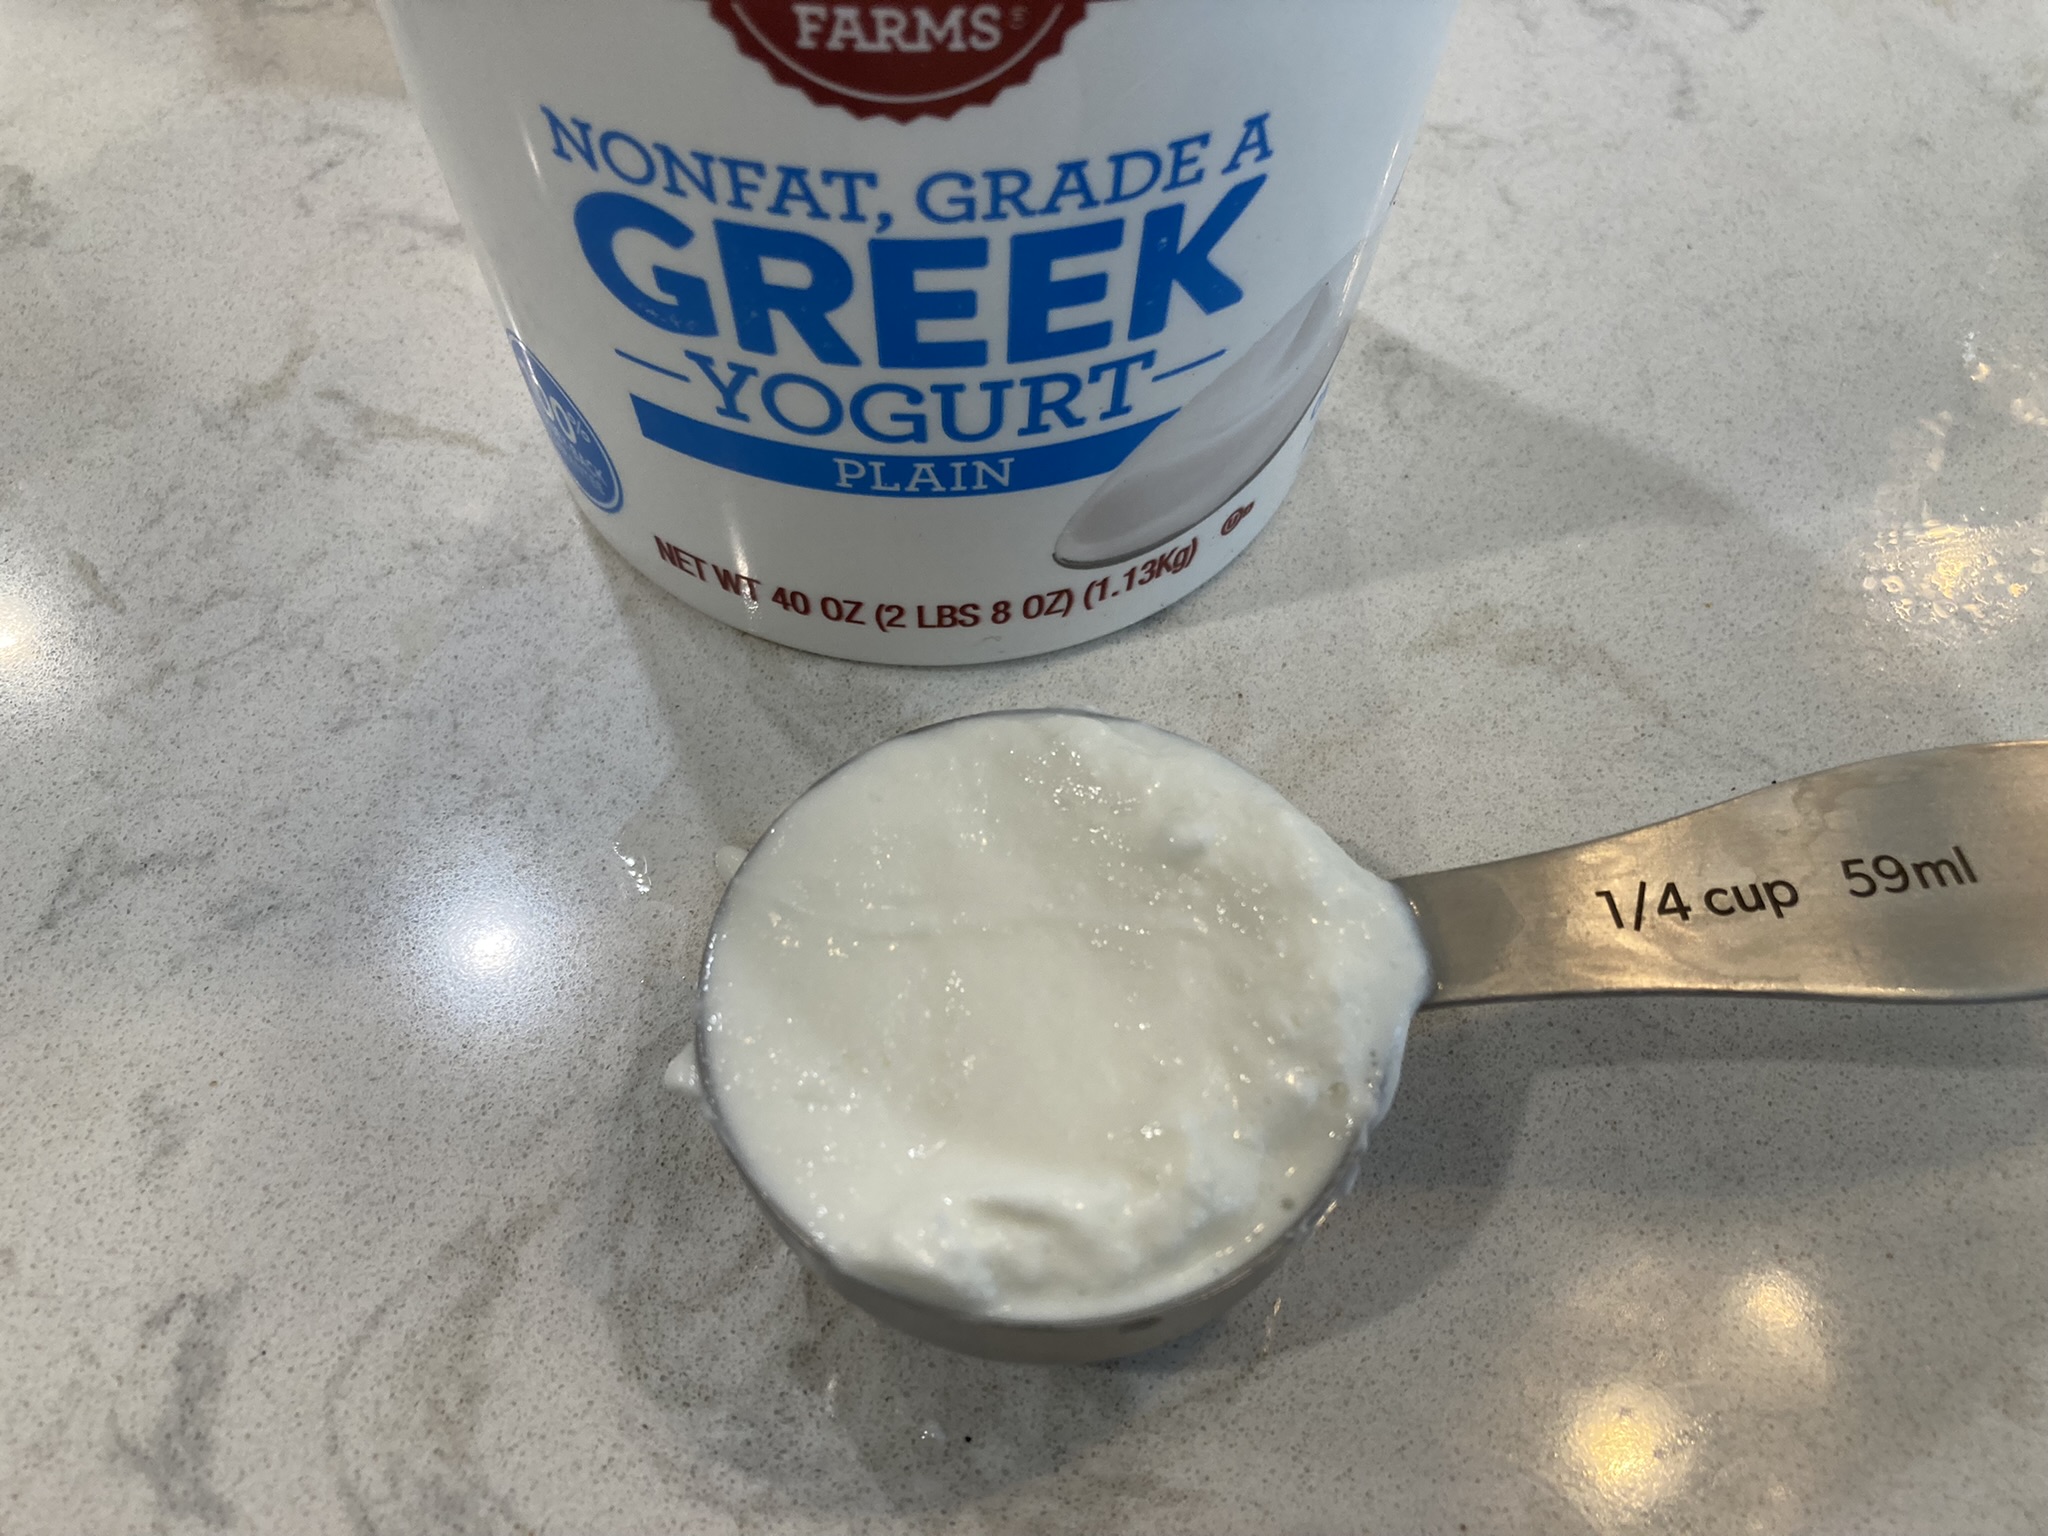
greek yogurt

Step 14

Measure 1/4 cup Greek yogurt.

greek yogurt

Step 15

Add the yogurt to the mug.

stir mug cake

Step 16

Stir everything together until well combined.  Make sure your mug is no more than 3/4 full – if necessary, transfer to a larger container.

cocoa powder

Optional

Add flavoring of your choice (we used 1 Tbsp of cocoa powder for the mug cake pictured here) then stir again until well combined.

mug in microwave

Step 17

Place the mug in the microwave.  Microwave on high for 1 to 2 minutes.

mug cake

Step 18

Check to see that the mug cake is nicely cooked (you might want to stick a spoon into it to see that it is well cooked to the bottom, if necessary, cook slightly longer).

microwave mug muffin

Step 19

Remove the mug from the microwave, being careful as it may be hot to the touch (use a potholder if needed).  Wait a few minutes for the mug cake to cool (it might be quite hot!).  Then enjoy!

Do you and your budding baker like to read too?  We invite you to check out these fun books with a baking theme:

We love the Sophie Mouse series!  These are great as family read alouds with preschool and elementary age children, or for elementary age children to read on their own.  We thought you and your budding bakers might especially enjoy this one:  The Great Bake Off!  Really, though, the whole Sophie Mouse series seems to mention scrumptious baking, as Sophie’s mom has a bakery.  The illustrations are adorable, and the stories are so sweet!

Another fun book we think you might enjoy is Tomie de Paola’s Pascual and the Kitchen Angels.  We just happened to spot this one at the library the other day.  This story can be a good reminder that our guardian angels are always there to help us in the kitchen… whether we are a busy mama trying to get dinner on the table, or a budding baker trying to figure out a recipe for the first time.  Such a sweet story to enjoy together!

Do you have time for a coloring page?  Click on the image to download this free pdf.  Our 10 year old loves to make coloring pages for her siblings, and now she makes them to share with you too!  Thank you for coming to sparklesandsprinkles.blog today!

mug cake coloring page

Note:  Some links on this page are Amazon Affiliate links.  Sparkles and Sprinkles is a participant in the Amazon Associates Program, an affiliate advertising program designed to provide a means for sites to earn advertising fees by advertising and linking to Amazon.com.

Other links may or may not be affiliate links.  We provide links because we have found these products or services beneficial, and we think you might too.

Saint Patrick’s Prayer Shamrock Garland or Wreath

Saint Patrick’s Prayer Shamrock Garland or Wreath

I love the Saint Patrick’s prayer.  It is such a beautiful reminder of how God’s love surrounds us!

Christ with me,

Christ before me,

Christ behind me,

Christ in me,

Christ beneath me,

Christ above me,

Christ on my right,

Christ on my left,

Christ when I lie down,

Christ when I sit down,

Christ when I arise,

Christ in the heart of every man who thinks of me,

Christ in the mouth of everyone who speaks of me,

Christ in every eye that sees me,

Christ in every ear that hears me.

To make this shamrock garland or wreath, you can cut out shamrock shapes and copy lines of the prayer onto each one.  If you would like a printable version, please visit our Etsy shop.   (Your purchase helps us to cover blogging expenses so that we can continue to bring you more fun craft and baking ideas.  Thank you!)

shamrock cutouts

Cut out shamrock shapes with a verse from the Saint Patrick’s Prayer on each one.  (Our printable on Etsy has lines from the prayer on each shamrock, plus a page of blank shamrocks if you want to include some blank shamrocks or write your own words.  The shamrocks are a pdf of a hand watercolored shamrock.)

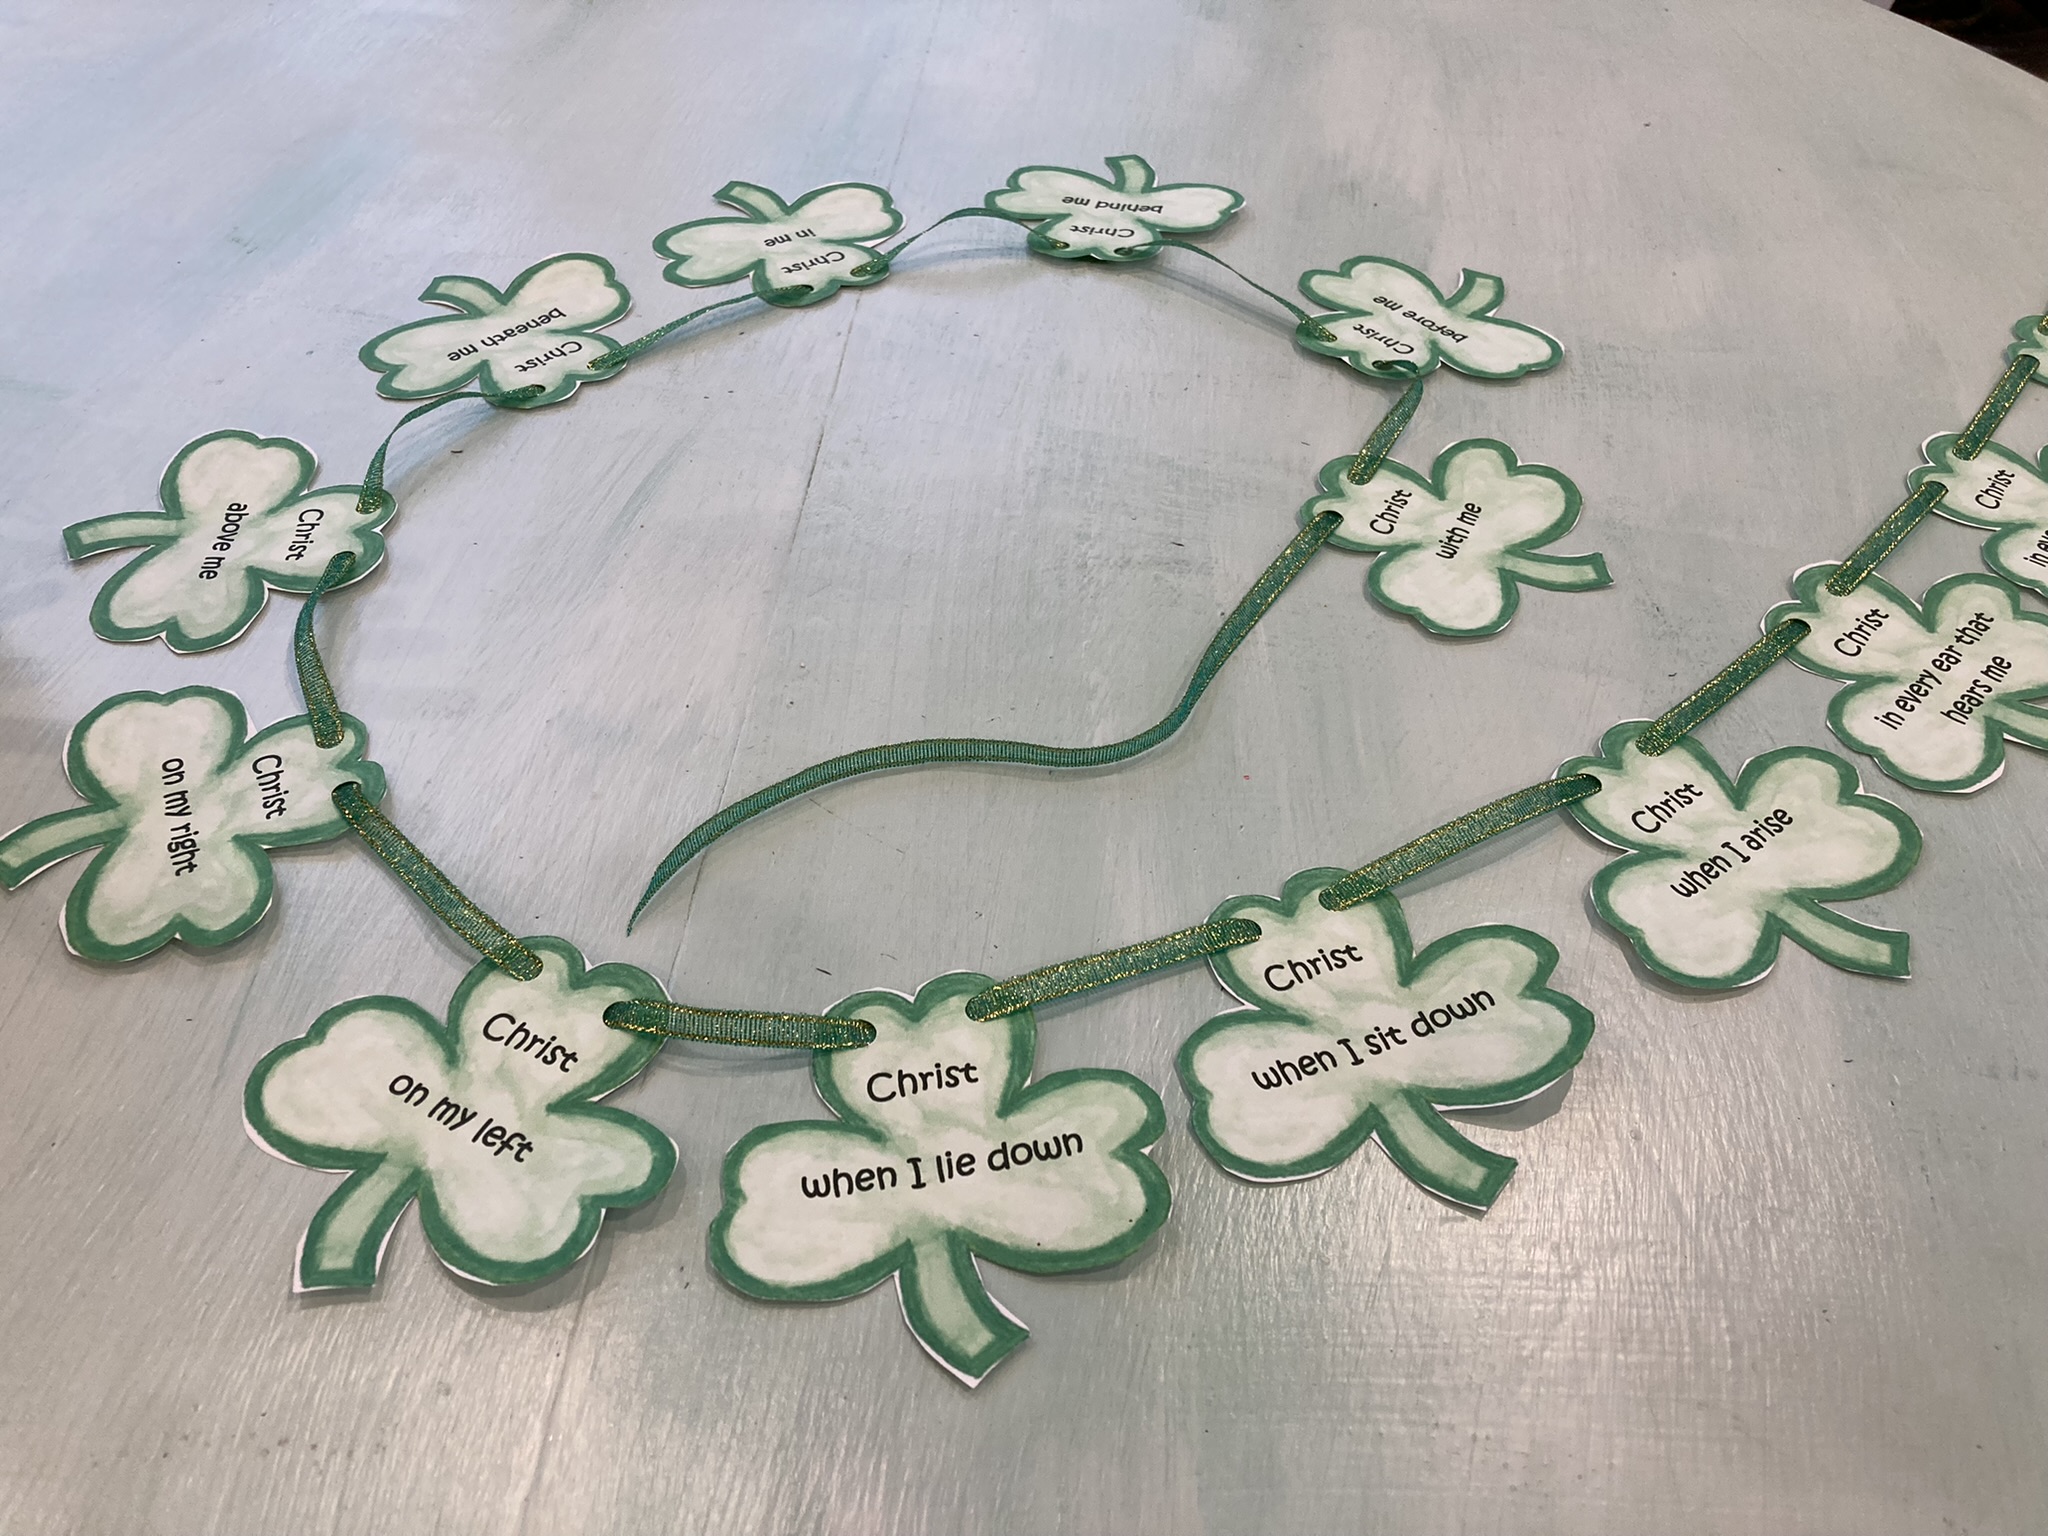
string of shamrocks

We find chunky yarn or 1/4 inch wide ribbon works well for the garland.  It fits well through a standard hole punch hole, and allows the shamrock pieces to stay in place in the way you would like them to be spread.  

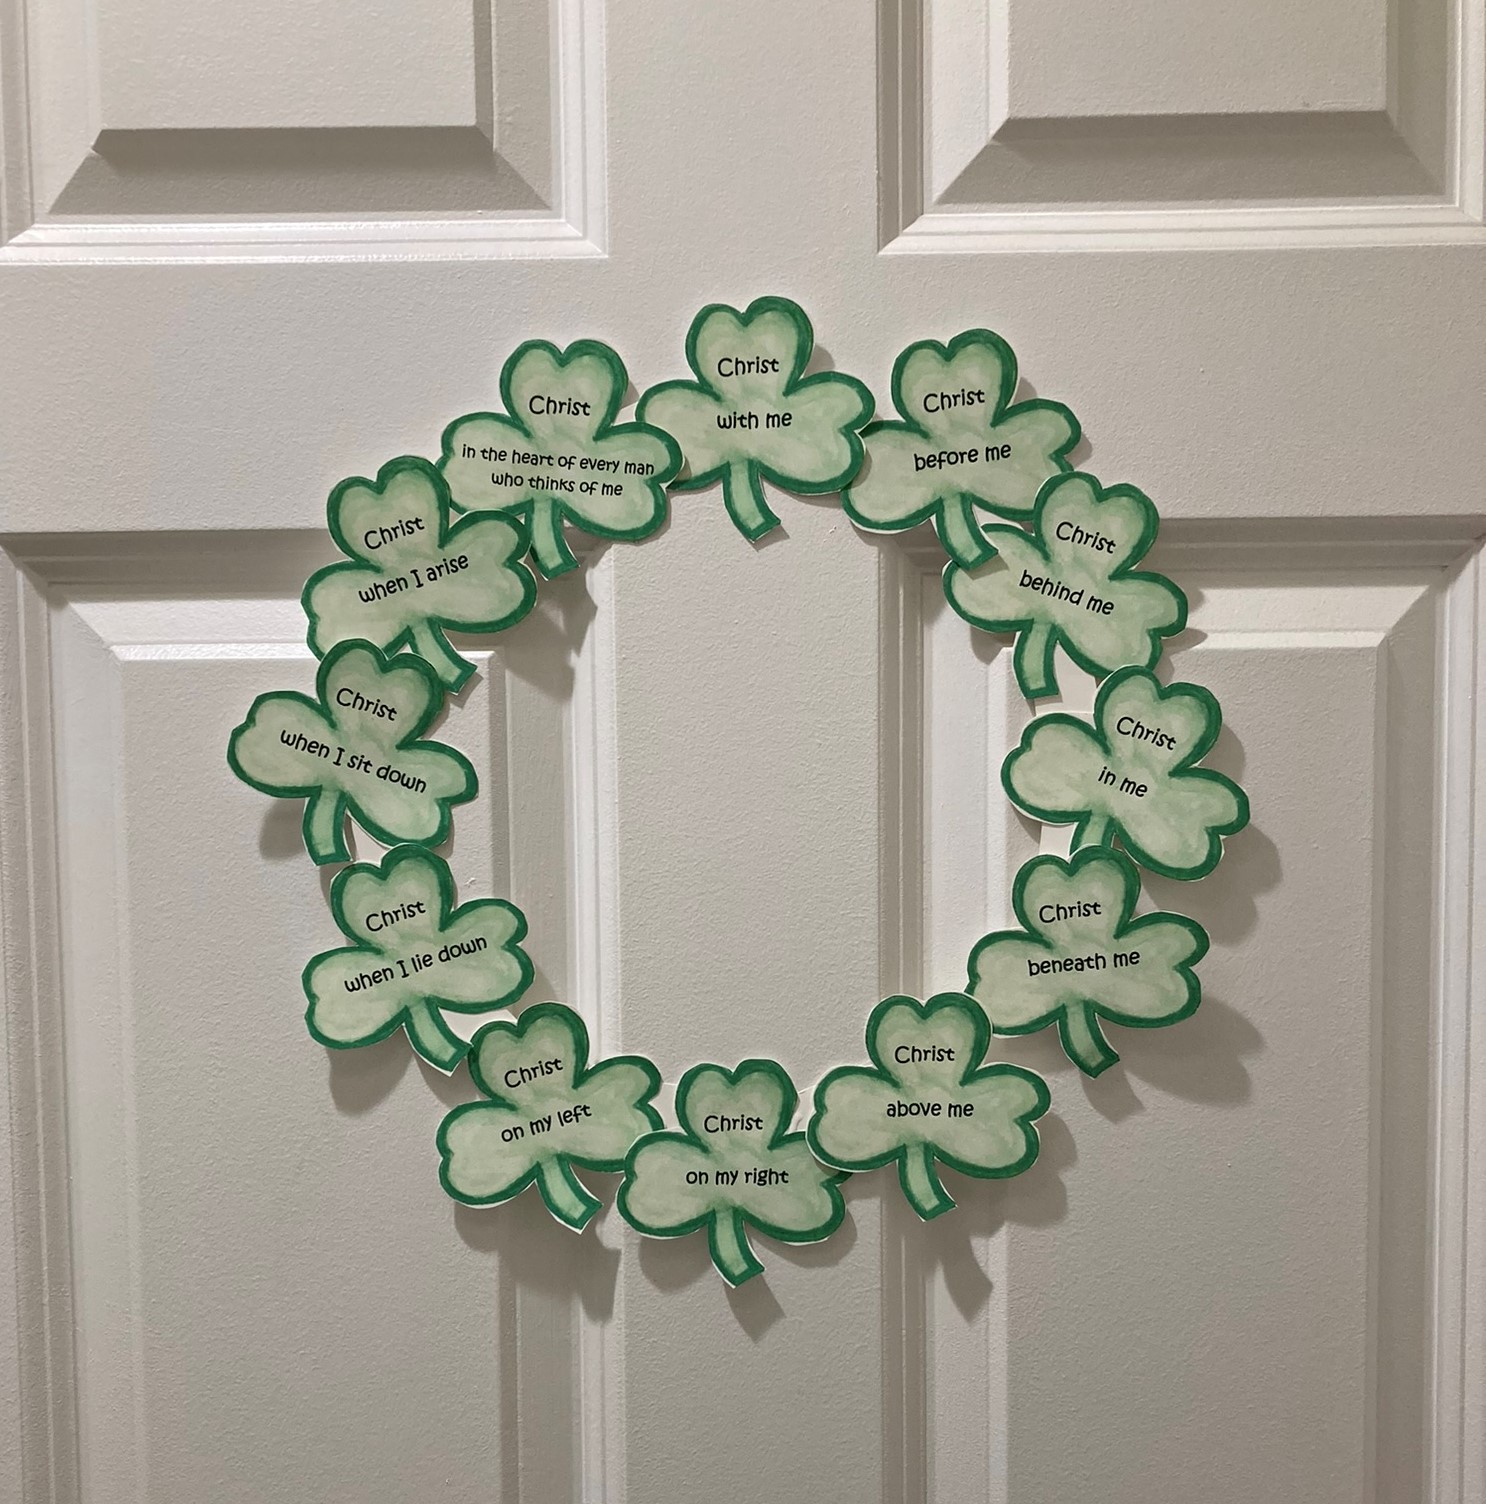
shamrock wreath

You can create a circle out of pieces of cardstock or cardboard or a paper plate, then glue on shamrock shapes for a pretty indoor wreath.

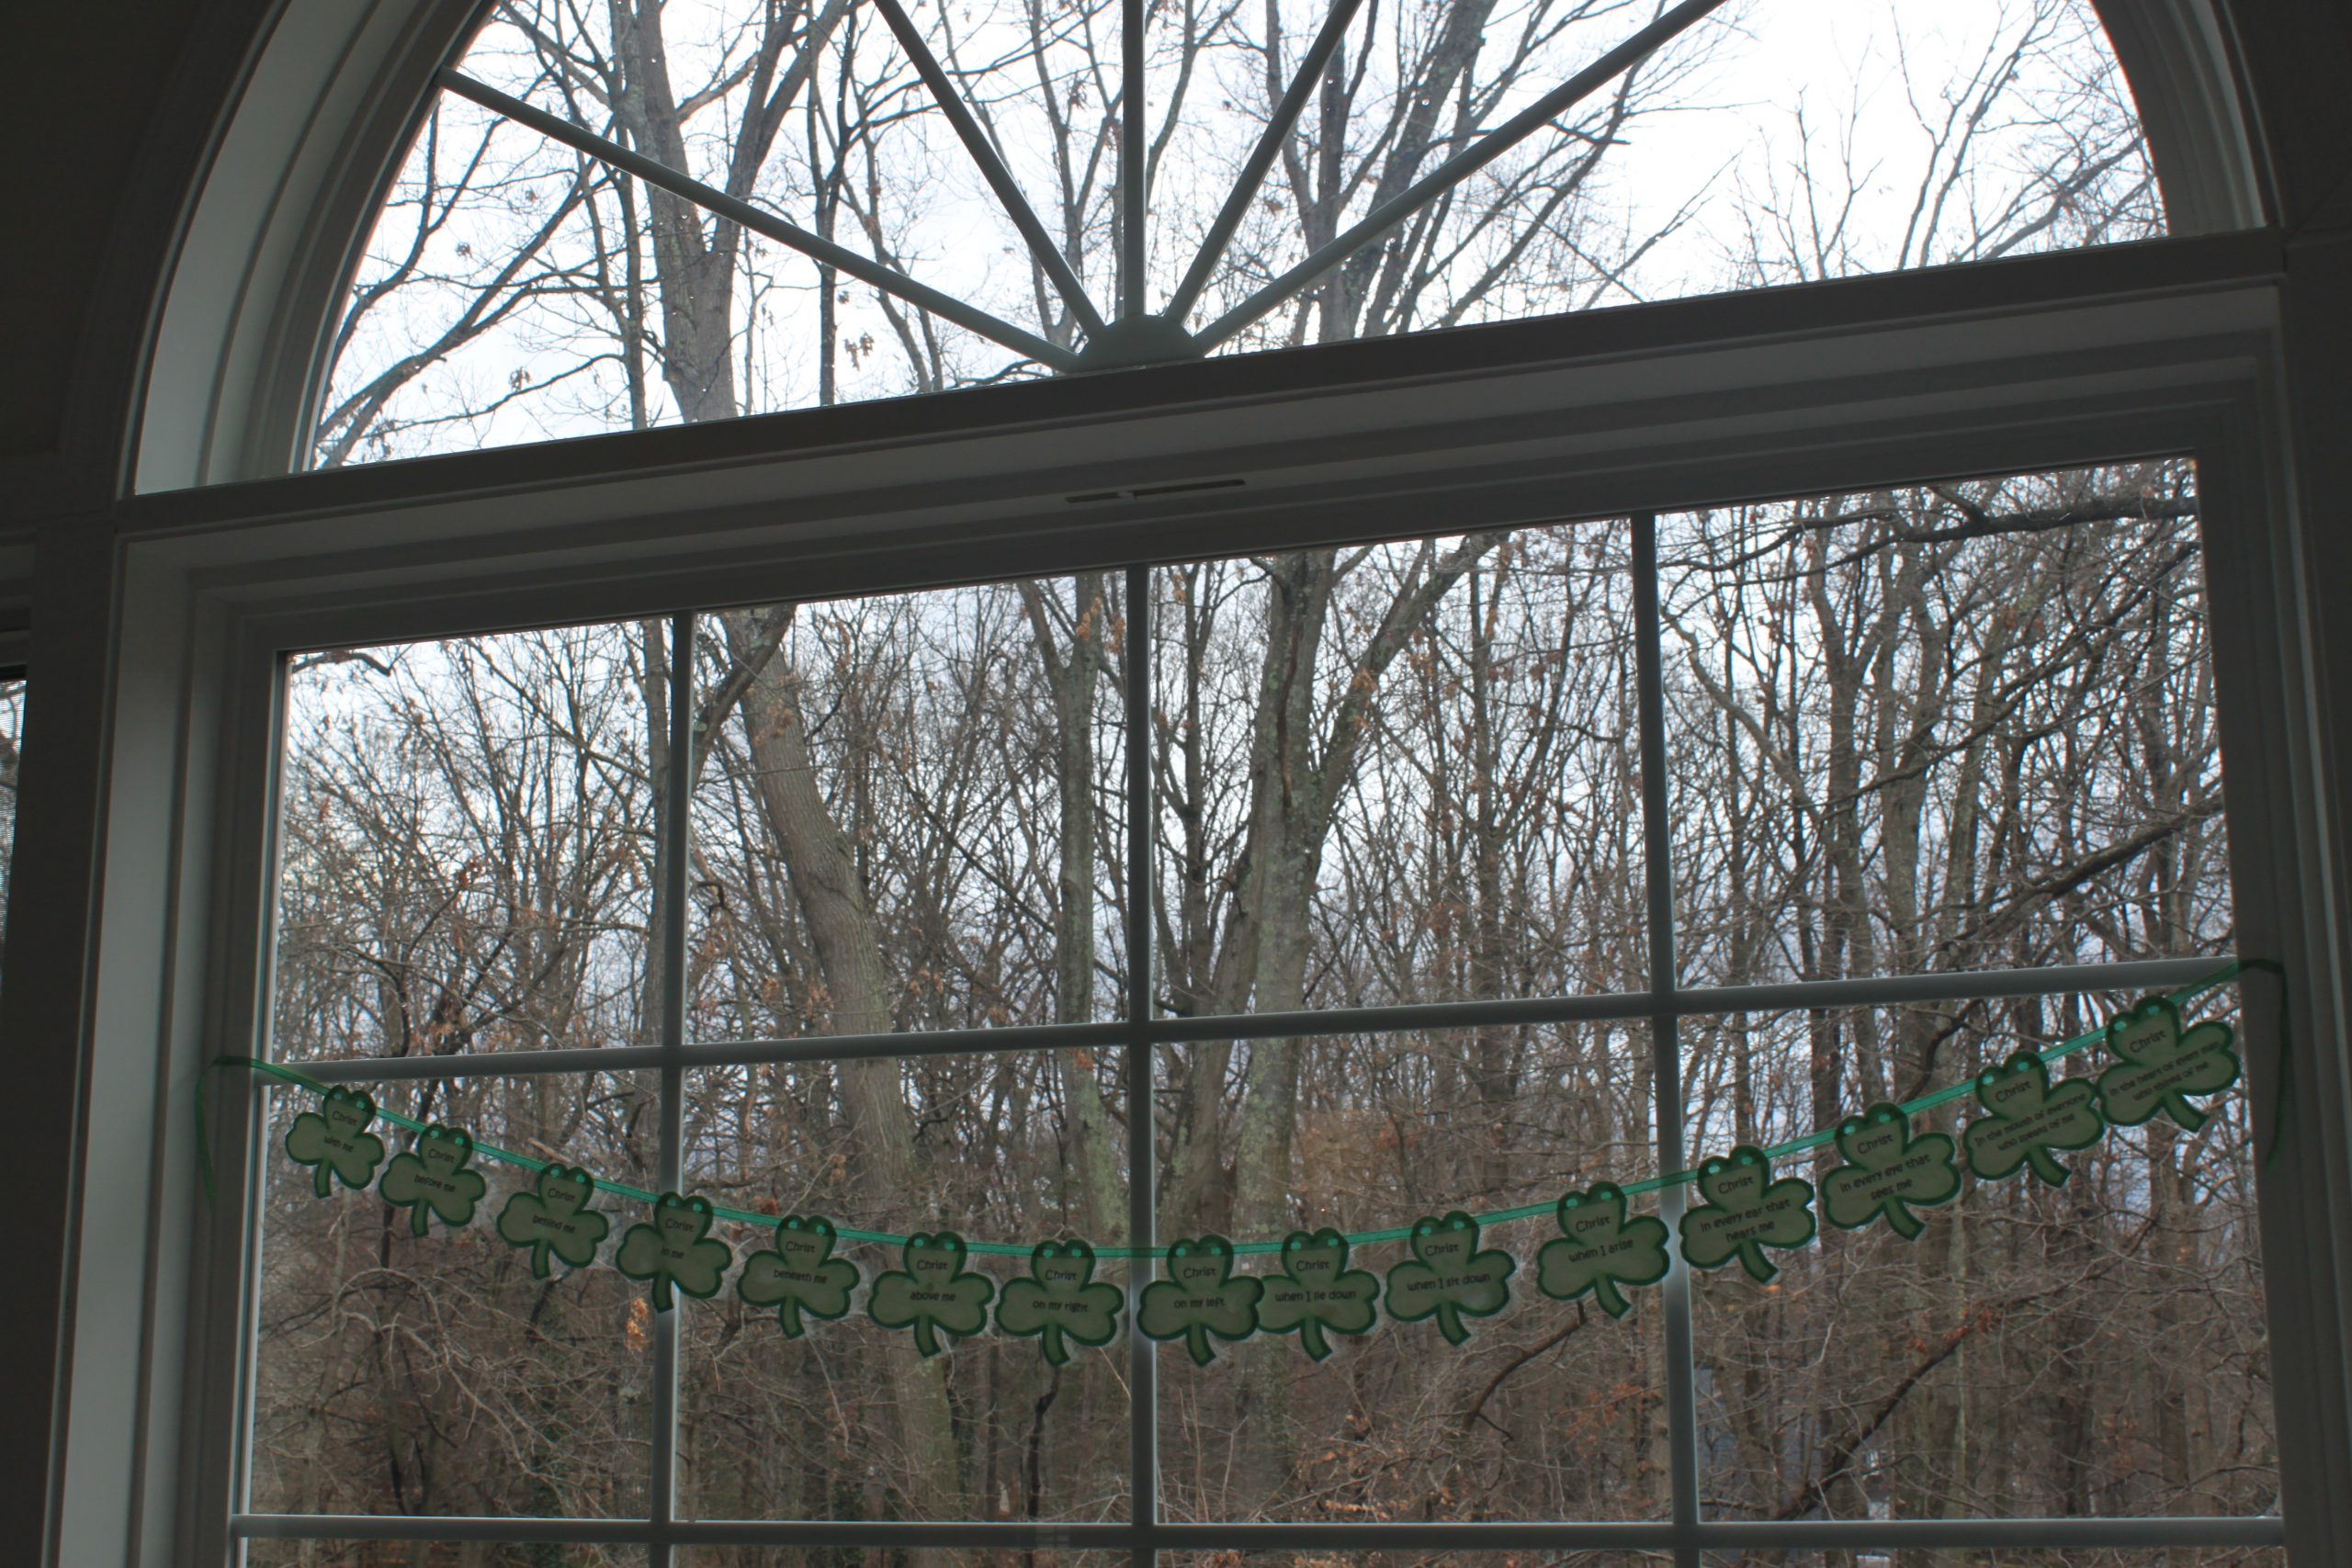
window shamrock garland

Garlands can be a nice way to decorate a window, a mantel or any wall space in your home.  This garlands brings a bit of greenery to our windows, where the trees are still bare at this time of year.

diy shamrock garland

Of course, our favorite part is making it our very own, with decorations done by the children.  We find this can be a fun time to talk about the beauty of the prayer.  We hope you and your family can enjoy making a Saint Patrick’s Prayer Shamrock Garland or Wreath to decorate your home this season!  Enjoy!

Are you looking for more Saint Patrick’s Day fun?  I love the way the CCC cartoon version of Saint Patrick’s life imagines how Saint Patrick first composed this prayer.  It shows him as a newly captured slave tending the sheep.  Imagine how lonely and scary that would feel!  He shows his trust in God, etches a cross in a tree, and calmly says this prayer.

If you are looking for a fun activity for your family this Saint Patrick’s Day, you may want to check out this beautiful movie.

P.S.  If you have a formed.org account, this movie is available for free.  Many churches have an account for everyone in their parish to access Formed for free, but you can also get an individual subscription (the last we checked, there was a free trial option too).

HAPPY SAINT PATRICK’S DAY!

Note:  Some links on this page are Amazon Affiliate links.  Sparkles and Sprinkles is a participant in the Amazon Associates Program, an affiliate advertising program designed to provide a means for sites to earn advertising fees by advertising and linking to Amazon.com.

Other links may or may not be affiliate links.  We provide links because we have found these products or services beneficial, and we think you might too.